
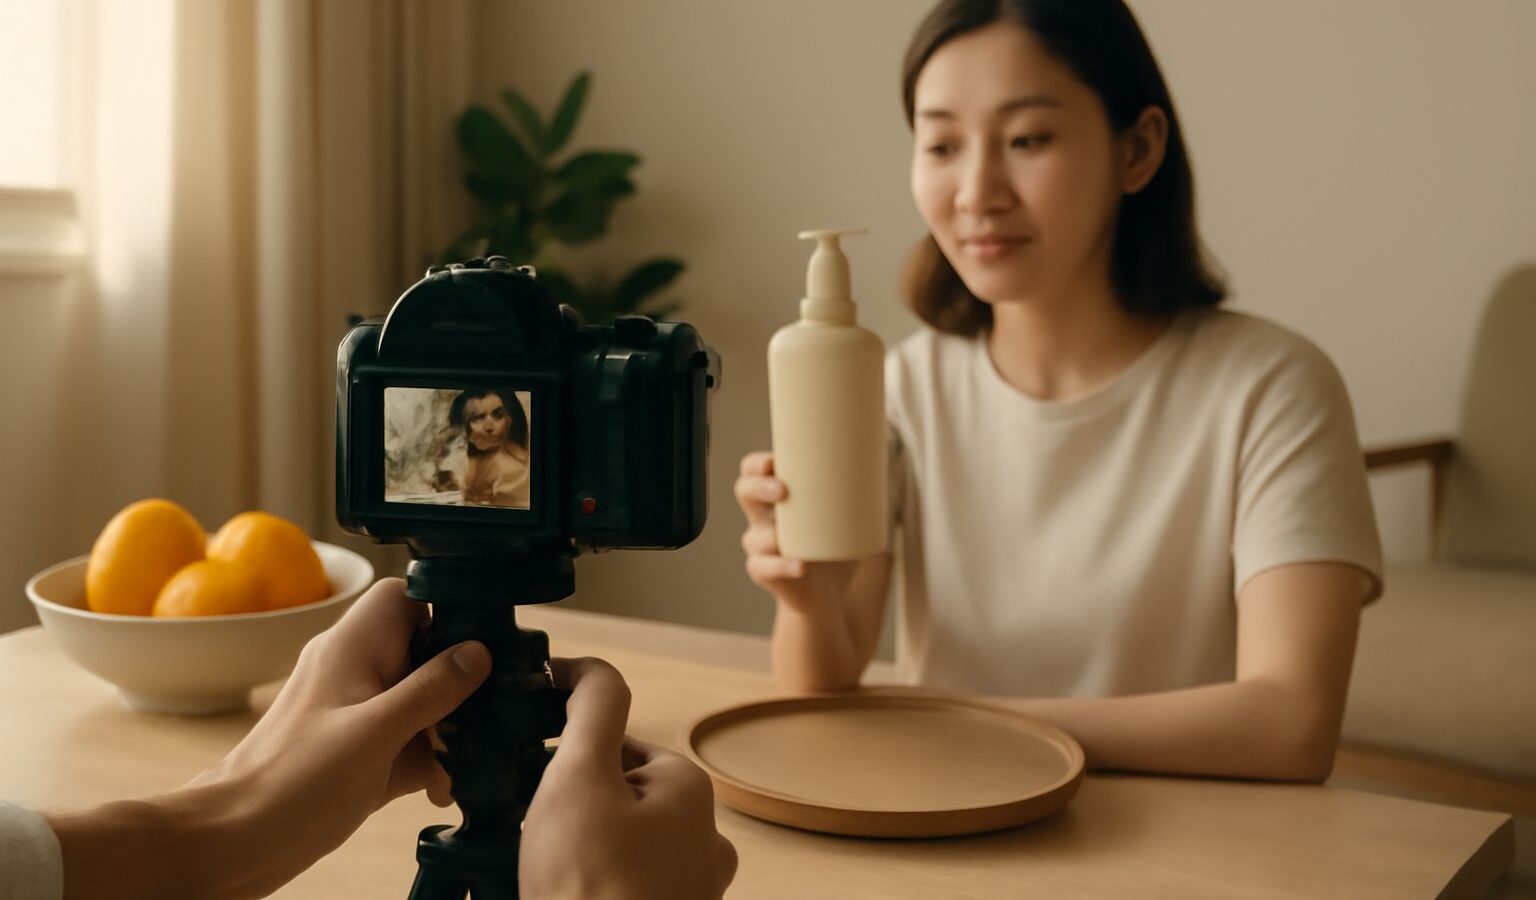
Shooting a product video in Singapore is one of the most useful skills a small business owner, maker, or aspiring creator can pick up. A short, well-made clip of your handmade candles, your cafe’s signature drink, or a gadget you are selling online can do more to build trust and desire than a page of text. The good news is that you do not need a film crew or a huge budget. With a phone or an entry-level camera, some thoughtful lighting, and a clear plan, you can produce clips that look clean and professional. In this guide we will walk through planning, lighting, camera moves, sound, and editing so you can shoot a product video that actually sells.
The core idea is simple. A product video should show the item clearly, highlight what makes it worth buying, and feel polished enough that viewers trust it. Everything below serves those three goals.
Plan and Light the Shoot
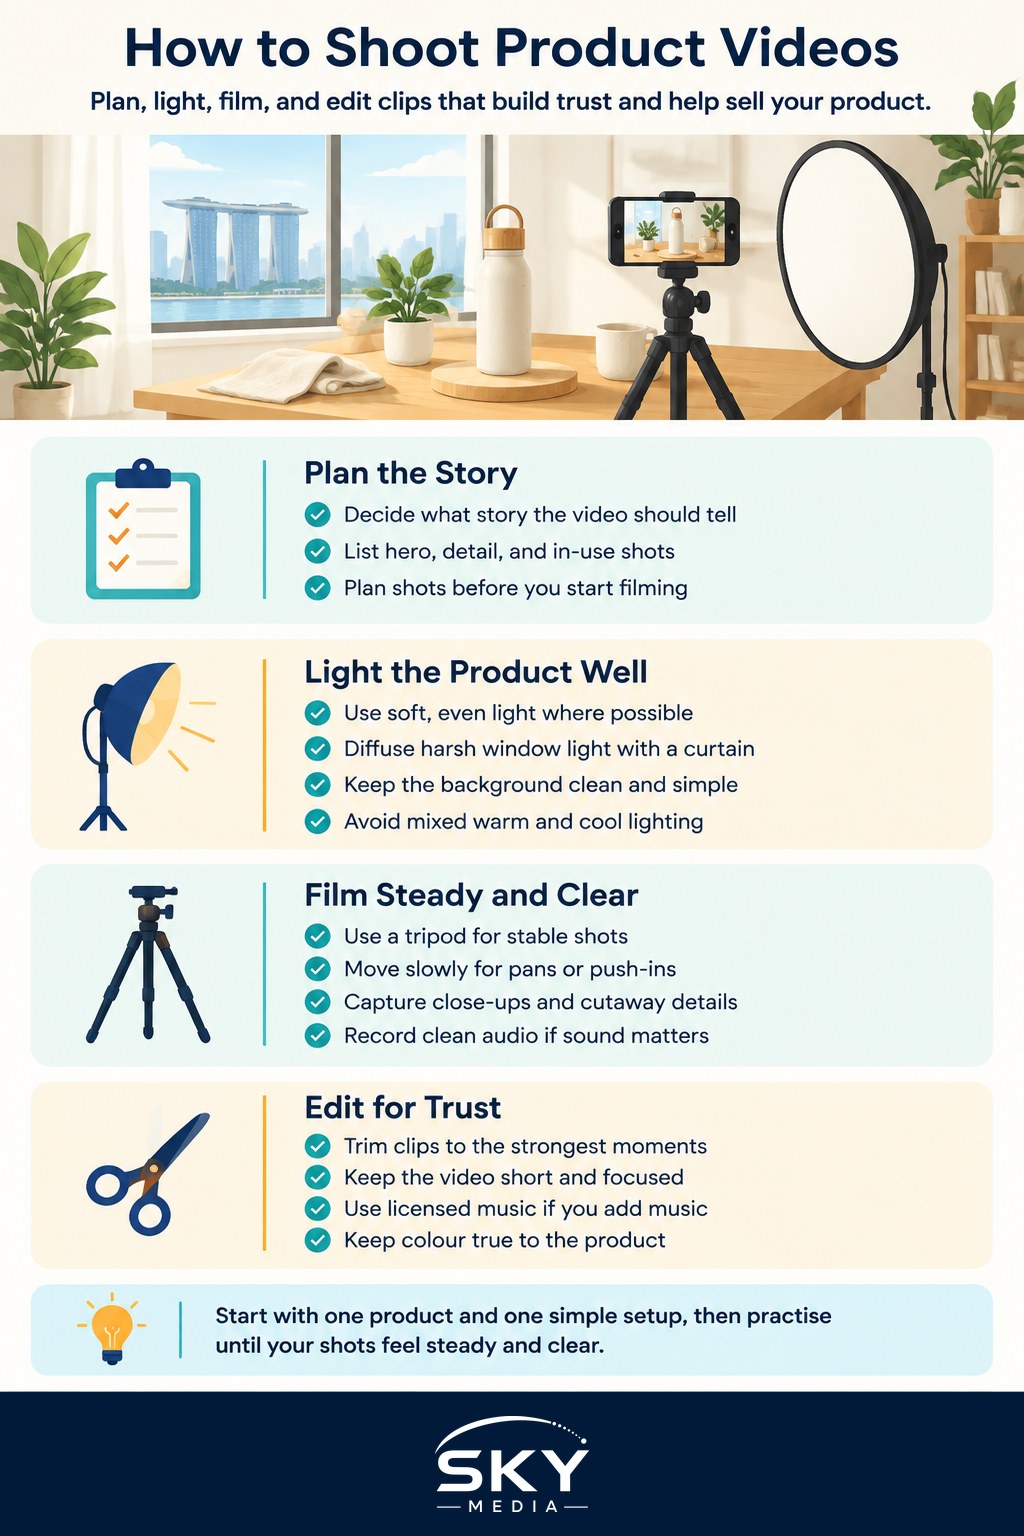
Every good video starts before the camera rolls. Spend a little time deciding what story you want to tell. Are you showing how the product works, how it is made, the details of its finish, or the feeling of using it? Jot down a short list of the shots you need, such as a hero shot of the whole product, a few close-ups of key details, and a clip of it in use. Planning this in advance saves you from missing an important angle and having to set up all over again. If you want a structured approach, how to make a shot list for a shoot in Singapore will help you cover everything.
Lighting is what separates an amateur clip from a professional one. Soft, even light flatters almost any product. A large window on an overcast day is a wonderful free light source, though our strong equatorial sun can be harsh, so diffuse it with a sheer curtain or shoot in open shade. If you use lamps, aim for soft, consistent light rather than a mix of warm and cool bulbs that will confuse colours. The general principles in lighting basics for video and photo apply directly here: one main light to shape the product, a fill or reflector to soften shadows, and a clean background so nothing distracts from the item.
Keep your background simple. A plain wall, a sheet of coloured card, or a tidy tabletop lets the product stay the star. Watch for reflections on shiny or glass items, since bright windows and your own silhouette can appear in the surface. Moving the light or the angle slightly usually solves it. A tripod is essential for steady, professional footage, and it lets you keep the framing consistent between takes.
Shoot Steady, Sound, and Camera Moves
With your set lit, focus on clean, stable footage. A tripod handles static shots, but a little gentle movement can make a product video feel alive. A slow pan across the item, a smooth push in toward a detail, or a slider move that glides past the product all add polish. If you want that gliding look handheld, a stabiliser helps enormously, and how to use a gimbal and stabiliser explains how to get smooth results. Keep moves slow and deliberate; fast, jerky motion looks amateur and makes the product hard to see.
Shoot each action as a separate clip and hold each shot a few seconds longer than feels necessary, which gives you room to edit later. Capture plenty of close-ups, because the texture of a fabric, the click of a lid, or the sheen of a glaze is often what convinces a buyer. These detail shots, sometimes called cutaways, are the backbone of a compelling product video.
Sound matters more than beginners expect. If anyone is speaking, or if the product makes a satisfying sound you want to feature, record clean audio. The built-in microphone on a phone or camera picks up room echo and noise, so getting closer to the source or using a dedicated microphone makes a big difference. How to record good audio for video covers the essentials. If you plan to add background music, use royalty-free or properly licensed tracks so you do not run into copyright trouble when you post the video, especially on social platforms that check for it.
Edit and Deliver
Editing is where your clips become a story. Trim each shot to its strongest moment, arrange them so the video flows from an eye-catching opening to clear detail shots and a satisfying close, and keep the whole thing short. For social media, a tight clip that holds attention beats a long one that loses viewers. Add your licensed music at a level that supports the visuals without drowning any narration, and consider simple on-screen text for the product name or a key feature.
Keep colour consistent so the product’s true colour comes through, since buyers who receive something that looks different from the video will be disappointed. A light, honest edit builds trust. When you are happy, export at a resolution and format suited to where it will live, whether that is Instagram, a website, or a marketplace listing.
Shooting a product video in Singapore comes down to planning your shots, lighting the product softly, capturing steady and detailed footage with clean sound, and editing it into a short, honest story set to properly licensed music. Start with one product and one simple setup, practise the moves, and refine as you go. Before long you will have a repeatable routine that makes every item you sell look its best.
Frequently Asked Questions
Can I shoot a good product video with just a smartphone? Yes, a recent phone is enough for clean online product clips. Quality comes mostly from soft lighting, a tripod and a tidy background rather than the camera itself. Clean the lens and lock focus and exposure before each take.
How long should a product video be for social media? Keep it short enough to hold attention, with the strongest shot near the start. A tight clip showing the item, a few key details and a clear close usually works better than a long walkthrough. Check each platform’s current limits.
Do I need to pay for music in a product video? You need permission to use any track. Royalty-free libraries or properly licensed music are the safe options, and platforms may mute or remove videos with unlicensed songs. Read the licence terms to see whether commercial use is covered.
How do I stop reflections on glass or shiny products? Change the angle of the product or the light until the window or your own silhouette disappears from the surface. Large soft light sources, a black card to block unwanted reflections, and a little patience usually solve it.
What shots should I film for a small online shop’s product video? Start with a hero shot of the whole item, then close-ups of texture and finish, and a clip of it being used. A short written shot list keeps you from missing angles and having to reset the whole scene.
Further reading: How to Shoot Better XiaoHongShu Videos in Singapore · How to Shoot Vertical Video