
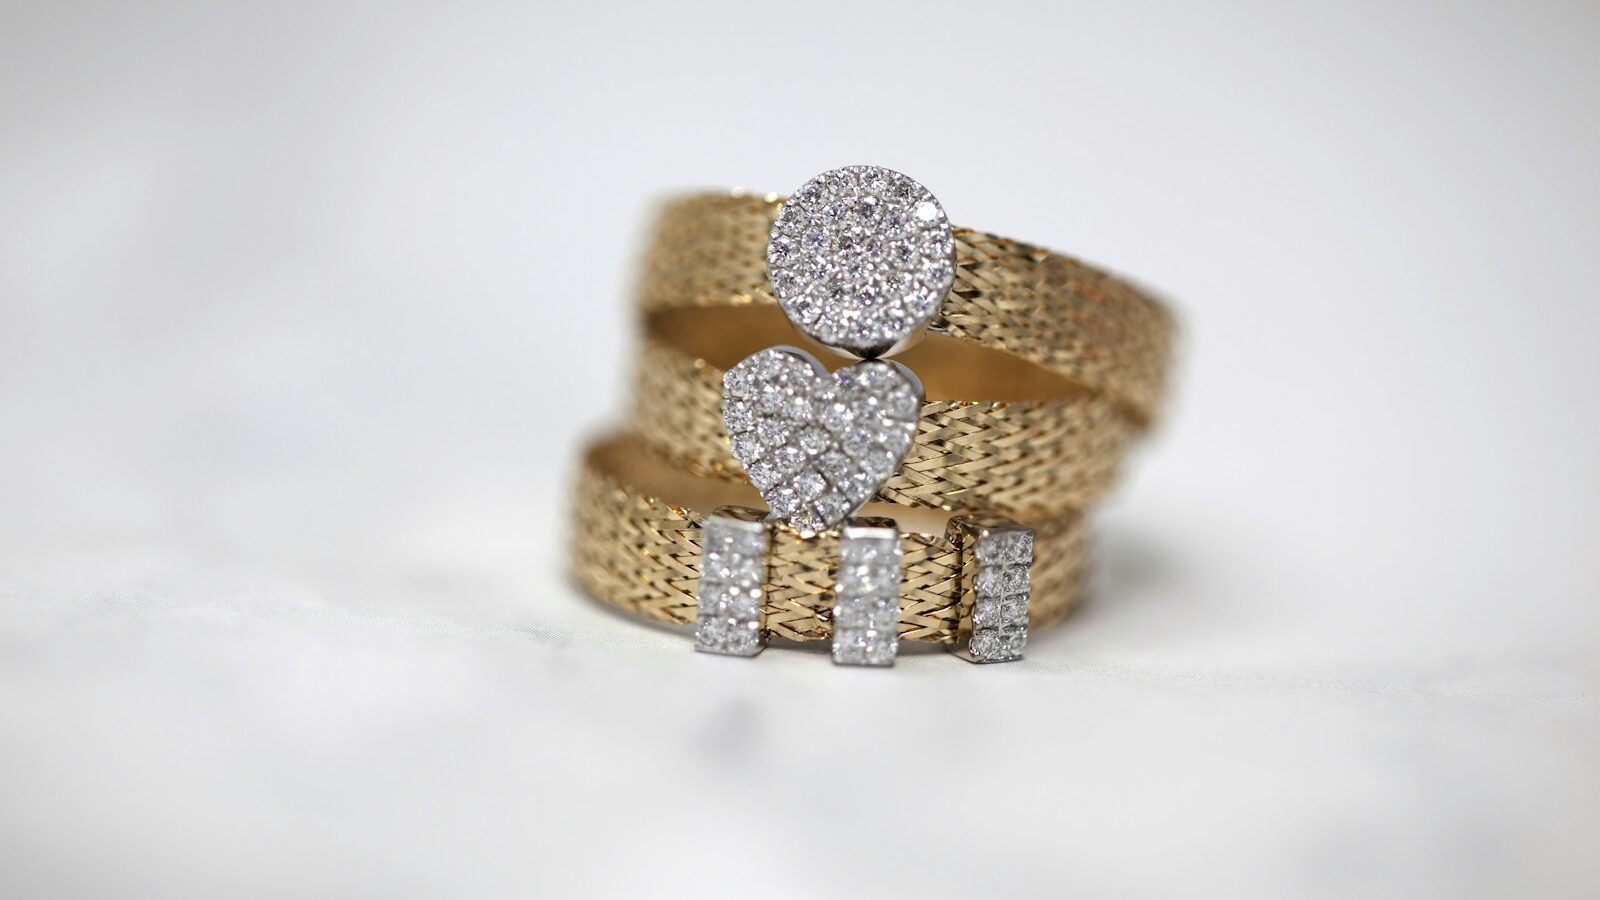
Jewellery is small, shiny, and unforgiving, which makes it one of the trickiest subjects for a beginner and one of the most satisfying to master. A ring that looks dull in a phone snap can sparkle and sell once you understand how light behaves on metal and gemstones. The good news is that jewellery photography in Singapore does not need a studio. A window, a tripod, and a little patience will get you remarkably far, whether you are selling handmade pieces or building a portfolio.
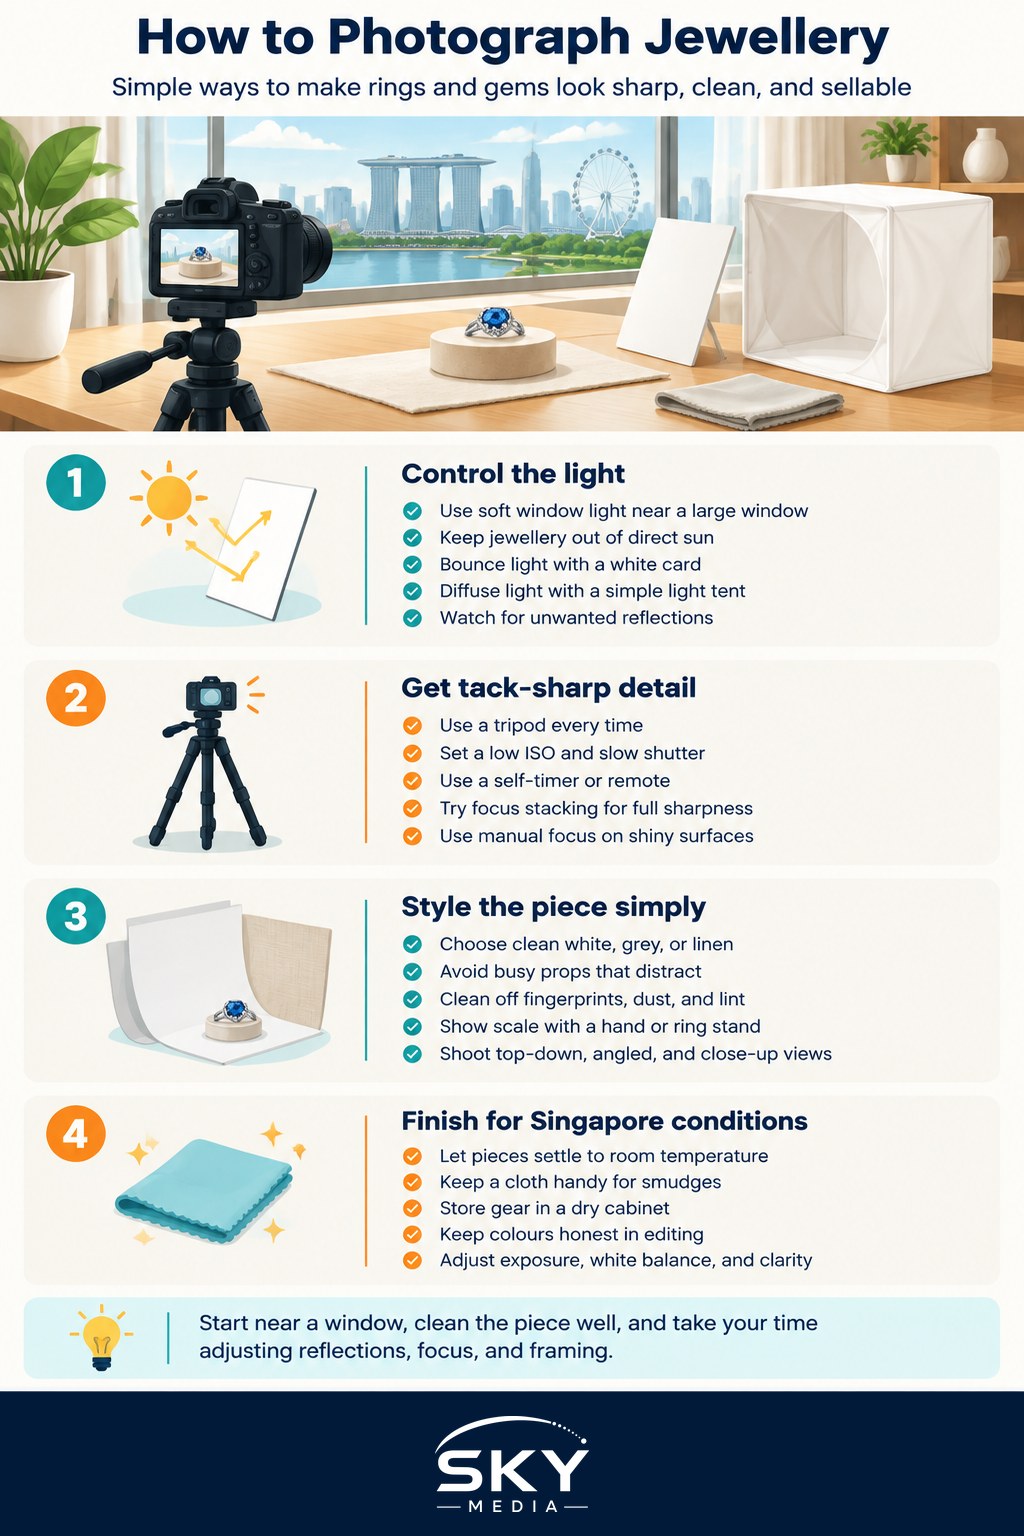
Control Your Light
Metal and gemstones are essentially mirrors, so photographing jewellery is really the art of controlling what those surfaces reflect. Harsh, direct light creates ugly hotspots and hides detail. Soft, wrapping light reveals shape and lets stones glow.
Soft window light is your best free tool. Place your piece near a large window but out of direct sun, then use a white card on the shadow side to bounce light back and even out the contrast. A simple homemade light tent, even a translucent plastic box or a sheet of baking paper over a frame, diffuses light beautifully and controls reflections. Our guide on how to use a reflector and diffuser explains the same principles you will lean on constantly here.
Watch the reflections carefully. Because polished surfaces mirror the room, you may see yourself, your camera, or a cluttered background staring back. Wear dark clothing, tidy your surroundings, and move your bounce cards around until the reflections read as clean, bright, and flattering. This fiddly dance is normal, so take your time.
Get Tack-Sharp Detail
Sharpness sells jewellery. Buyers want to see the setting, the facets, and the finish, so nothing should be soft by accident.
Start with a tripod, always. Even the steadiest hands introduce blur at the close distances and small apertures jewellery demands. With the camera locked down, you can use a low ISO and a slow shutter for the cleanest possible image. If your camera has a self-timer or you own a remote, use it so pressing the shutter does not nudge the frame.
The challenge with small subjects is depth of field. Up close, only a sliver of the piece stays in focus, so a ring band might be sharp while the stone goes soft. You have two options. Stop the aperture down for more depth, or, better still, shoot several frames focused at different points and blend them. This technique, called focus stacking, keeps the entire piece crisp from front to back. Our walkthrough on focus stacking for sharp shots shows exactly how, and it transforms jewellery work.
Manual focus is your friend at this scale, because autofocus often hunts on shiny, low-contrast surfaces. Zoom in on your screen, focus precisely on the detail that matters most, and shoot. If you want to understand the trade-offs behind sharpness and blur, our piece on controlling depth of field is worth a read.
Style and Present the Piece
Presentation turns a technical shot into a desirable one.
- Keep backgrounds simple. A clean white, soft grey, or a single texture like linen or slate lets the jewellery lead. Avoid busy props that fight for attention.
- Clean every piece before shooting. Fingerprints, dust, and lint are invisible to the eye but glaring on screen. A microfibre cloth and a blower are essential, and cleaning up in post is far slower than getting it right in camera.
- Show scale and context with a tasteful hand, a neck form, or a ring stand, so buyers understand size without you fabricating any claims about the item.
- Shoot several angles. A top-down flat lay, a three-quarter view, and a close macro of the detail give buyers the full picture.
Because jewellery photography overlaps so much with home product work, the setups you learn here transfer directly. Our guide to product photography at home covers backgrounds, tabletop lighting, and tidy styling that suit small goods perfectly.
A Note on Singapore Conditions and Finishing
Our humidity is the quiet enemy of shiny surfaces. Gemstones and polished metal fog and smudge quickly when you move between air-conditioning and a warmer room, so let everything settle to room temperature and keep a cloth handy. Store your camera and lenses in a dry cabinet, because fungus on a macro lens will ruin the fine detail that jewellery demands.
In editing, keep colours honest so buyers receive what they expect. Adjust exposure and white balance, remove stray dust spots, and gently boost clarity on the stones, but do not fake a sparkle that is not there. A small tweak to contrast makes facets pop naturally.
Jewellery rewards patience more than expensive kit. Set up near a window, kill the bad reflections, lock down your focus, and shoot slowly. Do a few practice rounds with a single ring and you will quickly see your images turn from flat to genuinely covetable. Keep at it, and the sparkle will follow.
Frequently Asked Questions
Can I photograph jewellery with just a smartphone? Yes, a phone can work if you control the light and keep it steady. Use soft window light, a tripod or stable support, and tap to focus on the key detail. Clean the piece and keep the background simple.
Why does my jewellery look dull or have harsh white spots? Polished metal and stones reflect whatever is around them, so harsh direct light causes hotspots and flat shots. Use soft, diffused light and bounce cards, and move them until the reflections look clean. Patience with placement matters more than gear.
What background colour works best for selling jewellery online? A clean white or soft grey is a safe choice because it keeps attention on the piece, while a single texture such as linen can add warmth. Avoid busy props. Keep the look consistent across your listings.
How can I show the size of a ring or necklace in photos? Use a ring stand, neck form or a tasteful hand shot so buyers can judge proportion. Do not make claims about the item that you cannot back up. Stating measurements in the listing text helps further.
How do I keep gemstones from fogging in humid weather? Let pieces and gear settle to room temperature when moving between air-conditioning and warmer rooms, and keep a microfibre cloth handy. Store camera and lenses in a dry cabinet to avoid fungus on macro glass.
Further reading: How to Photograph Glassware and Drinks