
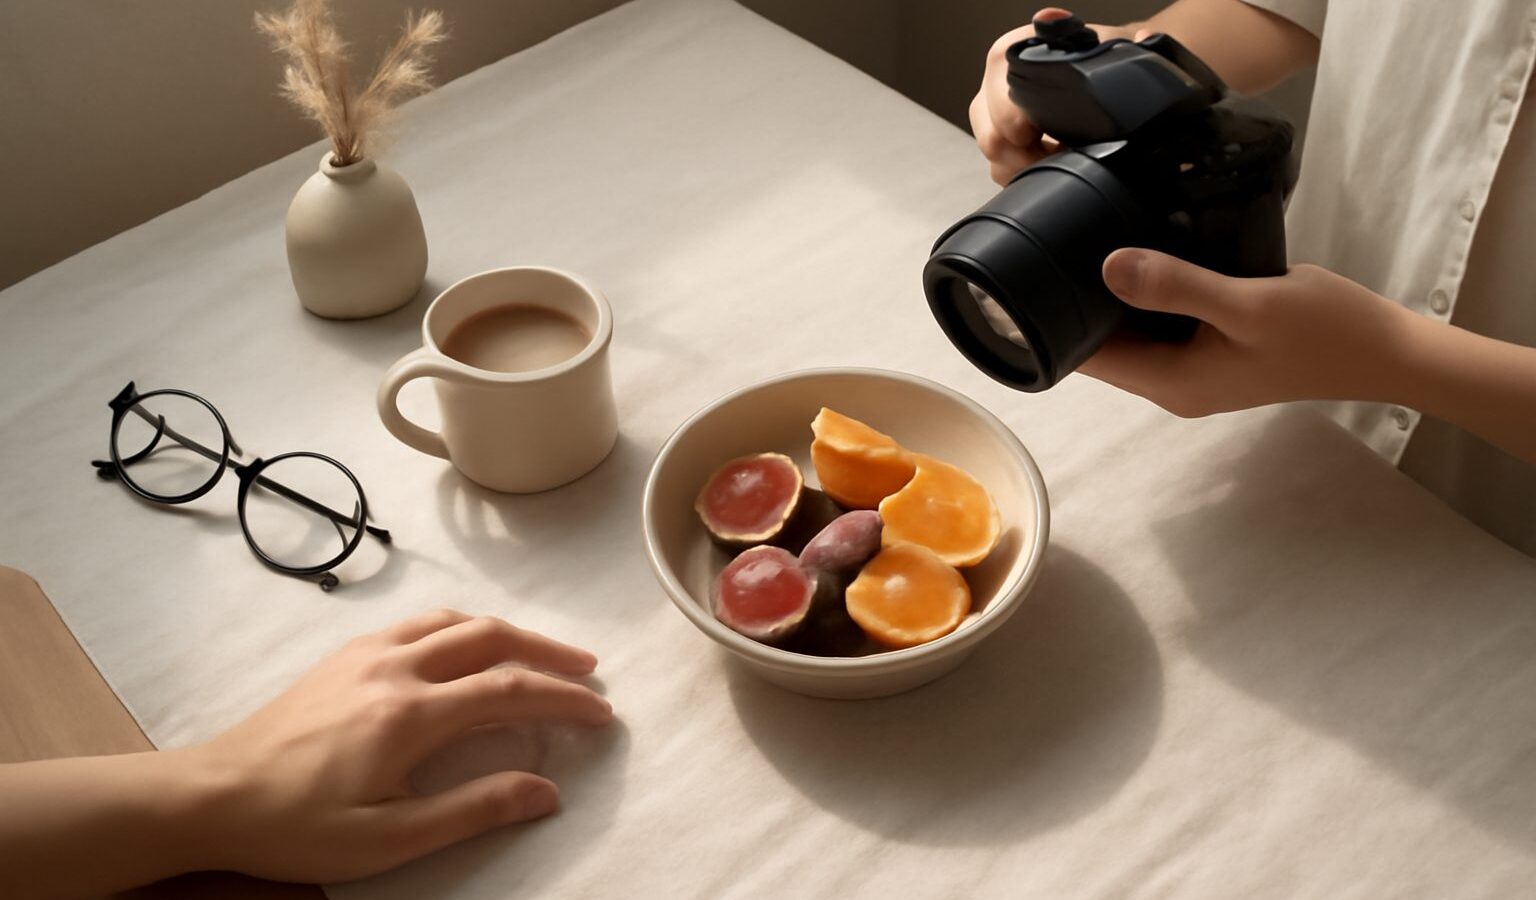
Flat-lay photography is the styled overhead shot you see all over Instagram and shopfronts: a coffee, a notebook and a pair of glasses arranged just so, viewed from directly above. It is one of the friendliest genres for beginners because your subjects hold still, you control everything, and a phone does the job beautifully. If you sell products, run a food page or just enjoy making tidy, satisfying images, this is a skill worth owning.
Here is how to build clean, composed flat-lays at home in a typical Singapore flat.
Get the camera truly overhead
The whole look depends on shooting straight down. Any tilt and the shot reads as a wonky table photo rather than a flat-lay. Getting the camera parallel to the surface is the one technical thing that matters most.
- Use your phone or camera’s built-in grid and level. Most phones show a floating crosshair that turns yellow when you are perfectly flat.
- Stand over the scene and shoot down, or better, use a tripod with a horizontal arm, or simply lay a sheet of clear acrylic across two stacks of books and shoot through it.
- Watch your own shadow. It is easy to lean over and darken the scene with your body, so position the light and yourself thoughtfully.
If the corners of your backdrop look like they are leaning in or out, you are not truly overhead. Adjust until the edges run straight.
Light it softly and evenly
Flat-lays love soft, even light with gentle shadows. As with most home work, a large window is your best source. Place your surface near it so the light rakes across from one side, giving your objects subtle shadows that add depth without drama.
Direct tropical sun through the window is too harsh and will blow out highlights, so diffuse it with a thin curtain or baking paper. To fill the shadows on the far side, prop a sheet of white card opposite the window to bounce light back.
Avoid your ceiling lights. Household bulbs are often warm and uneven, and mixing them with daylight throws off your colours. One clean, soft source keeps things simple and honest. On a dim monsoon afternoon, a single desk lamp bounced off white card can stand in for the window.
Choose a backdrop and stick to it
Your surface sets the mood. You do not need to buy anything expensive; look around the flat first.
- White or neutral card gives a clean, bright, catalogue feel and suits almost anything.
- Natural wood, a marble tile or a linen tea towel adds warmth and works well for food and lifestyle scenes.
- Textured paper, tiles or a plain painted board can be picked up cheaply and swapped to change the whole look.
Keep the backdrop clean and free of dust and crumbs, because from directly above the camera catches every speck. A neutral, low-contrast surface keeps attention on your objects rather than fighting them.
Compose with a hero and breathing room
Good flat-lays are designed, not dumped. Start by choosing a hero, the one object the shot is really about, such as the main dish or the product. Everything else supports it.
Then arrange with these ideas in mind:
- Use negative space, the empty area around your objects, to let the scene breathe and to leave room for text if it is going on social media.
- Work with odd numbers, as groups of three or five feel more natural than pairs.
- Vary the heights and sizes a little, and let a few items overlap so the arrangement feels relaxed rather than rigid.
- Lead the eye with lines. Cutlery, a pencil or a folded cloth can point gently toward your hero.
- Add a human touch. A hand reaching in, some scattered crumbs or steam makes a scene feel alive.
Shoot, then move one thing and shoot again. Flat-lays reward small adjustments, and comparing frames on the screen shows you what works.
A common beginner trap is cramming too much in. If a scene feels busy, take something out rather than adding more. Empty space is a design choice, not a gap to be filled. Another is fighting your colours: pick a simple palette of two or three tones that sit well together, perhaps warm woods with cream and a single pop of colour, and the whole frame feels considered rather than chaotic. Props from around the flat, a folded napkin, a sprig of leaves, a nice pen, cost nothing and can be swapped endlessly.
Think about where the shot will be used. A square crop suits Instagram, a tall vertical suits stories and phone screens, and a wide frame suits a blog header. Leave deliberate negative space on the side where text or a logo will sit, so the words have somewhere clean to go. Planning the crop before you shoot saves you from re-styling the whole scene later.
Style choices at a glance
Different goals call for different arrangements. Here is a quick comparison to guide your styling.
| Style | Backdrop | Arrangement | Best for |
|---|---|---|---|
| Clean minimal | White card | Few items, lots of negative space | Product listings, skincare |
| Warm lifestyle | Wood or linen | Layered, overlapping, cosy | Food, cafes, gifting |
| Bright and busy | Colour paper | Many items, filled frame | Stationery, crafts, sales |
| Editorial | Marble or textured | Asymmetric, one strong hero | Blogs, features, menus |
Finish clean and keep it real
A light edit ties a flat-lay together. Straighten it so the edges are square, brighten it a touch, and correct the white balance so whites look white rather than orange under our warm indoor light. Remove any stray dust with the spot tool. Your phone’s editor does all of this in a couple of minutes.
Keep colours honest, especially if you are photographing products. A styled flat-lay should still show a buyer roughly what they will receive, so avoid pushing colours so far that the real item looks different.
Build a repeatable habit
The secret to a consistent feed or shop is a repeatable setup. Once you find a window spot, a backdrop and an editing recipe you like, note them down and reuse them. Batch several flat-lays in one session while everything is arranged, and your images will look like a matching set rather than a random collection.
Explore more: the lighting here carries straight over to product photography at home, the same overhead discipline helps with real estate and interior photography when shooting details, and to speed up your cleanup and backgrounds, try using AI photo editing tools.