
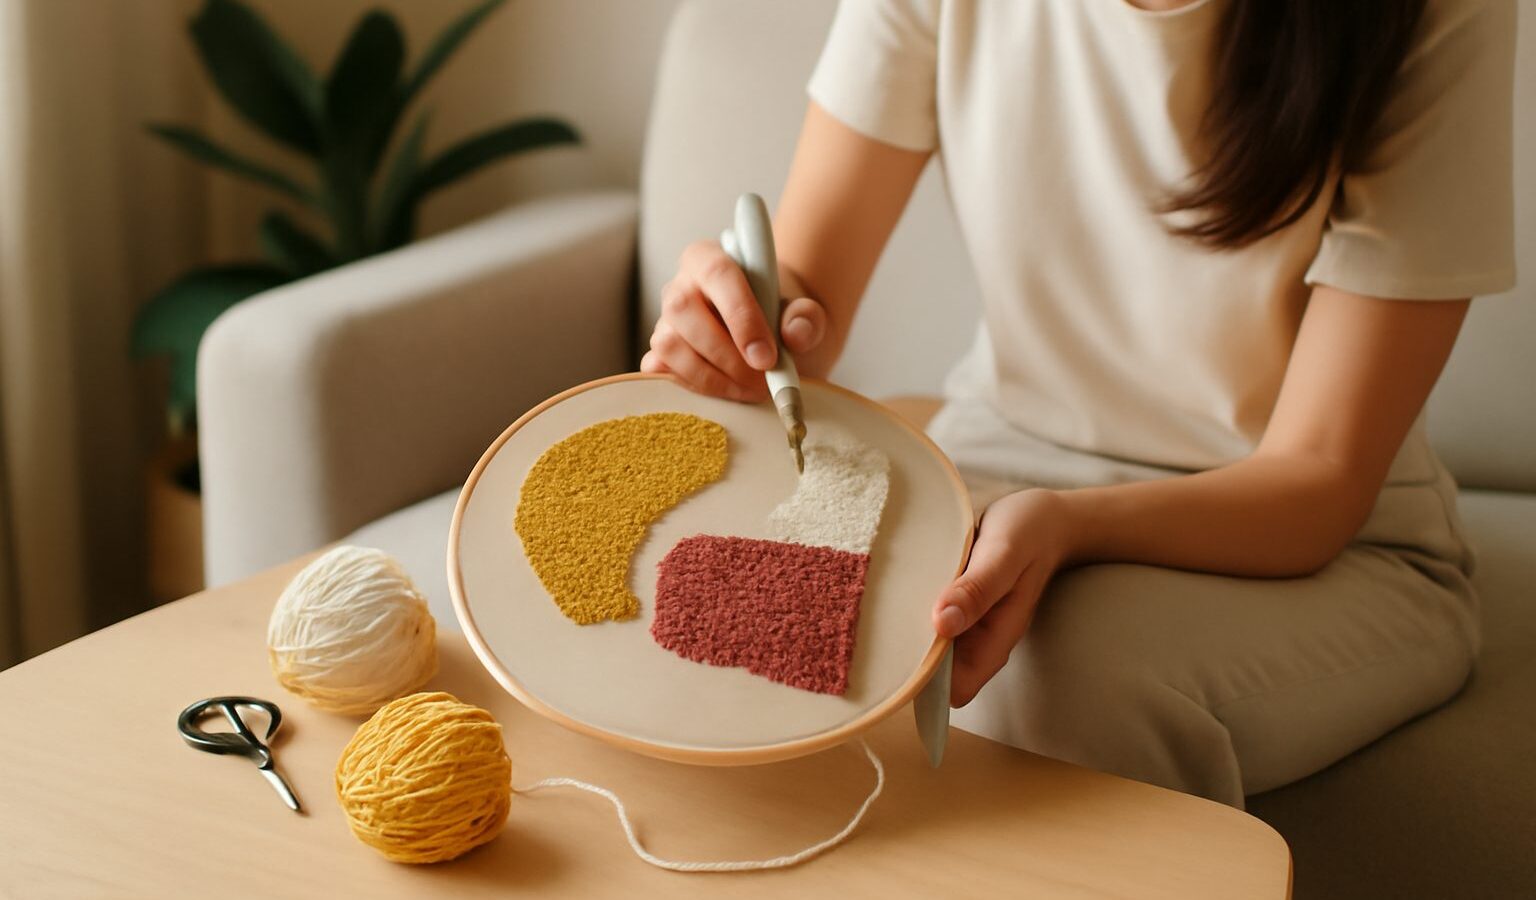
There is something wonderfully satisfying about punch needle. You hold a simple tool, poke it through a stretched piece of fabric again and again, and slowly a soft, loopy picture appears in front of you. It is rhythmic, forgiving, and quiet, which makes it one of the friendliest crafts to pick up when you want to make something cosy with your hands. If you have ever admired a fluffy little coaster, a textured wall hanging, or a plush cushion and wondered how it was made, chances are punch needle was involved.
The best part is how gentle the learning curve is. You do not need years of practice, expensive kit, or a spare room. Punch needle suits a small HDB flat beautifully, it makes almost no noise, and you can pack it all into a shoebox when you are done. This guide walks you through what punch needle is, the few tools you need to start, how to make your very first project, the mistakes most beginners hit, and how to grow once you are hooked.
What Punch Needle Actually Is
Punch needle is a form of textile art where you push a hollow needle threaded with yarn through a loosely woven fabric. Each time you punch, the tool leaves a small loop of yarn on the other side. Repeat this across a shape and you build up a dense, carpet-like surface of loops. Flip the work over and you get a flatter, stitched look, so a single piece has two very different faces to play with.
Unlike traditional embroidery, you are not making tidy individual stitches or knots. You are working quickly and loosely, letting the loops sit close together to hold each other in place. This is why beginners often fall for it so fast. Progress is fast and visible, and a small design can come together in an afternoon rather than over many patient weeks.
People use punch needle to make coasters, cushion fronts, small rugs, wall hangings, brooches, and decorative patches. Because the loops are soft and springy, the finished pieces feel lovely to touch, which adds to the appeal.
The Tools You Need to Start
One of the joys of punch needle is how short the shopping list is. You can find everything at a craft shop, a general art-supply store, or an online marketplace, and you will not need to spend a lot to get going.
Here is what a beginner setup looks like:
- A punch needle tool. Adjustable ones let you change the loop length, which is handy as you improve, but a fixed medium size is perfectly fine to learn on.
- Foundation fabric. Monk’s cloth is the classic choice because its even weave grips the loops and lets the needle pass through easily. Some kits include it.
- A hoop or frame. The fabric must be pulled drum-tight, so a sturdy gripper frame or a strong embroidery hoop is essential. Tight fabric is the single biggest factor in neat results.
- Yarn. Match the yarn weight to your needle size. A smooth worsted or medium yarn is easiest to begin with, and you can build a small palette of a few colours.
- Scissors and a fabric marker. For trimming ends and drawing your design onto the fabric.
A simple starter kit that bundles the needle, cloth, and a hoop is a sensible first buy, since everything is sized to work together. Once you know you enjoy it, you can add colours and a better frame.
Choosing Your First Materials
Beginners often feel stuck choosing between a ready-made kit and buying pieces separately. Both work well, so it comes down to how much decision-making you want to do on day one. The comparison below should help you pick.
| Choice | Best for | Cost feel | Trade-off |
|---|---|---|---|
| All-in-one starter kit | Total beginners who want a guaranteed match | Low to moderate | Less choice of colours and design |
| Buying pieces separately | People who like to customise from the start | Varies | You must match needle, yarn, and fabric yourself |
| Reusing scrap yarn plus a basic hoop | The most budget-conscious first try | Very low | Fabric may not grip loops as neatly |
If you are unsure, a kit removes the guesswork and gets you punching sooner. The important thing is simply to begin, because you learn far more from one finished coaster than from weeks of comparing options.
Making Your First Project
Start small. A coaster or a simple shape, like a heart or a leaf, is the perfect first project because it forgives wobbles and finishes quickly.
Begin by drawing your design on the back of the foundation fabric, then stretch the fabric drum-tight in your hoop or frame. Thread the needle following its instructions, since threading varies by tool. Hold the needle upright, like a pencil, with the open bevel of the tip facing the direction you are punching.
Punch straight down until the tool stops, then lift it back up just to the surface, slide it a short distance along, and punch again. Do not lift the needle high off the fabric between punches, or you will pull out the loop you just made. Work in outlines first, then fill the shape in rows. Keep your punches close together so the loops support one another.
When you finish an area, snip the yarn close to the fabric and carry on. At the end, a thin layer of fabric glue on the back can lock everything in place before you trim the piece and mount or frame it. Work in a ventilated spot when using glue, and keep the sharp needle and any small parts away from young children.
Common Beginner Mistakes and Easy Fixes
Almost everyone makes the same few slips at the start, and every one of them is easy to sort out.
- Loops pulling out. Usually the fabric is not tight enough, or you are lifting the needle too high. Re-stretch the cloth and keep the tip skimming the surface.
- Uneven loops. Try to punch to the same depth each time and keep a steady, calm rhythm. Consistency comes quickly with practice.
- Gaps showing through. Punch your rows closer together. When in doubt, add more loops rather than fewer.
- Yarn too thin or thick for the needle. If the yarn slides out or jams, it is the wrong weight for your tool. Match them and the whole thing feels effortless.
- Loose ends on the front. Always start and finish with the tail on the loopy side, then trim it flush.
Singapore’s humidity can leave yarn and fabric feeling slightly damp, which is harmless but worth noting. Store your materials in a sealed box or bag, and let finished pieces air fully before framing so no moisture is trapped.
How to Improve and Go Further
Once your first few pieces are done, growing is mostly about playing. Try varying your loop length to create texture, mixing a shaggy area against a flat one, or blending two shades of yarn in the same needle for a soft, painterly effect. You can also experiment with the flat reverse side as your finished face for a smoother, more graphic look.
From there, scale up. A cushion front, a small rug, or a larger wall hanging uses exactly the same skills, just more of them. Keep a little sketchbook of colour ideas and simple shapes, and photograph pieces you love for inspiration. If friends start asking for your work and you think about selling, treat it as general information rather than business advice, and check current rules with the relevant authorities such as ACRA before setting anything up.
Above all, keep it light and low-pressure. Punch needle rewards curiosity far more than perfection, and every wobbly early coaster is part of how your hands learn.
Explore more
If you have caught the textile bug, there is plenty more to try. Have a look at our guide to weaving on a frame loom for another cosy, meditative craft, or explore rug tufting as a hobby if you love that plush, loopy texture on a bigger scale. For something with a different rhythm, needle felting is a lovely companion hobby to keep your hands busy.