
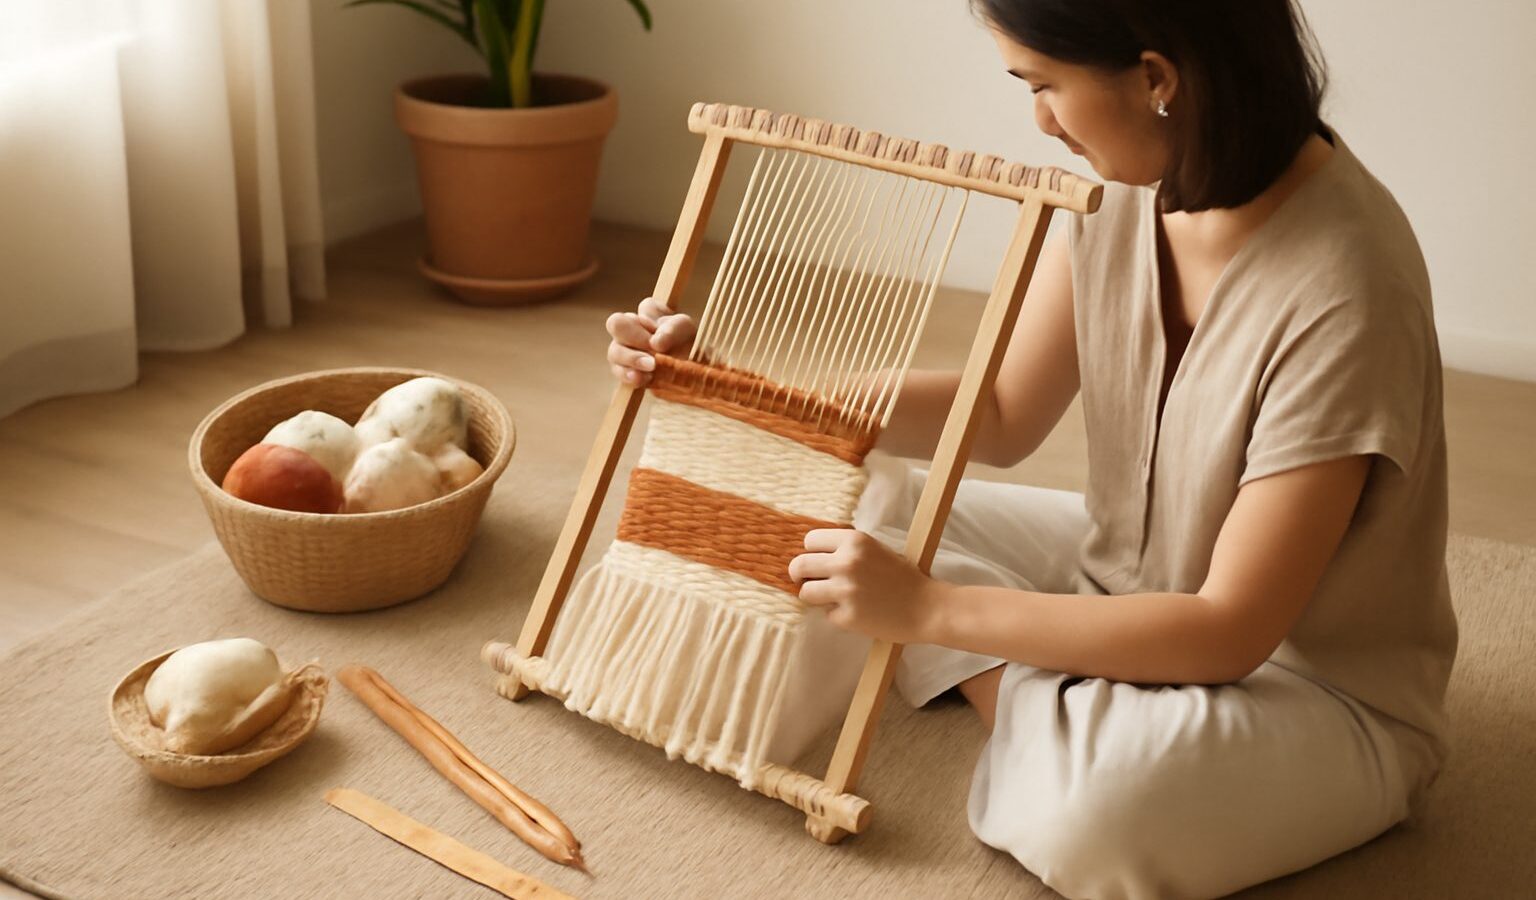
There is a quiet, old-fashioned pleasure in weaving. You stretch a set of threads across a simple wooden frame, then patiently pass yarn over and under, row by row, until a piece of cloth grows before your eyes. Frame loom weaving is one of the most approachable ways into this ancient craft. It is calm, tactile, and needs almost nothing to begin, which makes it a perfect low-pressure hobby for anyone curious about making textiles by hand.
You do not need a room-sized floor loom or any prior experience. A frame loom is small enough to weave with on your lap or at the kitchen table, and you can lean it against a wall between sessions. That makes it ideal for a compact HDB flat. This guide explains what frame loom weaving is, the handful of tools you need, how to set up and make your first weave, the mistakes beginners tend to make, and how to keep growing once the bug bites.
What Frame Loom Weaving Is
A loom is simply a frame that holds threads under tension so you can interlace more yarn through them. On a frame loom, you wind a set of vertical threads, called the warp, tightly up and down the frame. Then you weave a second yarn, the weft, horizontally through the warp, going over one thread and under the next. Pack each row down snugly against the last, and gradually a solid fabric forms.
This over-and-under logic is the whole heart of weaving, and it is genuinely easy to grasp. What keeps it interesting is everything you can do within those simple rules. By changing colours, textures, and a few basic techniques, you can make tapestries, wall hangings, coasters, and small bags full of pattern.
Frame loom weaving is often called tapestry weaving when the focus is on making pictures and shapes with the weft. For a beginner, the appeal is that results appear quickly and every row teaches you something new.
The Tools You Need to Start
Weaving has a reputation for being equipment-heavy, but a frame loom setup is refreshingly simple and cheap. You can gather everything from a craft shop, a hardware store, or an online marketplace, and much of it you may already own.
A basic beginner kit looks like this:
- A frame loom. You can buy a small one, or make your own from a sturdy picture frame or a few lengths of timber. Any rigid rectangle that holds tension works.
- Warp thread. A strong, non-stretchy cotton is ideal, because the warp takes all the tension and must not sag.
- Weft yarn. This is where you have fun. Any yarn works, from smooth cotton to chunky wool to soft roving, and mixing textures looks wonderful.
- A shuttle or a strip of card. To carry the weft yarn back and forth. A cut piece of cardboard does the job perfectly at first.
- A comb or fork. For packing each row down firmly. An ordinary kitchen fork is a classic beginner tool.
- A tapestry needle and scissors. For finishing ends and weaving in details.
If you would rather not gather pieces one by one, a small all-in-one weaving kit bundles a loom, warp, and a starter selection of yarn, sized to work together. Whichever route you choose, start small and cheap, because a coaster-sized weave teaches you just as much as a large one.
Setting Up Your Loom
Before you weave a single row, you need to warp the loom, which simply means winding the vertical threads. Tie your warp thread to the top of the frame, then wind it down and around the bottom and back up, keeping even spacing and steady, firm tension all the way across. Even spacing here is what gives you neat, straight edges later, so take your time.
Tension matters more than anything else at this stage. If the warp is loose, your weaving will be floppy and uneven. If it is drum-tight and consistent, everything that follows becomes easier. Run your fingers across the warp when you finish. It should feel like a taut set of strings with no obvious slack.
Once warped, weave a few rows of scrap yarn at the very bottom to create a firm base to build on. Now you are ready for the real thing.
Making Your First Weave
Start with a simple flat weave in one or two colours. Load your shuttle or card with weft yarn, then pass it over the first warp thread, under the next, over the following, and so on to the far edge. On the way back, do the opposite, going under where you went over. This alternation is what locks the fabric together.
Leave the weft slightly loose in a gentle arch before packing it down, rather than pulling it tight straight across. Pulling too hard drags your edges inward and creates an hourglass shape, which is the single most common beginner frustration. After each row, comb or press it down snugly against the previous one.
The comparison below shows the two mistakes that shape how your first weave turns out.
| Approach | What it does to your edges | Result | Fix |
|---|---|---|---|
| Pulling the weft tight across | Drags the warp inward | Narrow, pinched hourglass shape | Leave a loose arch, then pack down |
| Leaving the weft too loose | Loops poke out at the sides | Untidy, baggy edges | Snug the yarn gently at each turn |
| Even arch, firm packing | Keeps the warp straight | Clean, even-width fabric | This is the goal |
Once you have a few centimetres of even weaving, you can try adding a second colour, a stripe, or a simple raised area. When the piece is done, cut it off the loom, tie off the warp ends, and weave the loose tails back in with your needle to secure them.
Common Beginner Mistakes
Every new weaver runs into the same small hurdles, and none of them should put you off.
- Pinched, narrowing edges. Almost always from pulling the weft too tight. Relax your hands and use the loose-arch method.
- Uneven warp spacing. Rushing the warping stage shows up in wonky edges. Space the threads evenly and check the tension before you start.
- Loose, floppy fabric. Pack each row down harder with your comb or fork. Weaving should feel firm and dense.
- Warp thread snapping. Usually a warp yarn that is too weak or wound too tight. Use a strong cotton and ease off the tension a touch.
- Running out of a colour mid-row. Simply overlap the old and new yarn for a couple of threads and carry on. The join hides itself.
Singapore’s humidity can make natural yarns feel slightly damp and sticky, which is harmless. Store your yarn in a sealed box or bag, and let a finished weave air fully before you hang or frame it so no moisture is trapped behind it.
How to Improve and Go Further
Once you can make an even flat weave, a whole world of texture opens up. Try adding rya knots for a shaggy fringe, soumak for a braided, ropey line, or areas of raised loops for a plush surface. Blending yarn weights and colours within one piece is where weaving starts to feel like painting with fibre.
From there you can scale up to larger wall hangings, weave shaped tapestries with curves and blocks of colour, or explore a small rigid heddle loom if you want to make longer lengths of cloth. Keep a notebook of colour combinations and stitches you enjoy, and photograph pieces that inspire you. If people start asking to buy your weaving and you consider selling, treat this as general information rather than business advice, and check current requirements with the relevant authorities such as ACRA before you begin.
Most of all, enjoy the slowness. Frame loom weaving is meant to be unhurried, and every uneven early piece quietly teaches your hands the rhythm.
Explore more
If frame loom weaving has drawn you in, there are plenty of cosy fibre crafts to try next. Our guide to punch needle for beginners offers another loopy, tactile way to make wall art, while rug tufting as a hobby scales that plush texture up to floor size. For a gentle, portable option, macrame uses knots rather than a loom to create beautiful hangings.