
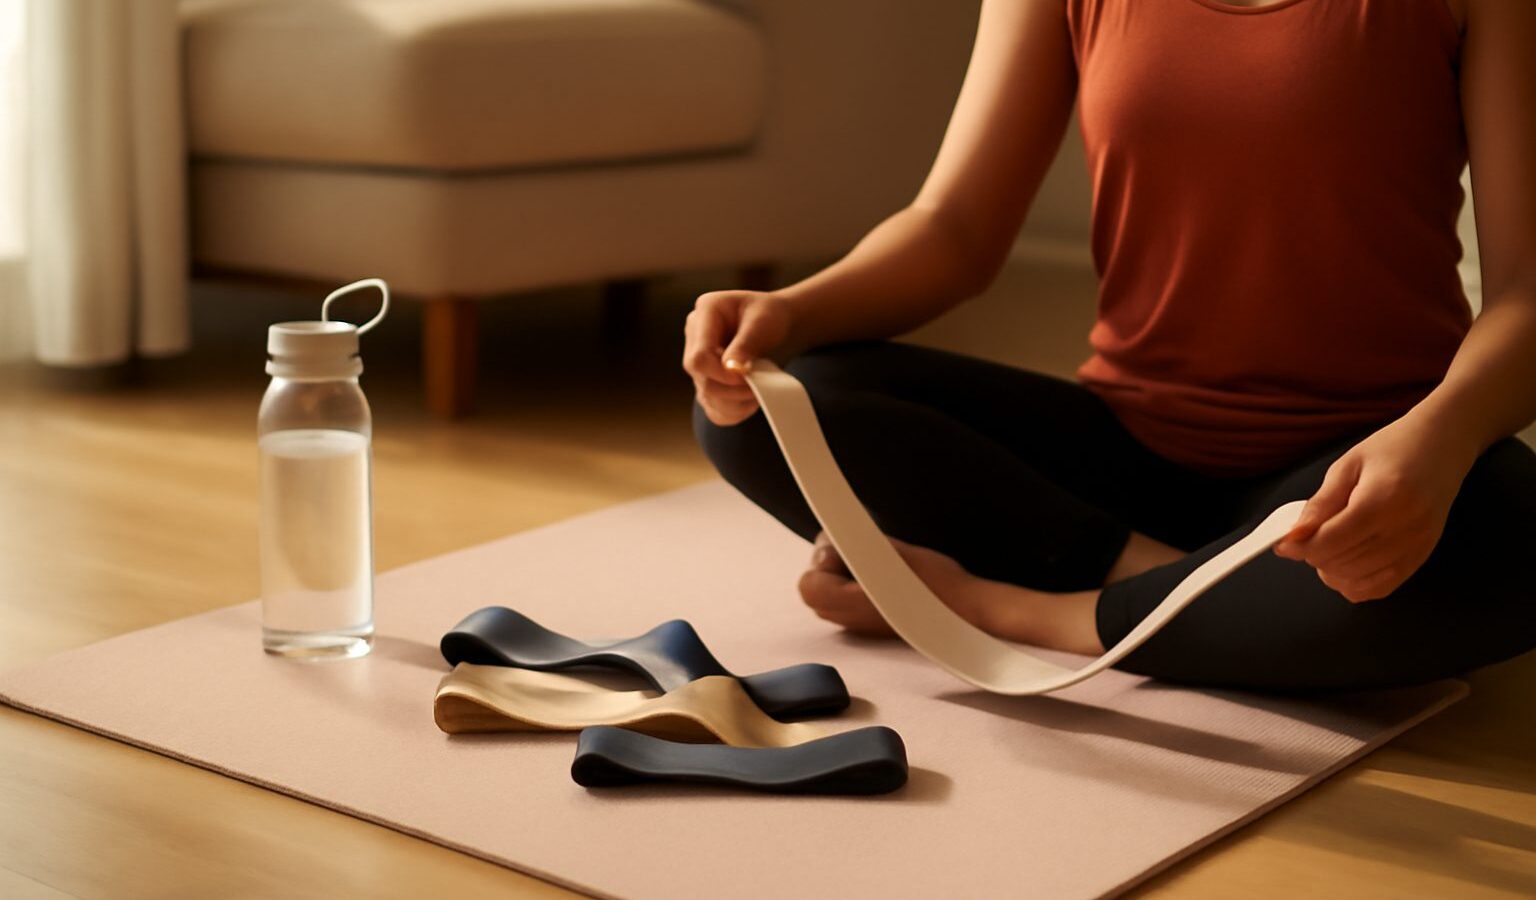
Resistance band workouts are one of the friendliest ways to build strength in Singapore. Bands are cheap, light, and quiet, which makes them ideal for a small HDB flat where you cannot drop weights or wake the neighbours. They pack flat into a drawer, travel easily, and scale from a first-timer rebuilding confidence to a regular chasing extra volume. If you have never trained before, or you are returning after a long break, bands let you learn good movement patterns before you ever touch a heavy barbell.
This guide explains how bands work, how to choose them, and how to train safely from beginner to more advanced. As with any new exercise programme, check with your doctor first if you are older, sedentary, pregnant, or living with a heart condition, high blood pressure, diabetes, or any injury or chronic condition.
How Resistance Bands Actually Work
A band creates resistance by stretching. The further you pull it, the harder it pushes back, so the load is lightest at the start of a movement and heaviest near the end. This is different from a dumbbell, where gravity keeps the load fairly constant. That rising tension is gentle on the joints at the bottom of a rep and demanding at the top, which is why bands feel kind to sore wrists, shoulders, and knees while still challenging the muscle.
Because the tension is smooth rather than jerky, bands also reward control. You cannot use momentum to swing the load up the way you might with a weight, so your muscles stay under tension for longer. That constant tension is a large part of why a light-looking band can leave you pleasantly sore the next day.
There are a few common types worth knowing:
- Loop bands (mini bands): short closed loops, usually worn around the thighs or ankles for glute and hip work.
- Long loop bands (pull-up bands): big closed loops for assisted pull-ups, presses, and full-body moves.
- Tube bands with handles: a length of tubing with grips at each end, good for rows, presses, and curls.
- Flat therapy bands: thin open sheets often used for rehab and shoulder work.
Choosing the Right Bands for Your Level
Bands are usually sold by colour-coded strength, but the colours are not standardised across brands, so read the stated resistance rather than trusting the colour. The most useful thing you can do is buy a set that spans light to heavy. Different muscles are far stronger than others, so the band that suits your glutes will be far too light for your back, and the one that challenges your chest may be impossible for your shoulders.
Buy from a reputable seller and check the band for nicks or thinning before each session, as a snapping band under tension can hurt. Store them out of direct sun, since heat and UV degrade rubber over time, and Singapore has plenty of both.
Here is a rough guide to matching band strength to movement and experience:
| Band strength | Best for | Suits |
|---|---|---|
| Light | Shoulders, face pulls, warm-ups, rehab | Beginners, older adults, returners |
| Medium | Rows, curls, presses, banded squats | Most people, most upper-body work |
| Heavy | Deadlifts, assisted pull-ups, glute work | Stronger legs and back, regulars |
| Extra heavy | Heavy pulls, added resistance to lifts | Advanced training, larger muscle groups |
If you are only buying one to start, a medium band covers the widest range of exercises. Add a light and a heavy as you learn which muscles need more or less.
A Simple Full-Body Session You Can Do at Home
Warm up first with a few minutes of easy movement to raise your heart rate and loosen your joints. If you want a fuller routine, our guide to warming up and cooling down properly walks through it. Then work through the moves below, resting about a minute between sets.
- Banded squats: stand on the band, hold the ends at your shoulders, and squat with a neutral spine and knees tracking over your toes. Aim for 8 to 12 controlled reps.
- Bent-over rows: stand on the band, hinge forward slightly, and pull the ends towards your ribs, squeezing the shoulder blades.
- Chest press: anchor the band behind you at chest height, and press forward until your arms are straight.
- Overhead press: stand on the band and press the ends overhead without arching your lower back.
- Glute bridges with a mini band: lie on your back, band above the knees, and drive your hips up while pushing the knees gently out.
- Pallof press: anchor the band to your side, hold it at your chest, and press straight out to resist rotation. This trains the core hard.
Do 2 to 3 rounds. Move slowly, breathe out on the effort, and stop any exercise that causes sharp or pinching pain. Soreness that builds over a day or two is normal; a sudden sharp pain is not, and it is your signal to stop.
Progressing Without Buying Heavier Weights
The honest limitation of bands is that they can feel too easy once you get stronger, but there are several ways to keep them challenging before you graduate to dumbbells or the gym.
- Shorten the band: stand wider or grip further down to start with more tension.
- Slow the tempo: take three to four seconds to lower each rep, which greatly increases the work.
- Add reps and sets: more total volume drives progress, a principle we explain in progressive overload explained.
- Stack bands: loop two together for more resistance.
- Pause at the hardest point: hold for a second where the band is most stretched.
Many people combine bands with other tools rather than choosing one. If you want to add load, our dumbbell-only workouts at home and kettlebell training for beginners guides pair naturally with band work, and bands make an excellent warm-up before heavier lifts.
Training Smart in Singapore’s Climate
Bands let you train indoors with a fan on, which is a real advantage given the heat and humidity. If you do take them to a void deck, a park connector, or an ActiveSG fitness corner, train in the cooler morning or evening hours, keep water nearby, and watch for heat exhaustion signs such as dizziness, nausea, a pounding heart, or feeling faint. Stop and cool down if any of these appear.
Bands are a tool, not a magic fix. Consistency matters far more than the equipment, so aim for two to three sessions a week and build the habit. If you have a specific injury, a recent surgery, or ongoing pain, see a doctor or physiotherapist before loading the affected area, and consider a session with a qualified trainer to check your form. Used sensibly, resistance band workouts can carry a complete beginner a long way, and keep giving back to seasoned lifters too.