
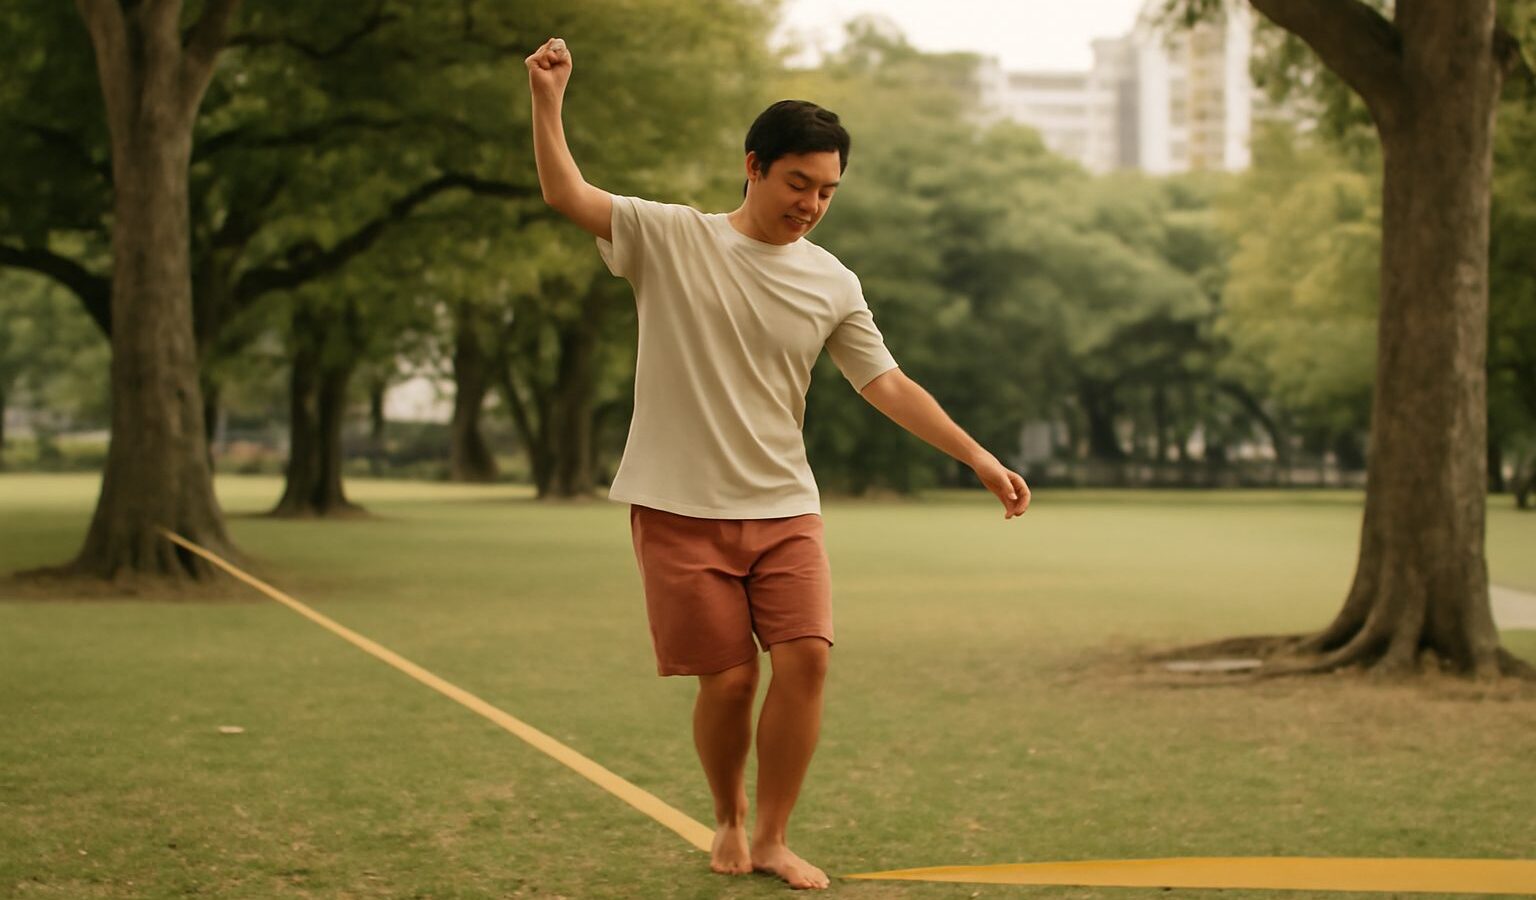
If you have ever wandered through a park and spotted someone balancing along a flat webbing strung between two trees, you have seen slacklining in action. Slacklining in Singapore is a wonderfully accessible hobby that builds balance, focus, and core strength, and it needs very little kit to get started. Unlike a tightrope, the line has a bit of give, so it bounces and sways as you move. That springy, wobbly quality is exactly what makes it fun, and it is why learning to stand and take a few steps feels like such a satisfying win. This guide walks you through what it is, what you need, and how to begin safely without harming the trees or yourself.
What Slacklining Is and Why People Love It
At its simplest, slacklining is walking or balancing on a length of webbing anchored between two fixed points and tensioned so it sits a short distance off the ground. Beginners use a wide, flat webbing, usually around 50mm, because it is far more forgiving under your feet than a narrow line. The whole appeal is that it demands your complete attention. You cannot think about your inbox while you are trying to stay upright, so many people find it genuinely meditative, a bit like a moving form of mindfulness.
The physical benefits stack up quickly too. Slacklining works the small stabilising muscles in your ankles, hips, and core that ordinary gym routines often miss. It sharpens proprioception, which is your body’s sense of where it is in space, and that carries over to running, climbing, and general steadiness. Because progress is so visible, from your first shaky second on the line to your first full walk across, it stays motivating. It also suits our climate reasonably well, since you can practise in the cooler early morning or late afternoon and pack the whole set up into a small bag afterwards.
The Gear You Need to Start
The good news for anyone in a compact HDB household is that a slackline kit stores in almost no space. A beginner set typically includes the webbing, a ratchet for tensioning, and tree protection sleeves. That last item is not optional. Look for a kit sold specifically for beginners with a longer, wider line, as short lines are actually harder to balance on, not easier.
Here is a sensible starter list:
- A beginner slackline kit with a ratchet and wide webbing
- Tree protection pads or sleeves to wrap around each anchor point
- Comfortable clothing you can move freely in
- Optional: a second, taller line or a friend’s shoulder to hold as you learn
You do not need special shoes. Many people slackline barefoot because it helps you feel the line and grip with your toes, though trainers are fine while you build confidence. Resist the urge to buy anything advanced early on. A basic kit will serve you for a long time, and you can always upgrade once you know you enjoy it.
Setting Up Safely and Protecting the Trees
Safety and tree care go hand in hand, so please take this section seriously. Choose two healthy, sturdy, living trees with trunks thick enough to take the load, and always wrap tree protection around the bark before you attach anything. Bare webbing under tension can strip and damage bark, which harms the tree and is exactly the kind of thing that gets slacklining banned from a park. Never anchor to young saplings, ornamental plants, or park structures.
Set the line low. For your first sessions, keep it around knee height or lower, so that if you step off, which you will do constantly, you simply hop down onto flat, clear ground. Check the area beneath and around the line for roots, rocks, and hard edges. Having a friend act as a spotter, standing beside you to offer a shoulder or steady hand, makes the early wobbles far less intimidating and much safer.
Just as important, follow the local rules. Singapore’s parks are managed spaces, so check whether slacklining is permitted at your chosen spot and respect any guidance from NParks or park signage before you rig up. When in doubt, ask. Being a considerate slackliner keeps these green spaces open to everyone.
How to Take Your First Steps
Everyone starts by falling off, so make peace with that early. Begin by simply mounting the line with one foot, pressing down, and trying to stand on that single leg while looking at a fixed point ahead of you rather than down at your feet. Keep your gaze steady on something at eye level, bend your standing knee slightly, and raise your arms up high like a puppet on strings. Those raised arms are your balancing poles.
Once you can hold one foot for a few seconds, bring the second foot up and try to find a still, balanced stance. From there, tiny shuffling steps come next. Progress is measured in seconds and inches at first, and that is completely normal. Practise little and often rather than in long, frustrating marathons.
If you enjoy the balance and focus side of things, you might also like the concentration in flow arts and poi or the steady hand needed for juggling and circus skills. And if you are still weighing up options, our guide on how to find a new hobby in Singapore is a friendly place to start.
Slacklining rewards patience and a bit of humour about your own wobbles. Set your line low, protect the trees, keep a spotter nearby, and give yourself permission to fall a hundred times. Before long you will string those seconds together into steps, and few hobbies offer such a clear, joyful sense of progress.