
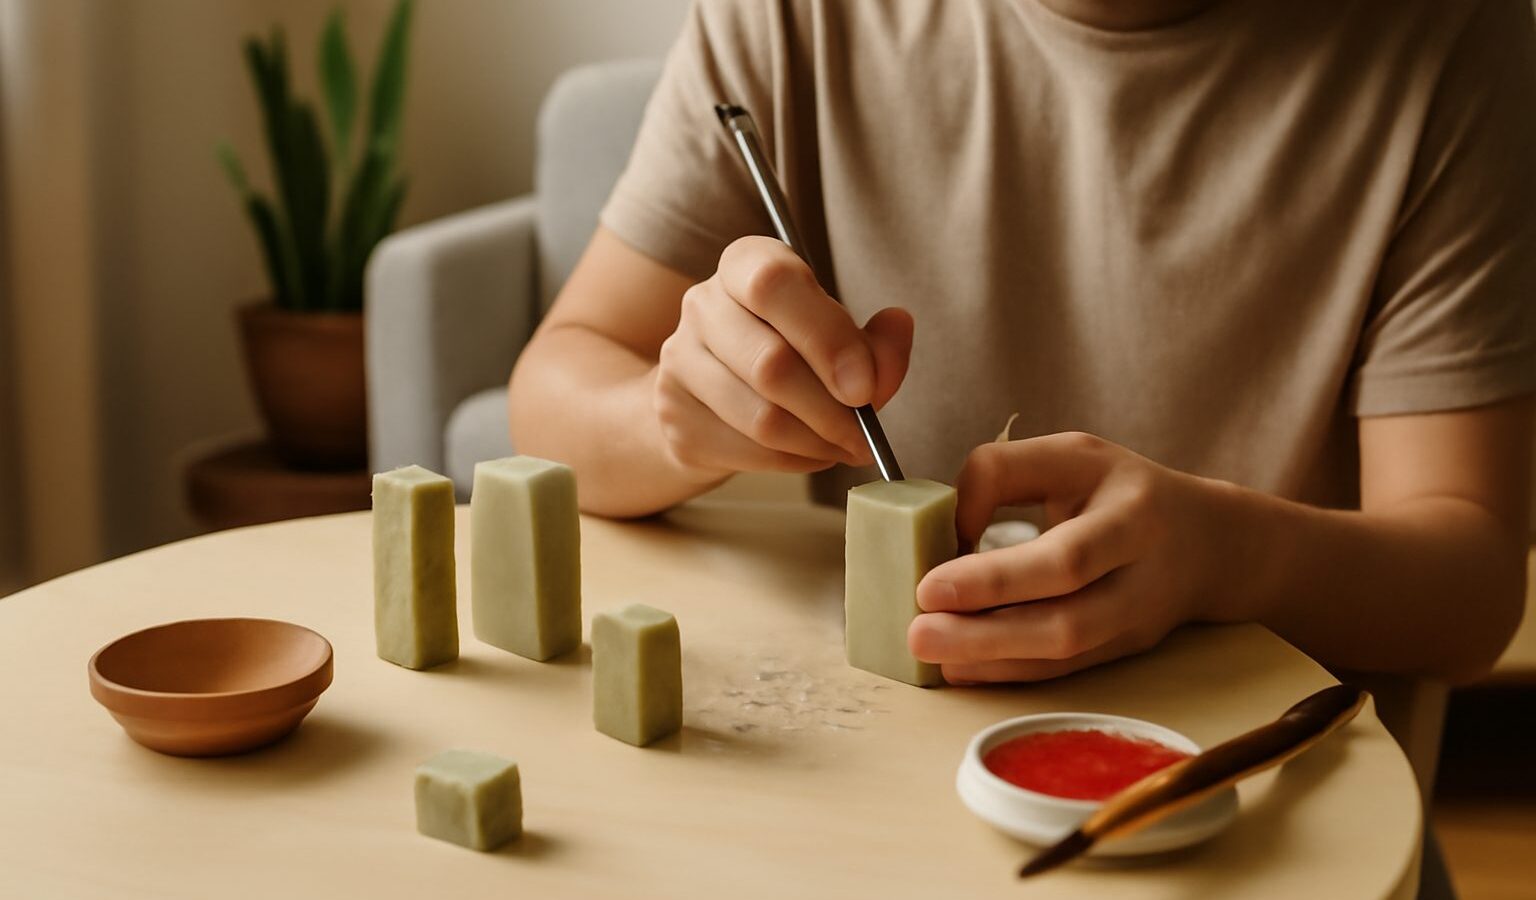
Seal carving is one of the quietest, most absorbing crafts you can take up. You hold a small block of stone in one hand, a carving knife in the other, and slowly cut a name, a character or a tiny picture into the end. When you press it into red paste and stamp it onto paper, the result is entirely yours. For anyone exploring seal carving in Singapore, the good news is that you can start at home with a soft stone, a few tools and a desk.
This guide is for complete beginners. It focuses on safe tools, choosing stones and simple first projects. If you want the history and cultural meaning of seals and chops, our article on Chinese seal carving and chops covers that background in more depth.
Why Soapstone Is the Best Stone for Beginners
Traditional seals have been carved from many materials, including jade, bone, wood and various stones. Beginners almost always start with soft stones, often sold as soapstone or as general “practice seal stones”.
Soft stone suits learners for several reasons:
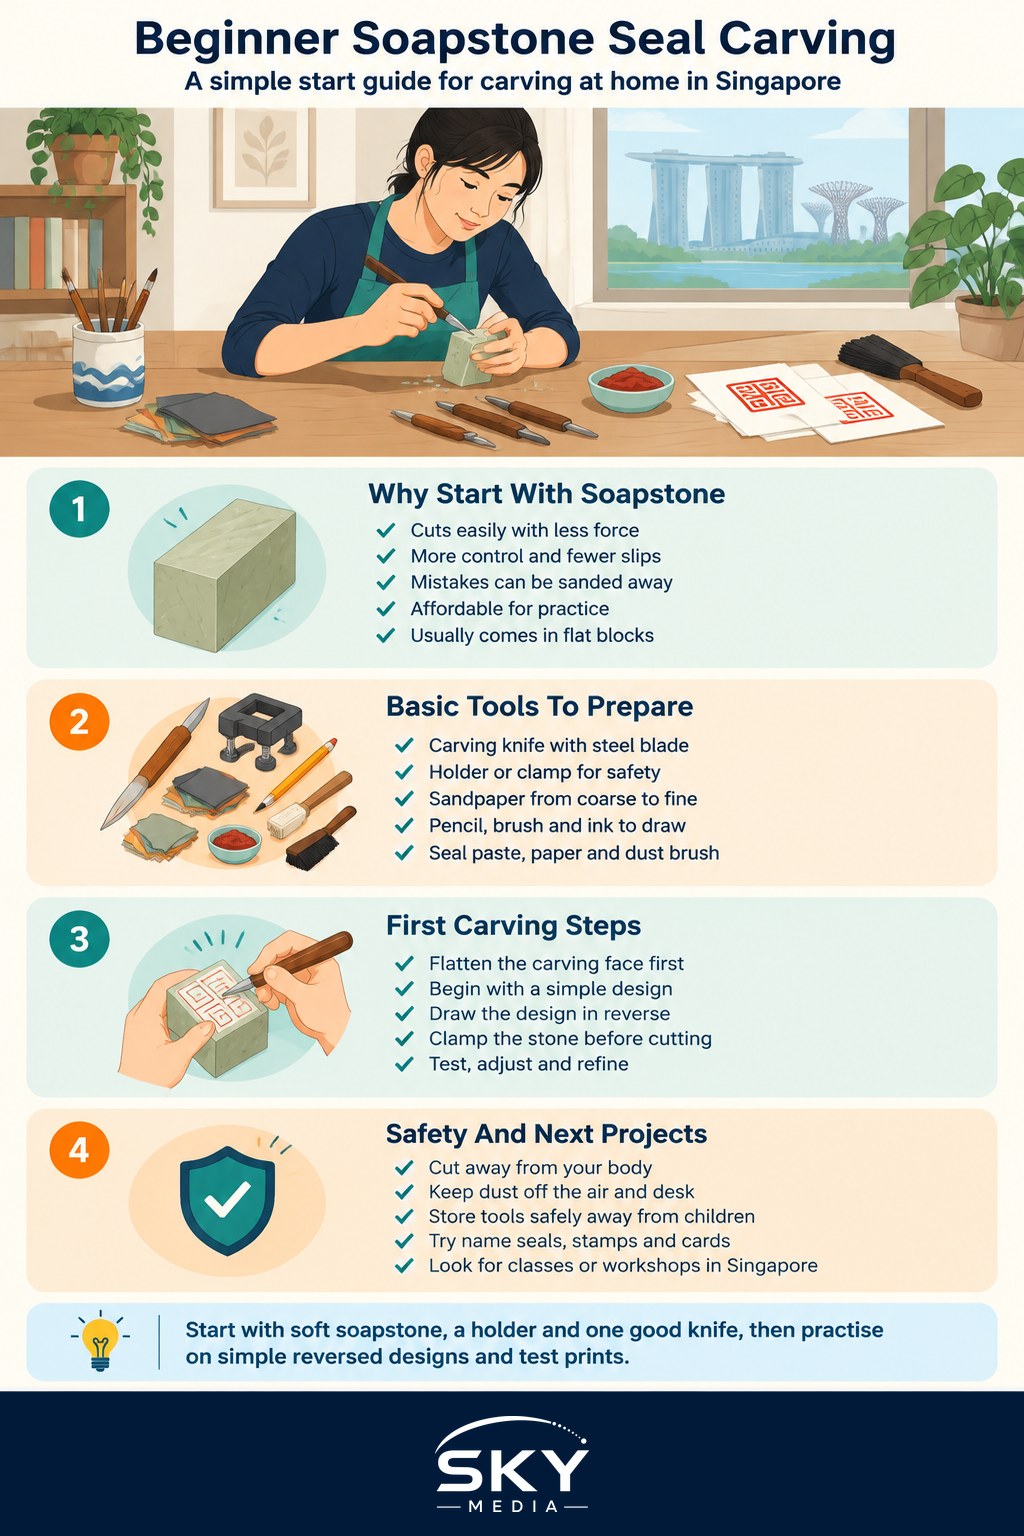
- It cuts easily. A sharp carving knife moves through it without huge force, which means more control and fewer slips.
- It is forgiving. You can sand off a mistake and start again on the same stone.
- It is affordable compared to collectible stones. You can practise freely without worrying about wasting something precious.
- It comes in convenient shapes. Practice stones are usually square or rectangular blocks with a flat face for carving.
As your skill grows, you may try harder or more decorative stones. Prices and availability vary a lot by type and quality, so compare options at art supply shops, Chinese stationery and calligraphy shops, or online, and ask the seller how hard the stone is.
Tools You Need to Start
You do not need a large kit. A beginner set usually includes:
- A carving knife. The main tool, with a flat or angled steel blade. Some beginners start with one medium-width knife.
- A seal holder or clamp. A small wooden vice that grips the stone so your fingers are not in the knife’s path. This is the single most important safety item.
- Sandpaper. Several grits, from coarse to fine, for flattening the carving face and erasing mistakes.
- A pencil or fine brush and ink for drawing your design onto the stone.
- A small mirror to check your reversed design.
- Seal paste. The traditional red ink paste for stamping. Keep it covered so it does not dry out.
- Paper for test prints, plus a soft brush to clear stone dust.
Many shops sell starter kits that bundle these. Check what is included before buying, since some kits contain several knives you may not need yet.
How to Carve Your First Seal
Take it slowly. Your first seal is about learning how the stone responds, not producing a masterpiece.
- Flatten the face. Lay sandpaper on a flat table and rub the carving end in circles until it is completely flat and smooth.
- Choose a simple design. One bold character, your initial or a basic shape works best. Avoid fine detail at first.
- Draw it reversed. A seal prints as a mirror image, so the design on the stone must be backwards. Draw it on paper, check it in the mirror, then transfer it onto the stone with pencil or brush.
- Decide red or white. Choose whether the design will print red or white (see the table below).
- Secure the stone. Clamp it firmly in the holder.
- Carve in small strokes. Push the knife away from your body and away from the hand holding the clamp. Remove a little material at a time.
- Brush and test. Clear the dust, press lightly into seal paste, and stamp on scrap paper. Look at the print, adjust, and test again.
- Refine. Clean up edges and add small finishing touches once the main design reads clearly.
Red Text or White Text: Choosing Your Style
The two classic approaches give very different results, and beginners often find one easier than the other.
| Style | What you carve away | How the print looks | Beginner difficulty |
|---|---|---|---|
| White text (intaglio) | The lines of the design itself | Design appears white on a solid red square | Easier: you only cut the strokes |
| Red text (relief) | Everything around the design | Design appears red on white paper | Harder: lots of background removal and fragile lines |
| Simple image seal | Either the shape or its background | A small picture, such as a leaf or animal | Easy to moderate, depending on detail |
| Border and character | A frame plus a character | A neat framed name seal | Moderate: keeping the border even takes practice |
Most teachers suggest starting with white text, because you only carve thin lines into a flat surface.
Safety Tips for Carving at Home
Carving knives are sharp, and stone dust should not be breathed in carelessly. A few simple habits make the hobby safe:
- Always use a holder or clamp rather than gripping the stone in your bare hand near the blade.
- Cut away from your body and keep your free hand behind the knife edge.
- Work at a stable, well-lit desk. Good lighting helps you see shallow lines and avoid slips.
- Manage dust. Brush dust onto paper and dispose of it, wipe surfaces with a damp cloth, and avoid blowing dust into the air. Sanding over a damp surface or wearing a simple mask can help. Ask the seller about the stone’s composition if you have concerns.
- Keep tools away from children and store knives in a case.
- Take breaks. Carving is tiring on the hands and eyes. Stretch your fingers and look into the distance every so often.
Supervise younger family members closely if they want to try, and consider letting them design while an adult carves.
Simple First Projects to Try
Once you have carved a few practice squares, try projects that are fun to use:
- A name seal with one character of your name, or your initials in English.
- A zodiac animal seal in a simple outline.
- A bookplate stamp to mark your books.
- Gift tags and cards. Stamp handmade cards for Chinese New Year, birthdays or thank-you notes.
- A seal for your artwork. If you paint or practise calligraphy, a personal seal is a lovely finishing touch. It pairs naturally with hobbies like watercolour painting.
Keep a notebook of your test prints. Seeing your progress over a few months is very encouraging.
Finding Classes and a Community in Singapore
Learning alone from videos is possible, but a teacher can quickly correct grip and cutting technique. Look for:
- Community centre courses. Some community clubs run calligraphy, Chinese art or seal carving classes from time to time. Check the course listings on the People’s Association OnePA portal.
- Arts and calligraphy societies that sometimes hold workshops or demonstrations.
- Museum and heritage programmes, which occasionally feature traditional crafts.
- Art supply and calligraphy shops, whose staff can often point you to classes.
Before signing up, check the class size, whether tools and stones are provided, the age limit, and the cancellation terms. Schedules and fees vary, so confirm details directly with the organiser.
A Slow Craft Worth Learning
Seal carving rewards patience. Start with soft soapstone, a holder, one good knife and a simple reversed design, and focus on clean strokes rather than complexity. Within a few sessions you will have a personal seal to stamp on cards, books and artwork, made with your own hands.
Further reading: Chinese Seal Script Calligraphy for Beginners in Singapore