
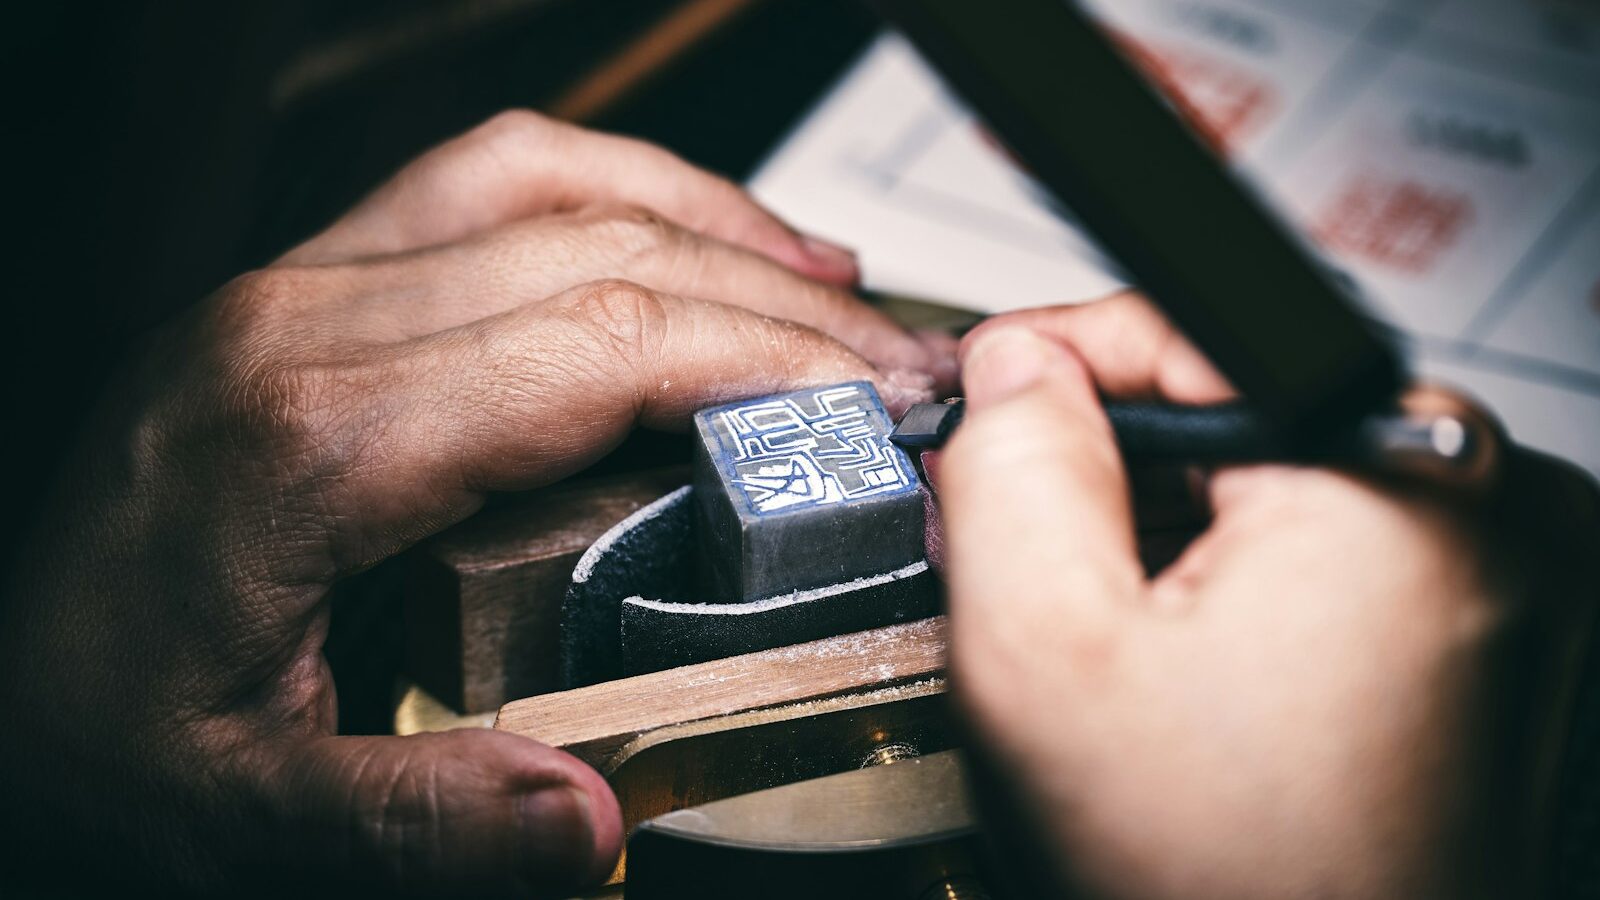
There is something quietly powerful about carving a design once and then being able to print it again and again. That is the appeal of rubber stamp carving, a compact and affordable craft that turns a soft eraser-like block into a reusable stamp. If you have been reading about rubber stamp carving Singapore hobbyists enjoy, and you want a craft that needs almost no space and gives instant results, this is a wonderful place to begin.
Sometimes called eraser carving or hanko carving after the Japanese tradition of personal seals, the craft sits at a lovely intersection of drawing and printmaking. You do not need to be a skilled artist. Simple shapes, a single letter, or a small motif make charming stamps, and the hand-carved wobble is part of the character.
What You Are Actually Carving
The material of choice is a carving block, a soft rubber or vinyl block made specifically for this craft. It cuts like firm cheese, holds fine detail, and takes ink cleanly. Ordinary school erasers can work for tiny stamps, but purpose-made blocks are far easier and come in larger sizes.
The idea is simple. Whatever you cut away stays blank, and whatever you leave standing picks up ink and prints. So you are always deciding, for every line, whether you want that part to show or to disappear. Beginners often start with a “positive” design, where the motif itself prints and the background is carved away.
Tools and Safety First
The core tool is a lino or rubber carving set, usually a handle that holds interchangeable blades. A U-shaped gouge clears large areas and carves smooth curves, while a fine V-shaped gouge cuts crisp lines and details. A craft knife helps with straight edges and cutting the block to size.
Because this craft uses genuinely sharp tools, a few safety habits matter and are worth building from day one:
- Always carve away from yourself and away from your other hand, never towards them
- Keep the hand that steadies the block behind the blade, never in its path
- Use a bench hook or a non-slip mat so the block cannot skid
- Keep blades sharp, since a dull blade slips and forces you to press harder
- Store blades safely and cap them when not in use
- Supervise children closely, and let them use the softest tools on the simplest cuts, if at all
None of this is meant to frighten you off. It is the same common sense any carving craft asks for. Work slowly, keep your free hand clear, and you will be fine.
Designing and Transferring Your Image
Start with a simple, bold design. Thin, spidery lines are hard to carve and fragile in use, so favour chunky shapes and clear outlines for your first few stamps. A leaf, a star, your initial, or a little animal are all ideal.
To get the design onto the block, draw it on tracing or plain paper in soft pencil, lay it face down on the block, and rub the back firmly. The pencil transfers in reverse, which matters for text, so remember that any lettering must be drawn backwards to print the right way round. Some carvers prefer to draw straight onto the block with a pencil or fine pen.
Carving, Inking and Printing
Once your design is on the block, the carving itself is calm, absorbing work:
- Outline the design first, cutting a shallow V-groove just outside every line to protect it
- Clear the large background areas with the U-gouge, working in from the edges
- Refine details last, when the main shapes are safe and defined
- Test print often with a stamp pad, so you can see exactly what still needs carving
Printing is the reward. Press the finished stamp onto an ink pad, then onto paper with firm, even pressure. Water-based stamp inks work on paper, while pigment and solvent inks suit fabric and other surfaces. Test on scrap first, and let ink dry fully before handling. In our humid climate, ink and porous paper can stay tacky a little longer, so give prints time.
Hand-carved stamps are brilliant companions to other paper crafts, so once you have a few you might enjoy putting them to work in card making and papercraft, or exploring the closely related worlds of linocut and block printing and block printing on fabric.
Getting Better and Where to Buy
Improvement comes from carving a lot of small stamps rather than one ambitious piece. Each one teaches you how the blade behaves, how deep to clear a background so it stays clean, and how bold your lines need to be. Keep your favourites in a little box and you will slowly build a personal library of motifs.
Supplies are easy to find. Art and craft shops stock carving blocks, gouge sets, and ink pads, and online sellers offer wider ranges of block sizes and specialty inks. Look out for occasional stamp carving or hanko workshops at craft studios if you would rather learn in person.
Begin with one block, a basic two-blade set, and a simple shape you can carve in an afternoon. Take it slowly, keep your fingers behind the blade, and enjoy the small thrill of that first clean print. Few crafts give so much reusable delight from so little space and cost.