
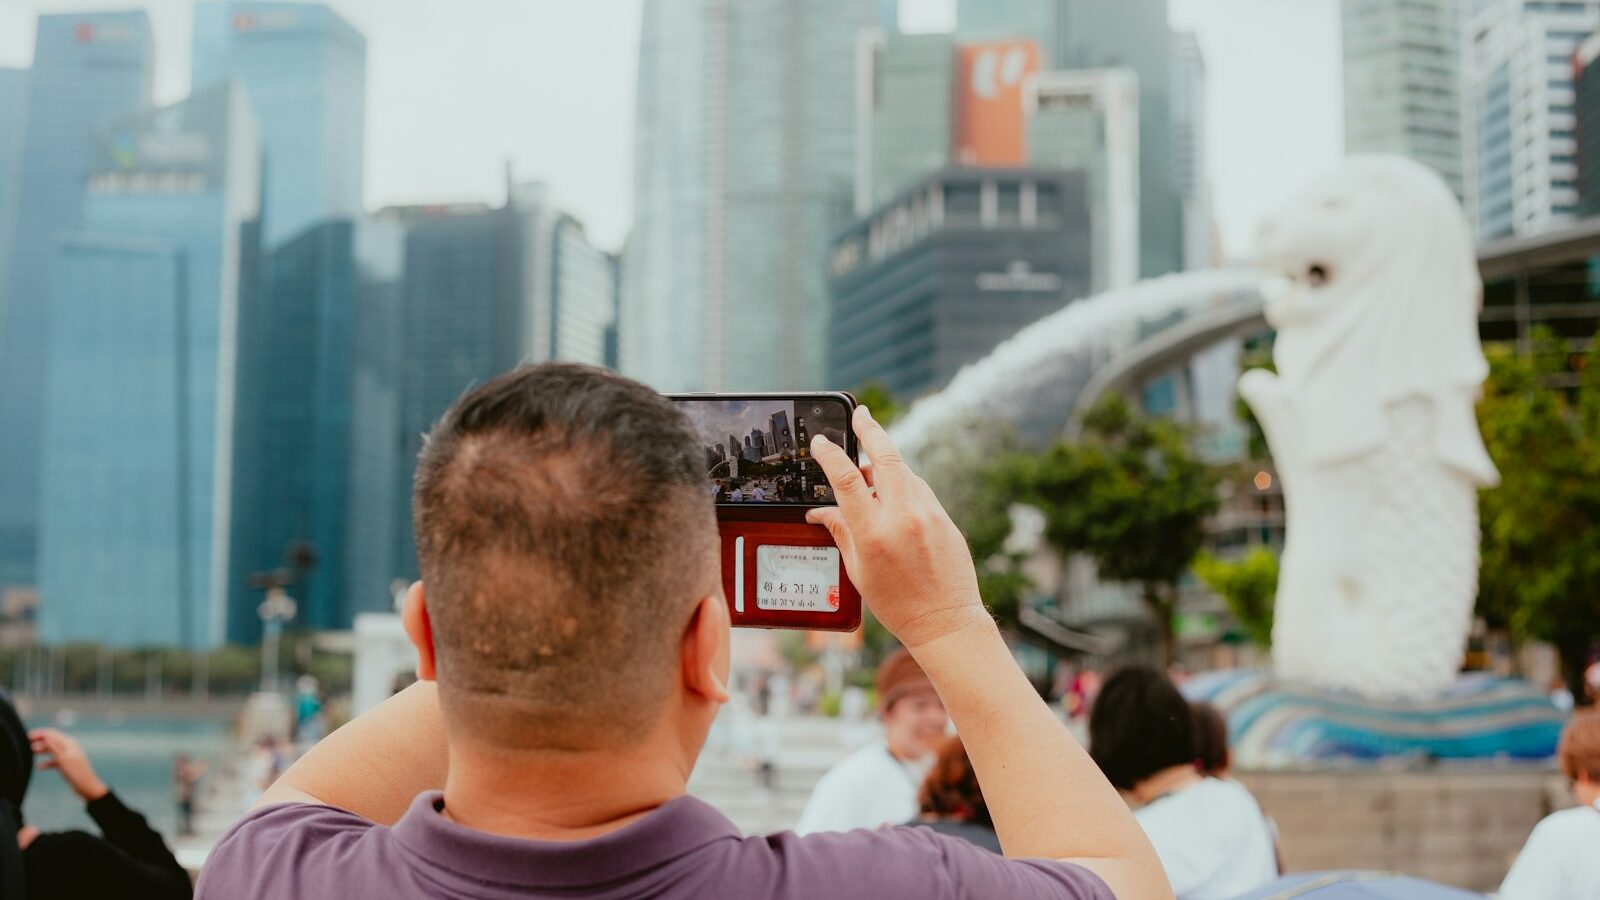
The difference between a flat clip and a video that holds attention is rarely the camera. It is how the shots are chosen and stitched together. Learning a handful of shot types, and understanding when to use each, lets you guide your viewer’s eye and tell a clear story with whatever you are filming, whether that is a hawker stall in action or a weekend trip around the island. This guide covers the common shots, camera angles and a simple way of thinking about story that any beginner can start using today.
You do not need every shot in every video. You need enough variety to keep things interesting and a reason behind each choice. Once you can name your shots, you start planning them, and planned footage always cuts together better than random clips.
Why Shot Variety Matters
Imagine watching five minutes filmed from one fixed distance, never moving. It gets dull fast, even if the subject is interesting. Cutting between different shot types does two things at once: it keeps the video visually fresh, and it directs attention to what matters in each moment.
A wide shot tells the viewer where they are. A close-up tells them what to feel or focus on. When you move between them, you are quietly guiding the audience through the scene the way you want them to experience it. That control is the heart of visual storytelling, and it is available to you on a phone just as much as on a cinema camera.
Variety also makes editing far easier. When you have wide, medium and close shots of the same moment, you can cut between them to trim a boring stretch, hide a mistake or change the pace, all without an awkward jump.
The Core Shot Types
Shot types are usually described by how much of the subject fills the frame. You do not need the fancy names, but knowing them helps you plan and communicate. Here are the ones that cover most situations.
- Wide shot (or establishing shot): shows the whole scene and its surroundings. Use it to set the location, like the full frontage of a Chinatown shophouse or a hawker centre buzzing at lunch. It answers “where are we?”
- Medium shot: frames a person roughly from the waist up. This is your workhorse for people talking, cooking or working, close enough to connect but wide enough to show what their hands are doing.
- Close-up: fills the frame with one detail, like a face, or char kway teow being tossed in the wok. It carries emotion and highlights the important bit.
- Extreme close-up: even tighter, on a single element such as eyes, steam rising or a finger pressing a button. Use it sparingly for emphasis.
- Over-the-shoulder shot: filmed from behind one person towards another, useful for conversations and interviews to show connection between two people.
A simple habit is to grab a wide, a medium and a close-up of any scene you film. Those three alone give you enough to edit a clear, watchable sequence.
Camera Angles and Movement
Where you put the camera changes how the viewer feels about the subject, separately from how tight the frame is. Angle and movement are your next layer of storytelling.
A few angles worth knowing:
- Eye level feels neutral and natural, the default for most talking and everyday footage.
- Low angle, shooting upwards, makes a subject look larger or more powerful, handy for the Marina Bay skyline or a towering temple gate.
- High angle, shooting downwards, makes a subject look smaller or gives a tidy overview, like an overhead of a full kopitiam table.
Movement adds energy, but only when it is smooth and purposeful. A slow push towards a subject builds focus; a pan across a view reveals a place. Shaky, aimless movement just distracts. If you cannot keep it steady, a locked-off still shot almost always looks more professional than a wobbly moving one. A cheap tripod or a gimbal helps here, but bracing your elbows and moving slowly gets you a long way for free.
Also plan your b-roll: the supporting shots that are not your main action. Details of hands, food, feet walking or the environment give you material to cover cuts and enrich the story. Film more b-roll than you think you need.
Turning Shots Into a Story
Individual shots are just ingredients. Story is how you order them. Even a short vlog benefits from a simple shape: a beginning that sets the scene, a middle where something happens, and an end that wraps up or pays off. Think of a plate of chicken rice: you show the stall (wide), the uncle chopping (medium), the glistening rice (close-up), then someone tasting it and reacting.
A reliable pattern is to open wide to establish, move in for the action and detail, then pull back or land on a closing shot. Match your pacing to the mood too. Quick cuts between many shots feel energetic and suit a busy market montage; longer, slower shots suit a calm sunrise at East Coast Park. The rhythm of your cuts is part of the story as much as the shots themselves.
Here is a quick reference for which shot to reach for and why.
| Shot type | Best for | What it tells the viewer |
|---|---|---|
| Wide shot | Setting the scene | Where we are |
| Medium shot | People talking or working | Who this is and what they do |
| Close-up | Emotion and key details | What to focus on or feel |
| Over-the-shoulder | Conversations, interviews | The relationship between people |
| B-roll | Covering cuts, adding texture | Extra context and atmosphere |
Practising on a Simple Project
The fastest way to learn is to give yourself a tiny brief and film it. Pick one small story you can shoot in an afternoon: making kopi at home, a walk through your neighbourhood, or a friend’s favourite hawker order. Before you shoot, jot down a rough shot list of the wides, mediums and close-ups you want.
Then follow a simple loop:
- Film your establishing wide shot first, so you always have a scene-setter.
- Capture the main action in medium shots from a couple of angles.
- Move in for close-ups of hands, faces and details.
- Grab extra b-roll of the surroundings.
- Edit them into that beginning, middle and end shape and watch it back.
Do this a few times and choosing shot types will stop feeling like a checklist and start feeling instinctive. You will begin seeing scenes as sequences of shots before you even lift the camera, which is exactly how strong video storytelling is built.
Explore more
Put these ideas into motion with video basics for beginners and steady your framing using how to use a gimbal and stabiliser. Once your shots are in the can, bring them together with basic video editing for beginners, and apply this to short-form work through how to make reels and short videos.