
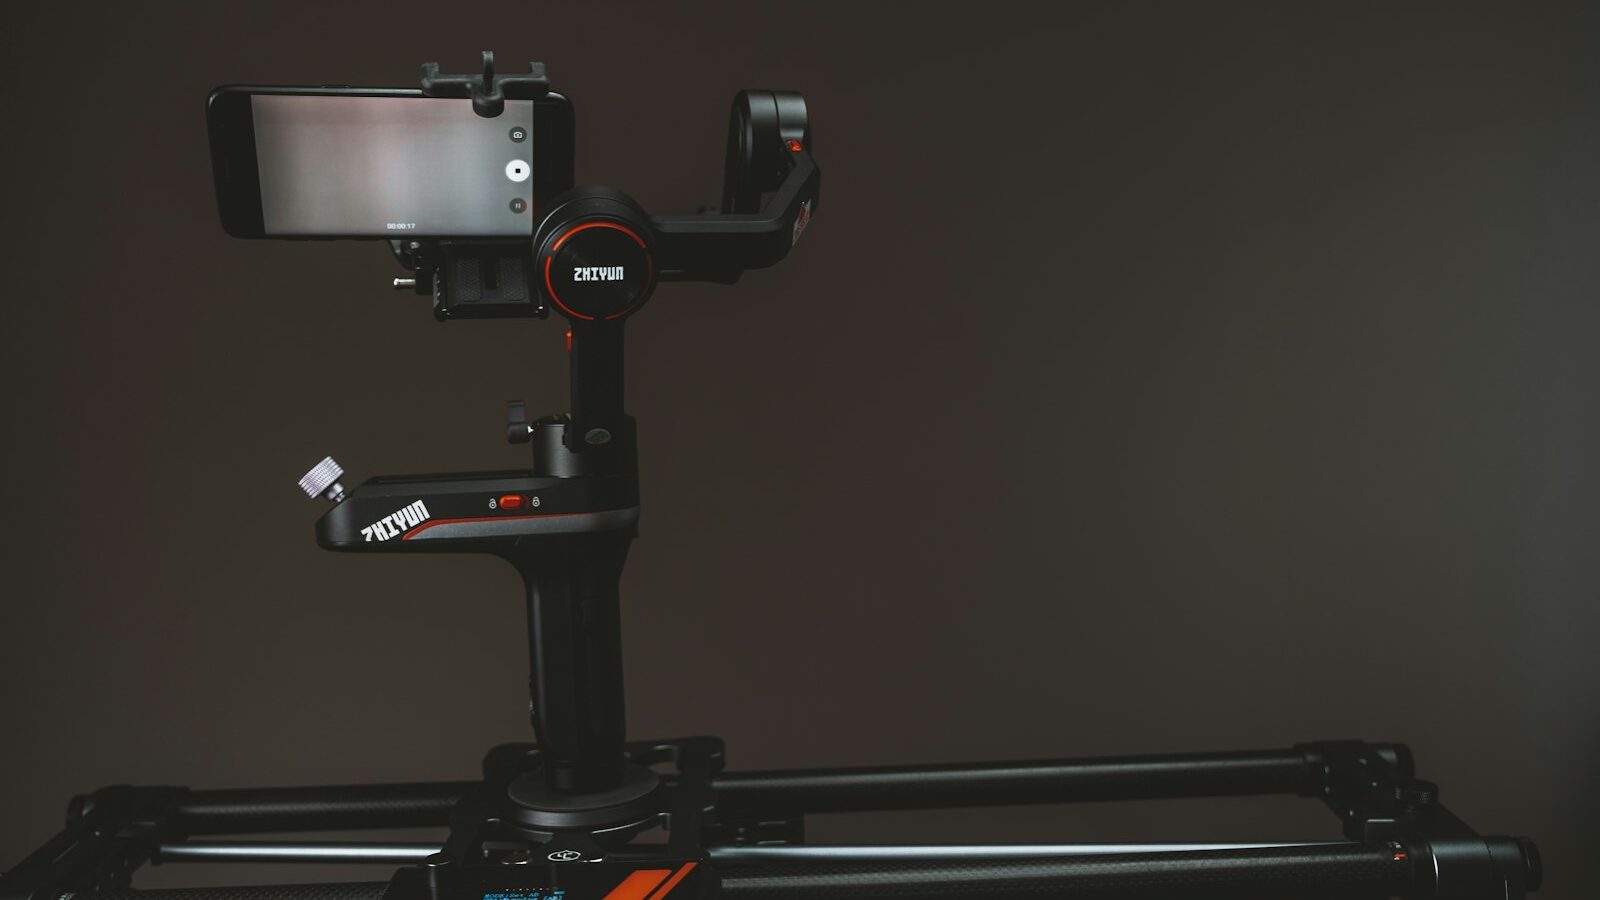
Watch a travel video where the camera glides smoothly through a Chinatown lane and you are almost certainly looking at footage shot on a gimbal. A gimbal and stabiliser is the tool that turns shaky, amateur-looking clips into the buttery, cinematic movement that makes viewers stay. The good news is that these devices have become affordable and beginner-friendly, and the core skills take an afternoon to grasp. This guide keeps things plain, walks you through setup and technique, and gives you Singapore spots to practise today.
At its heart, a gimbal uses small motors to keep your camera or phone level while you move. It cannot fix bad framing or poor light, but it removes the wobble that instantly marks a video as amateur. Let us build the skill step by step.
What a Gimbal Does and When You Need One
A gimbal and stabiliser holds your camera on a set of motorised arms that counteract your hand movements. When you walk, tilt or turn, the motors quietly correct the shake so the footage stays smooth.
- Phone gimbals are light, fold up small and are perfect for vloggers and social clips.
- Camera gimbals carry heavier mirrorless or compact cameras and offer more control for serious video.
- Simpler stabilisers without motors also exist, but motorised gimbals are far easier for beginners to get good results with.
You do not always need one. For static, tripod-style shots a gimbal adds nothing. It earns its keep the moment you want to move the camera, following a friend through Gardens by the Bay, walking down a heritage five-foot-way, or circling a plate of food at a hawker centre. If your videos are mostly locked-off talking-head shots, save your money for now.
Balancing Your Gimbal Before You Power It On
The single biggest beginner mistake is switching the gimbal on straight away without balancing it first. An unbalanced gimbal strains its motors, drains the battery fast and gives jittery footage. Balancing means adjusting the arms so the camera sits level on its own, with the power off.
- Mount and secure your camera or phone firmly in the cradle. Tighten every clamp so nothing slips.
- Fit any extras first. Add your lens, filters and microphone before balancing, since anything you attach later changes the weight.
- Adjust each axis in turn. Slide the camera forward or back, and side to side, until it holds position by itself when you tilt it gently. Work through the axes one at a time.
- Check it stays put. When you nudge the camera and it neither drifts nor droops, it is balanced.
- Now power on. A well-balanced gimbal barely has to work, so your battery lasts longer and the motion looks cleaner.
It feels fiddly the first few times, then becomes second nature in a couple of minutes. Never skip it.
Holding and Moving for Smooth Footage
A gimbal removes shake, but it cannot cancel out big, jerky steps. Your own body is part of the stabilising system, so how you move matters enormously.
- Adopt the gimbal gait. Bend your knees slightly and walk with soft, rolling steps, almost like a ninja. Let your legs absorb the bounce rather than your arms.
- Hold with two hands where you can. One hand on the grip and the other steadying the base gives far smoother results than a one-handed wave.
- Move slowly and deliberately. Fast movements expose the limits of any gimbal. Slow, intentional motion looks the most cinematic.
- Lead with your core, not your wrists. Turn your whole body to pan rather than flicking your hand.
- Watch where you walk. In a busy spot like Bugis Street, keep half an eye on the path so you do not trip while staring at the screen.
Practise the walk in an empty corridor at home before heading out. An HDB void deck is a fine training ground for smooth walking shots.
Creative Moves and Modes to Try
Once you can walk smoothly, a whole vocabulary of camera moves opens up. Most gimbals offer modes that make these easier, and it helps to know when to reach for each.
| Move or mode | What it does | Try it at |
|---|---|---|
| Follow mode | Camera smoothly follows where you point | Walking behind a friend at East Coast Park |
| Lock mode | Camera stays fixed one way as you move | Tracking sideways past a shophouse row |
| Reveal shot | Rise or move to uncover a scene | Lifting over a railing to show the skyline |
| Orbit | Circle around a subject | Rounding a dish at a hawker centre |
| Low-angle push | Glide in low towards a subject | Approaching flowers at the Botanic Gardens |
Start with follow mode, since it feels the most natural. Add the others one at a time rather than trying everything at once. A single well-executed reveal is worth more than a dozen rushed tricks.
Caring for Your Gimbal in Singapore
Our climate is tough on gear, and a gimbal has motors and electronics that deserve looking after.
- Wipe it down after a sweaty outing, since humidity and salt air near the coast are hard on electronics.
- Store it somewhere dry, ideally a dry cabinet, to keep moisture and mould at bay.
- Lock the arms and use the case when carrying it, so the delicate motors are not knocked about in your bag.
- Charge it the night before a shoot and carry a power bank, as motors drain batteries quickly.
- Recalibrate it now and then, following the maker’s instructions, if the horizon starts to drift.
Be considerate when filming too. A gimbal invites big sweeping moves, so mind the people around you in tight heritage lanes, ask before filming strangers closely, and respect no-photography rules in temples and mosques.
The heart of using a gimbal and stabiliser is not the price of the device. It is balancing it properly, moving your body smoothly and choosing moves that serve your story. Nail those basics and your footage will look dramatically more professional than any upgrade could deliver on its own.
Explore more
Ready to put smooth footage to work? Pair this with our guide to how to shoot video on your phone and learn the language of shots in storytelling and shot types in video. Then tidy up your clips with basic video editing for beginners.