
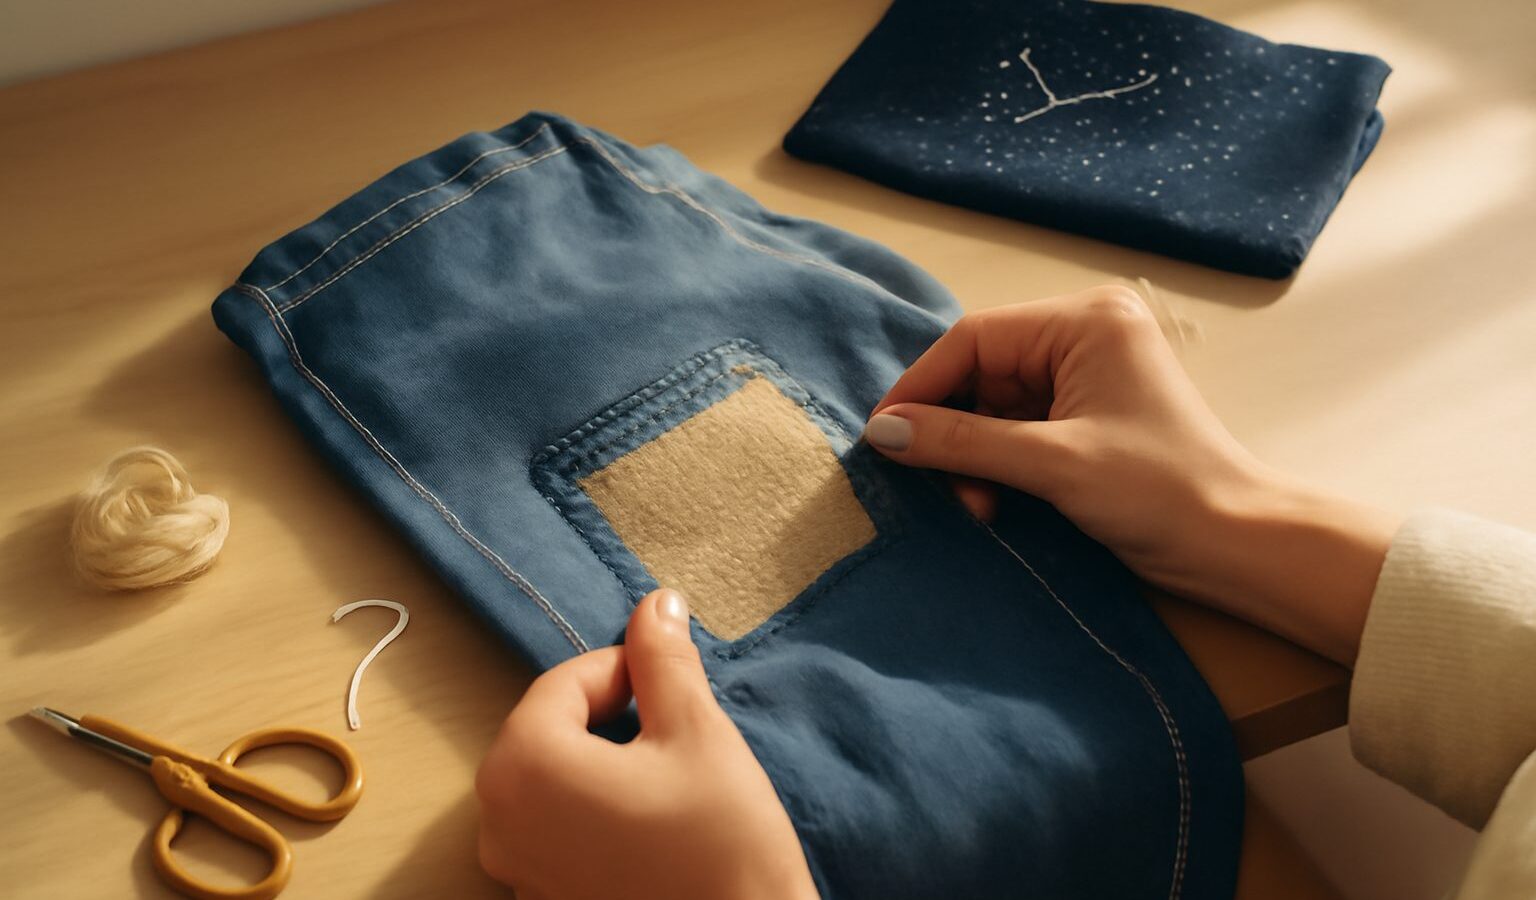
A hole in a favourite pair of jeans used to mean the bin. Visible mending flips that idea on its head: instead of hiding a repair, you make it a feature, adding stitches and patches that turn worn cloth into something more personal than it was before. It is one of the gentlest, most affordable crafts to pick up, needing only a needle, thread and a garment you would otherwise throw away. This guide introduces visible mending and its most popular technique, Japanese sashiko, for a complete beginner in Singapore.
The appeal goes beyond thrift. In a throwaway world, mending is a quiet act of care, and the finished repairs are genuinely beautiful. You do not need a sewing machine, a big budget or any prior skill, just a little patience and a willingness to let your stitches show.
What Visible Mending Is
Visible mending is the practice of repairing clothes in a way that celebrates the fix rather than concealing it. Where traditional mending tries to be invisible, this approach uses contrasting thread, decorative patches and pattern to make the mend part of the design. A frayed cuff becomes a band of colour; a thinning knee becomes a woven grid of stitches.
It grew from age-old thrift traditions around the world, including the Japanese practice of boro, in which worn textiles were patched and re-patched over generations. Today it appeals to anyone who wants to waste less, spend less and own clothes with a bit of story. Because you work by hand, it is quiet, portable and perfectly suited to an evening on the sofa.
Understanding Sashiko
Sashiko, which loosely means “little stabs”, is a form of Japanese hand stitching built almost entirely from the humble running stitch: small, even stitches that march in neat lines to form geometric patterns. Traditionally worked in white thread on indigo cloth, it was used to reinforce and mend workwear, so it is both decorative and genuinely strengthening, which makes it perfect for visible mending.
The beauty of sashiko for a beginner is that there is only really one stitch to master, and evenness matters more than speed. You load several stitches onto the needle at once, then pull through, which gives the technique its rhythmic, meditative feel. Patterns range from simple straight-line grids to interlocking waves and hexagons, but you can create something lovely with straight rows alone.
What You Need to Start
One of the joys of this craft is how little it asks of you. A basic kit fits in a small tin and costs very little from any craft shop, and you can improvise most of it from a general sewing box.
- Needles: sashiko needles are long with a large eye, but any sturdy hand-sewing needle works to start
- Thread: sashiko thread is a matte cotton that sits nicely on fabric; embroidery floss or strong cotton thread is a fine substitute
- A thimble to push the needle through thicker fabric such as denim
- Small scissors or thread snips
- Fabric scraps for patches, ideally cotton in colours you like
- A garment or item that needs mending
- Optional: a fabric marker or tailor’s chalk, and a ruler, for drawing guide lines
You can find thread and patches at craft shops, textile stalls in areas like Chinatown and the Arab Street district, and online marketplaces. Old cotton shirts and worn jeans make excellent free patch material, so raid your own rag pile before buying anything.
Here is a quick comparison of common visible-mending approaches so you can pick a starting point.
| Technique | Best for | Skill level |
|---|---|---|
| Sashiko running stitch | Reinforcing worn areas, patterns | Very beginner friendly |
| Patch and stitch | Holes and tears | Beginner |
| Darning | Small holes in knits and socks | Beginner to intermediate |
| Decorative embroidery | Covering stains or marks | Beginner |
Your First Repair, Step by Step
A worn knee or a small hole in a pair of jeans is the ideal first project, because denim is sturdy and forgiving. Start by cutting a patch of cotton a little larger than the damaged area. Place it behind the hole, on the inside of the garment, and pin it so it stays put.
Next, if you like, draw a simple grid of straight guide lines across the area with chalk. Thread your needle, knot the end, and begin a running stitch through both the garment and the patch, keeping your stitches small and evenly spaced. Work row after row across the patch, following your lines. The stitches trap the patch in place and strengthen the whole area at once. When you finish a line, knot off neatly on the inside. Step back, and you will find the mend looks intentional and rather handsome.
Do not worry about perfectly even stitches at first. A slightly irregular hand is part of the charm, and your evenness improves naturally with every row.
Common Beginner Mistakes
A few small habits make the craft much smoother, so watch for these.
- Pulling the thread too tight, which puckers the fabric; let stitches lie relaxed and flat
- Making stitches too large in an attempt to go faster, which looks messy and holds less well
- Skipping the backing patch on a hole, so the stitches have nothing to grip
- Choosing thread that is too weak, then watching the repair fail in the wash
- Knotting untidily on the visible side instead of the inside
Wash mended garments gently and less often to make repairs last, and remember that our humidity means natural threads should dry fully before storing to avoid any musty smell.
How to Keep Improving
Once you are comfortable with straight rows, try a traditional sashiko pattern such as a simple wave or a linked cross, following a free chart or video. Experiment with coloured threads and patterned patches, and start looking at every worn item as a chance to practise rather than a thing to discard. You can mend elbows, pocket corners, tote bags and cushion covers, not just jeans.
From there, explore boro-style layering, building up several patches over time for a rich, textured look. Keep your offcuts and threads together in a labelled tin so a quick repair is always at hand. Mending communities online are welcoming and full of inspiration, and sharing a photo of a first fix is a lovely way to stay motivated. Best of all, this is a hobby that saves you money while keeping clothes out of the bin, which feels good every single time.
Explore more
If you enjoy the rhythm of hand stitching, you might also like adding colour to cloth through tie-dye and fabric dyeing or block printing on fabric. And once you are confident with a needle, consider making your own clothes from scratch.