
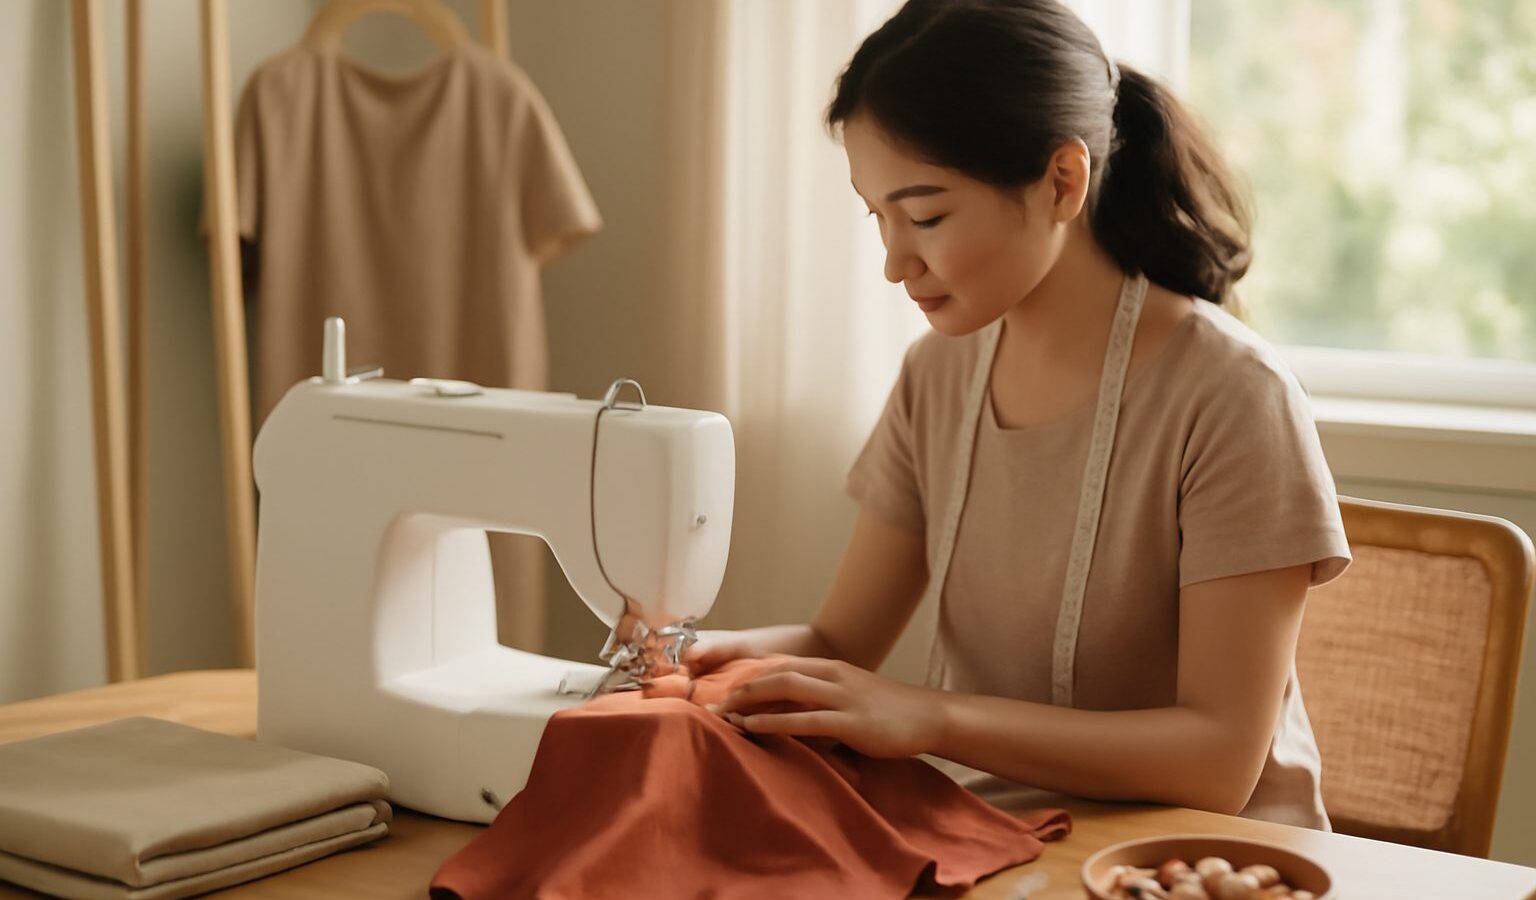
There is a special kind of pride in wearing something you stitched with your own hands. Making your own clothes lets you choose the colour, the fit and the fabric, so a garment actually suits your body and your wardrobe instead of the other way round. It sounds ambitious, but garment sewing is really a set of small, learnable steps, and you can start with one simple, forgiving project. This guide is for the total beginner in Singapore who wants to move from mending and straight seams into making something genuinely wearable.
Unlike sewing as a general hobby, dressmaking follows a paper pattern that maps flat fabric onto a three-dimensional body. Once you understand how a pattern works, a whole world of tops, skirts, trousers and dresses opens up. Take it slowly, expect a wonky first attempt, and enjoy the process.
Why Make Your Own Clothes
Ready-made clothing is designed for an average body that almost nobody actually has. When you sew for yourself, you control the length of a hem, the width of a shoulder and the rise of a waistband. You can make natural-fibre garments that breathe in our humidity, which matters when polyester feels like cling film by mid-afternoon.
There is a satisfying sustainability angle too. A well-made garment lasts years, and you learn to repair rather than replace. You will also start to see clothes differently, noticing seams, darts and finishes in every shop, which quietly trains your eye. None of this requires talent so much as patience and a willingness to unpick and try again.
What You Need to Start
You do not need a professional setup. A basic home sewing machine that does a straight stitch and a zigzag will carry you through your first year and beyond. Borrow one first if you can, or look for a reliable second-hand model through an online marketplace before committing. Machines cope well with our climate, but keep yours covered and away from damp walls, because humidity encourages rust on metal parts and can seize a machine left idle for months.
Beyond the machine, gather a small, sensible kit:
- Fabric scissors kept only for fabric, plus small snips for threads
- Pins, a pincushion, and a packet of machine needles in mixed sizes
- A seam ripper, because unpicking is part of every project
- A flexible tape measure and a clear ruler
- Tailor’s chalk or a washable fabric marker
- An iron, ideally with steam, since pressing every seam is what separates homemade from handmade
- Matching thread in a good all-purpose weight
For your very first pattern, choose a “beginner” or “easy” commercial pattern, or a free downloadable one. Woven cotton is the friendliest fabric to learn on because it does not stretch and shift under the needle. You can find dressmaking fabric at craft shops, textile stalls around areas like the Arab Street and Chinatown districts, and online. Buy a little extra your first few times, since mistakes happen.
Understanding Patterns and Fabric
A sewing pattern is a set of paper shapes with printed lines and symbols. The key ones to learn are the grainline, which you align parallel to the fabric’s woven edge; notches, which are little marks that show how pieces fit together; and darts, the folded wedges that shape flat cloth around a curve. Patterns come in size ranges based on body measurements, not shop dress sizes, so measure your bust, waist and hips with the tape and pick your size from the pattern’s own chart. Do not size down out of habit; you can always take a garment in.
Fabric choice makes or breaks a beginner project. Stretchy knits, slippery satins and shifty chiffons are all harder to handle, so save them for later. A stable woven cotton, a linen blend or a light chambray behaves itself and presses crisply. Always pre-wash your fabric before cutting, because natural fibres shrink, and you would rather that happen now than after you have sewn a fitted dress. In our humidity, let fabric dry fully and store it folded with a sachet against mildew.
Here is a simple comparison to help you pick a starting fabric and a first garment.
| Fabric or garment | Why it suits beginners | What to watch |
|---|---|---|
| Woven cotton | Stable, presses well, cheap to replace | Can fray, so finish seams |
| Linen blend | Breathable in local heat, forgiving | Wrinkles, needs pressing |
| Elastic-waist skirt | No zips or fitting, fast win | Choose fabric with nice drape |
| Simple boxy top | Few seams, relaxed fit hides errors | Match grainline carefully |
Your First Project, Step by Step
Start with something with a forgiving fit and no closures, such as an elastic-waist skirt, a simple tote-style pinafore or a boxy top. The absence of zips, buttonholes and precise tailoring means you can focus on the fundamentals.
Work in this order. First, press your fabric and lay it flat. Pin the pattern pieces on with the grainlines aligned, then cut carefully with your fabric scissors, transferring any notches and dart marks with chalk. Sew a test seam on a scrap to check your tension. Then join the pieces in the order the instructions give, pinning first, sewing slowly, and pressing each seam before you cross it with another. Finish raw edges with a zigzag or an overcast stitch so they do not fray in the wash. Hem last, try it on, and admire your work.
Give yourself a quiet afternoon rather than rushing. If you live in an HDB flat, sew during the day when machine noise is least likely to bother neighbours, and lay out and cut fabric on the floor or a dining table protected with a mat.
Common Beginner Mistakes
Almost everyone makes the same early errors, so knowing them helps.
- Skipping the tape measure and guessing your size, which leads to a garment that does not fit
- Not pre-washing fabric, then watching a finished piece shrink
- Refusing to press seams, which leaves everything looking lumpy
- Sewing too fast and getting crooked lines; slow and steady wins
- Ignoring the seam ripper out of pride, when unpicking neatly is a normal, useful skill
- Choosing difficult stretchy or slippery fabric for a first make
None of these are disasters. Every experienced sewer has a drawer of early attempts they will never wear, and that is exactly how the skill is built.
How to Keep Improving
Once your first garment hangs together, repeat it in a different fabric before moving on, because the second version is always neater and cements what you learned. From there, add one new skill at a time: an inserted zip, a set of buttonholes, a gathered sleeve or a proper facing. Learning to adjust a pattern to your measurements, often called fitting, is the deeper craft that makes clothes truly yours.
Keep a notebook of what you made, which pattern and size, and what you would change. Follow along with free video tutorials for any technique that stumps you, and do not be shy about unpicking. Sewing communities, whether online or at a local craft group, are generally warm and generous with advice.
If you ever think about selling what you make, treat that as a separate step and general information only, not business or legal advice; registering a business in Singapore goes through ACRA, so check the current rules before you start. For now, sew for the joy of it and for a wardrobe that finally fits.
Explore more
If you enjoy working with cloth, try adding pattern and colour through tie-dye and fabric dyeing or block printing on fabric. When a favourite garment wears out, breathe new life into it with visible mending and sashiko instead of throwing it away.