
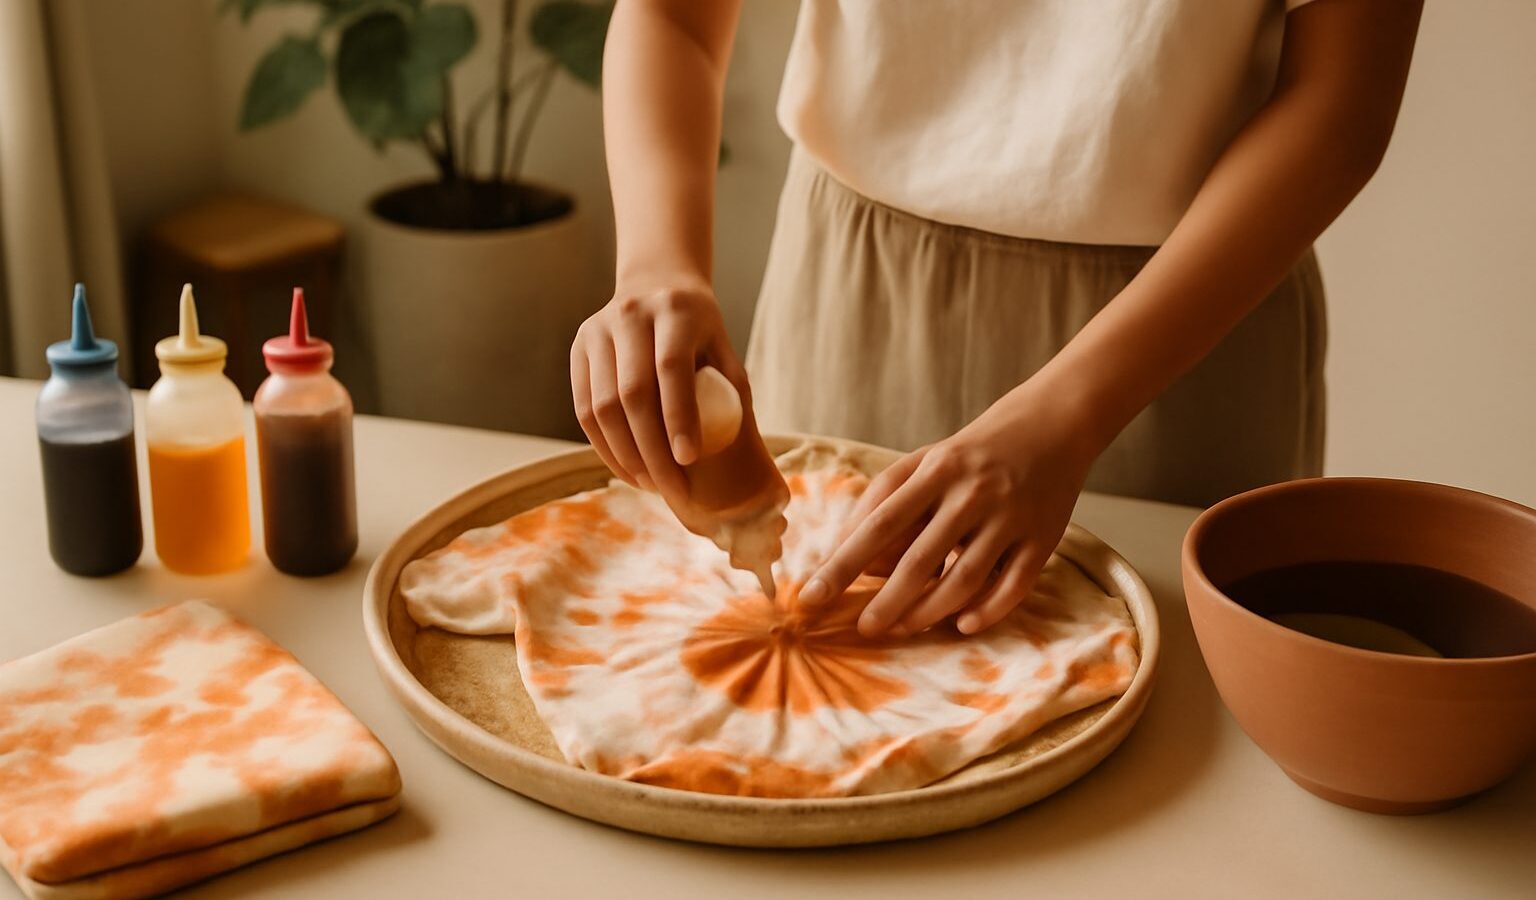
There is something wonderfully freeing about tie-dye. You twist, fold and bind a plain piece of cloth, dip it in colour, and unwrap a pattern that no one, not even you, could have drawn on purpose. It is one of the most forgiving crafts a beginner can pick up, which is exactly why it is such a lovely place to start. You do not need artistic training, expensive gear or a studio. A bucket, a pair of gloves and an old white T-shirt will get you a long way.
This guide is written for the total beginner in Singapore who wants an affordable, low-pressure way into fabric dyeing. We will cover what to buy, how to work safely in a small flat, the folds that give you those classic patterns, and the little mistakes that trip most people up on their first go.
What You Need to Start
The beauty of tie-dye is how little it asks of you at the beginning. You can assemble a starter set from a craft shop, an art-supply store, or an online marketplace without spending much.
Here is a sensible first kit:
- A dye. Beginners usually start with a fibre-reactive dye or an all-in-one tie-dye kit, which comes with dye powder in squeeze bottles. These bond well with cotton and give bright, wash-fast results.
- Something to dye. Natural fibres such as cotton, linen or bamboo take dye best. A plain white T-shirt, a tote bag, a set of pillowcases or some cotton napkins are ideal first projects. Polyester resists most household dyes, so check the label and aim for cotton-rich fabric.
- Rubber bands or string to bind your folds.
- Rubber or nitrile gloves. Dye stains skin for days, so this is not optional.
- A plastic sheet, bin bag or old towels to protect your surfaces.
- Soda ash (sometimes included in kits). Soaking cotton in a soda-ash solution first helps the dye fix, giving deeper colour.
- A squeeze bottle or two, plus a bucket or basin for mixing and rinsing.
If you would rather not gather everything piece by piece, a boxed tie-dye kit bundles the essentials and is a gentle way to test whether the hobby is for you.
Working Safely and Cleanly in a Small Space
Dyeing is not dangerous, but the colours are stubborn and the powders are fine, so a few habits keep it stress-free, especially in an HDB flat where space and shared surfaces are tight.
Always wear gloves. Dye that lands on skin is harmless but unsightly and slow to fade. When you open dye powder, do it slowly and away from any breeze so the fine particles do not drift into the air; work in a ventilated spot, such as near an open window or in a service yard, and consider a simple dust mask while you measure powder. Keep dyes, soda ash and squeeze bottles well away from young children and pets, and supervise closely if you are dyeing together as a family.
Protect everything you care about. Lay down a plastic sheet or bin bags, and keep a damp cloth handy for splashes. Singapore’s humidity means dye can sit wet for a while, so put newspaper or an old towel under your project as it develops. Rinse your tools and basin straight after use, before the dye dries and sets into them. Above all, read and follow the safety instructions on your particular dye product, since formulas differ.
Folds and Patterns to Try First
This is the fun part. The pattern comes entirely from how you fold and bind the cloth before the dye goes on. Start with one or two folds rather than trying everything at once.
- Spiral. Pinch the centre of a flat, damp shirt and twist it into a tight coil, like a cinnamon roll. Slip a few rubber bands across the bundle to make wedges. Squirt a different colour into each wedge for that classic swirl.
- Crumple. Scrunch the fabric randomly into a flat pile and band it loosely. This gives a soft, marbled, all-over texture and is almost impossible to get wrong.
- Bullseye. Pinch a point, pull the fabric up into a long tube, and band it at intervals. Each band becomes a ring of a different colour.
- Stripes. Fold the fabric like an accordion, either straight or on the diagonal, then band it in sections.
Dampen the fabric first so the dye spreads evenly, apply your colours, then pop the bundle into a plastic bag and leave it somewhere warm for six to twenty-four hours so the dye can react. The longer it sits, the deeper the colour.
Natural Dyes and Everyday Fabric Dyeing
Tie-dye is only one doorway into fabric dyeing. Once you are comfortable, you might explore dyeing a garment a single solid colour to refresh it, or experiment with natural dyes drawn from the kitchen. Onion skins give warm ambers, turmeric a sunny yellow, red cabbage a surprising blue-purple, and black tea a soft tan. Natural dyes are gentle and satisfying, though the colours are usually softer and less permanent than synthetic ones, and most need a mordant such as alum to help them cling to the fibre.
The table below compares the two starting routes so you can pick what suits you.
| Feature | Synthetic tie-dye kit | Natural kitchen dyes |
|---|---|---|
| Colour brightness | Bold and vivid | Soft and muted |
| Wash-fastness | Long-lasting on cotton | Fades faster over time |
| Cost to start | Low, one boxed kit | Very low, uses food scraps |
| Best for | Bright patterns, gifts | Gentle, natural tones |
| Effort | Quick to strong colour | Slower, needs simmering |
Neither is better; they simply give different moods. Many hobbyists happily do both.
Common Beginner Mistakes to Avoid
Almost every first-timer makes at least one of these, so learning them now saves a disappointing wash day.
- Skipping the soda-ash soak. On cotton, this step is what makes colours deep and permanent. Without it, results look washed out.
- Binding too loosely. Tight bands create crisp white lines. Loose bands let colour bleed everywhere and blur the pattern.
- Overloading with colour. Muddy brown is what you get when every colour mixes. Leave some white space, and keep clashing colours apart.
- Dyeing polyester. Household dyes barely touch synthetics, so a poly shirt comes out pale and patchy. Check the label for cotton.
- Rinsing too soon. Give the dye its full resting time before you unwrap and rinse, first in cold water until it runs clear, then a warm wash on its own.
How to Improve and Go Further
Once you have a few shirts under your belt, growing the hobby is easy and cheap. Keep a simple notebook of which folds and colours you used, so you can repeat a favourite. Try dyeing larger or more useful items, such as bedsheets, cushion covers or a canvas tote, which make thoughtful handmade gifts. Explore ice-dyeing, where dye powder is sprinkled over ice on the fabric for a watercolour effect, or dip-dyeing for a smooth gradient.
Store leftover dye powder somewhere cool and dry, sealed tightly, because Singapore’s humidity will clump it over time. And remember that if you ever think of selling your pieces, that is a separate step with its own rules; check current guidance from the relevant authorities before treating a hobby as a business.
Most of all, keep it playful. The pieces that surprise you are usually the ones you did not overthink. Start small, use up those old white shirts, and let the colours do the work.
Explore more
If dyeing has you hooked on working with cloth, try block printing on fabric for crisp, repeatable patterns, or slow things down with visible mending and sashiko. You might also enjoy the tactile calm of punch needle as a next textile adventure.