

There is a particular moment in every first pottery lesson when a lopsided lump of clay suddenly runs true under your hands. That feeling is why so many people book a wheel throwing class in Singapore, whether as a date idea, a team outing or the start of a long hobby. This guide is about the wheel specifically: how classes are structured, what you actually do on the day, how long before you get your pieces back, and how to choose between a one-off taster and a proper course.
Hand-building, glazing-only sessions and painting pre-made bisque are all lovely, but they are different activities. If what you want is to sit at a spinning wheel and pull up a pot, read on.
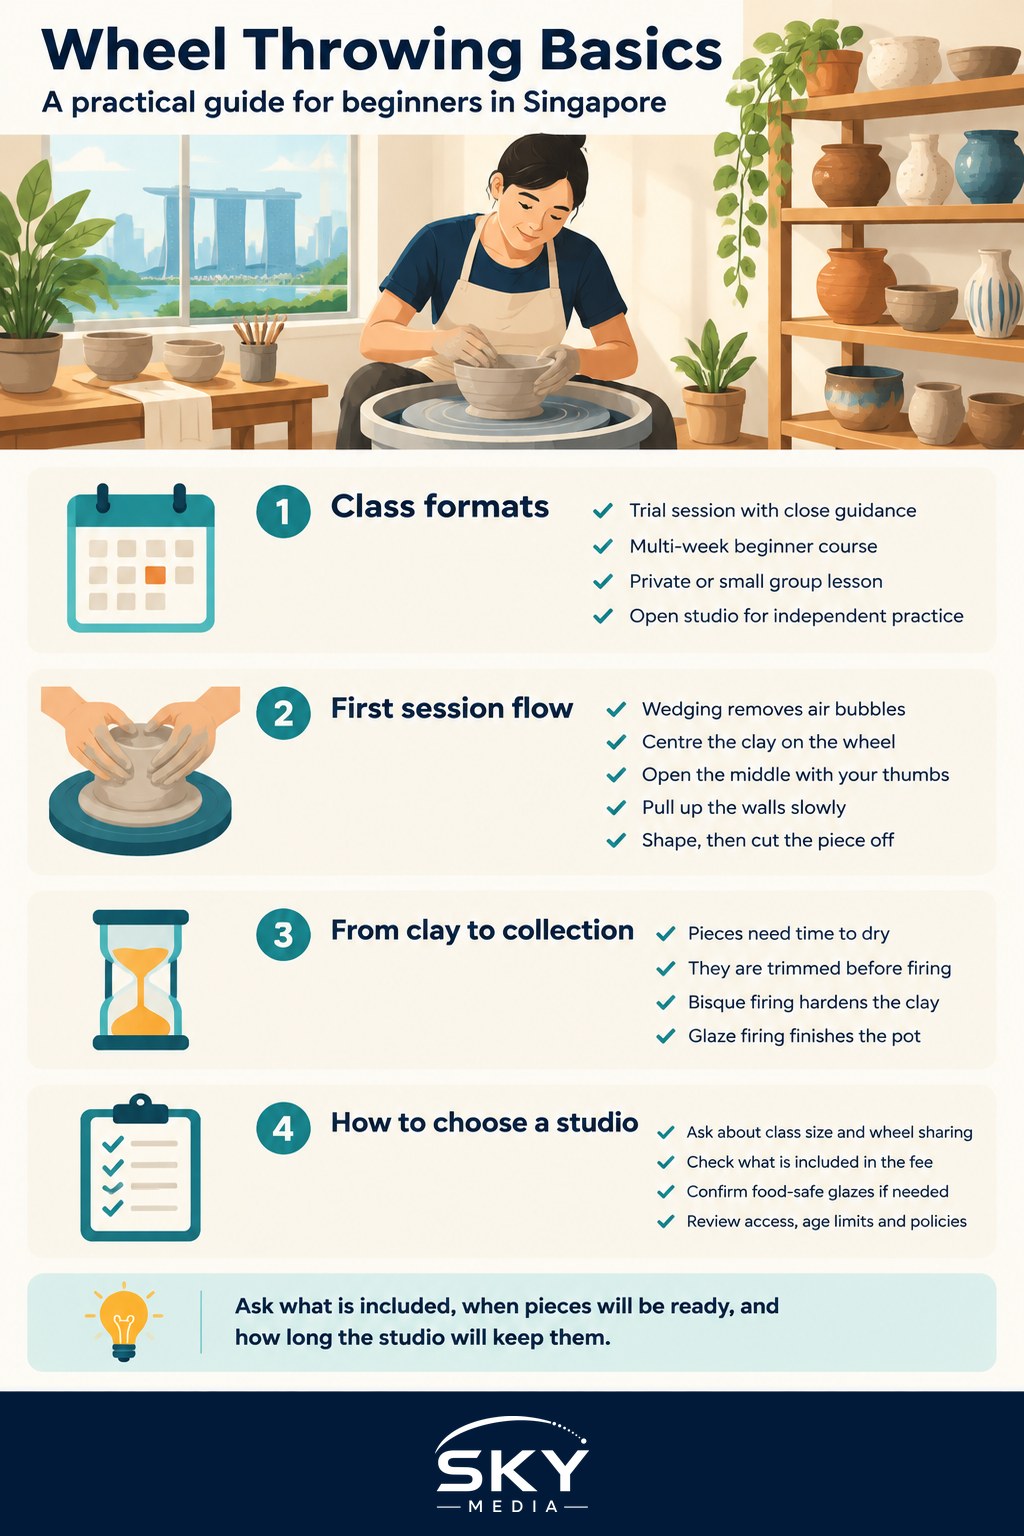
Types of Wheel Throwing Classes
Studios across Singapore tend to offer a similar range of formats. Names vary, so read the description rather than relying on the title.
| Class format | What you do | Best for | What to check |
|---|---|---|---|
| Trial or taster session | A single session on the wheel with close guidance, often making one or two small pieces | First-timers, couples, gifts | Whether glazing and firing are included or cost extra |
| Multi-week beginner course | Weekly sessions building from centering to trimming and glazing | People who want a real skill | Total number of sessions, make-up class policy |
| Private or small group lesson | One instructor for one to a few people | Faster progress, special occasions | Group size and whether the time is fully on the wheel |
| Open studio or membership | Independent practice time using the studio’s wheels and kilns | Students who have finished a course | Prerequisites, clay and firing charges, booking rules |
Prices, inclusions and schedules change, so confirm the current details with each studio before you pay.
What Happens in Your First Session
Most beginner classes follow a familiar rhythm, even if each instructor has their own style.
- Wedging the clay. You knead the clay to remove air bubbles and even out its texture. Trapped air can cause pieces to crack or burst in the kiln, so instructors take this step seriously.
- Centering. The clay is pressed into a steady, symmetrical mound in the middle of the spinning wheel head. This is the hardest skill for beginners, and it is normal to need help.
- Opening. You press your thumbs or fingers down into the centre to create a well, leaving enough clay at the bottom for a base.
- Pulling up the walls. With one hand inside and one outside, you lift the clay upward to form a cylinder. Slow wheel speed and steady hands matter more than strength.
- Shaping. The cylinder is gently widened into a bowl or cup shape.
- Cutting off. A wire tool slices the piece off the wheel so it can dry.
Expect to collapse a piece or two. Instructors usually treat this as part of learning, and some of your best lessons come from understanding why a wall went thin or wobbly.
From Wet Clay to Finished Pottery: The Timeline
This is the part many first-timers do not expect. You do not take your mug home on the day. Clay needs time to dry, be trimmed, fired, glazed and fired again.
- Drying to leather-hard. The piece firms up enough to be handled.
- Trimming. The base is refined on the wheel, often in a later session or by studio staff for trial classes.
- Bisque firing. The first kiln firing hardens the clay.
- Glazing. You or the studio apply glaze. Some trial classes let you choose a colour from a sample board.
- Glaze firing. The second firing melts the glaze into a glassy surface.
Studios fire in batches, so the wait from class to collection can stretch over several weeks. Ask for the expected collection window, whether the studio will message you when pieces are ready, and how long they will hold uncollected work. If you need a finished piece by a certain date, such as a birthday, tell the studio upfront.
How to Choose a Wheel Throwing Studio
Look past attractive photos and ask practical questions.
- Ratio of students to instructor. Centering is hard to learn without someone watching your hands. Smaller groups usually mean more correction.
- One wheel per person. Some sessions share wheels between participants. Ask whether you get your own wheel for the whole session.
- What is included. Clay, tools, apron, trimming, glazing and both firings may or may not be bundled.
- How many pieces are fired. Some studios fire every piece you make, others let you choose a set number.
- Food safety of glazes. If you plan to drink from your mug, ask whether the glazes used are suitable for food and drink.
- Location and access. Studios are spread across the island, some in industrial buildings or shophouses. Check whether the venue has lifts or steps if accessibility matters to you.
- Cancellation and rescheduling terms. Courses run over several weeks, so understand the policy for missed lessons before committing.
- Age limits. Many studios set minimum ages for wheel classes, and some run separate sessions for children. Confirm before booking for a family.
Read recent reviews for comments on teaching quality rather than just the décor.
What to Wear and Bring
Clay gets everywhere, and that is half the fun.
- Clothes you do not mind staining. Clay usually washes out, but glazes and slip can mark fabric.
- Short or trimmed fingernails. Long nails gouge the clay and make centering harder.
- Remove rings and bracelets before you start.
- Tie back long hair.
- Closed or easy-to-clean shoes. Studio floors can be wet.
- A small towel, though most studios provide aprons and cleaning areas.
If you have wrist, back or skin concerns, mention them to the instructor. Wheel work involves sitting bent forward for a long stretch, and some people find gloves or adjusted seating more comfortable.
Building the Habit After Your First Class
If the taster hooks you, a structured multi-week course is the usual next step. Once you can centre and pull consistent walls, many studios allow you to move on to open studio sessions, where you practise on your own schedule.
A few tips for progressing:
- Practise centering above all else. Almost every problem later traces back to off-centre clay.
- Make many small cylinders before trying plates or large vases.
- Keep notes on what went wrong and how the instructor corrected it.
- Do not get attached to early pieces. Recycling clay is normal.
Pottery pairs well with other hands-on crafts. If you enjoy the slow, tactile focus, you may also like woodworking classes or silversmithing classes for beginners, both of which reward the same patience and practice.
Ready to Book
A wheel throwing class in Singapore is one of the most satisfying ways to spend an afternoon offline. Start with a taster to see if you enjoy the feel of the wheel, ask clear questions about inclusions and collection times, and give yourself permission to make wonky bowls. Everyone does at first.
Frequently Asked Questions
Why can’t I take my pottery home on the day? Clay needs time to dry, be trimmed, fired, glazed and fired again. Studios fire in batches, so the wait from class to collection can stretch over several weeks. Ask for the expected collection window and how long uncollected work is held.
Is it normal to collapse my pot in a first wheel class? Yes. Expect to collapse a piece or two. Instructors usually treat it as part of learning, and centering is the hardest skill for beginners, so needing help is normal.
Can I drink from a mug I made in class? Ask the studio whether the glazes used are suitable for food and drink before you plan to use it that way. Glazing and firing practices vary between studios, so get a clear answer rather than assuming.
What should I do about long nails or rings for pottery? Keep nails short or trimmed, since long nails gouge the clay and make centering harder. Remove rings and bracelets before you start and tie back long hair. Tell the instructor about wrist, back or skin concerns.
What should I practise to improve quickly at the wheel? Focus on centering first, since almost every later problem traces back to off-centre clay. Make many small cylinders before trying plates or large vases, and keep notes on what went wrong. Do not get attached to early pieces.