
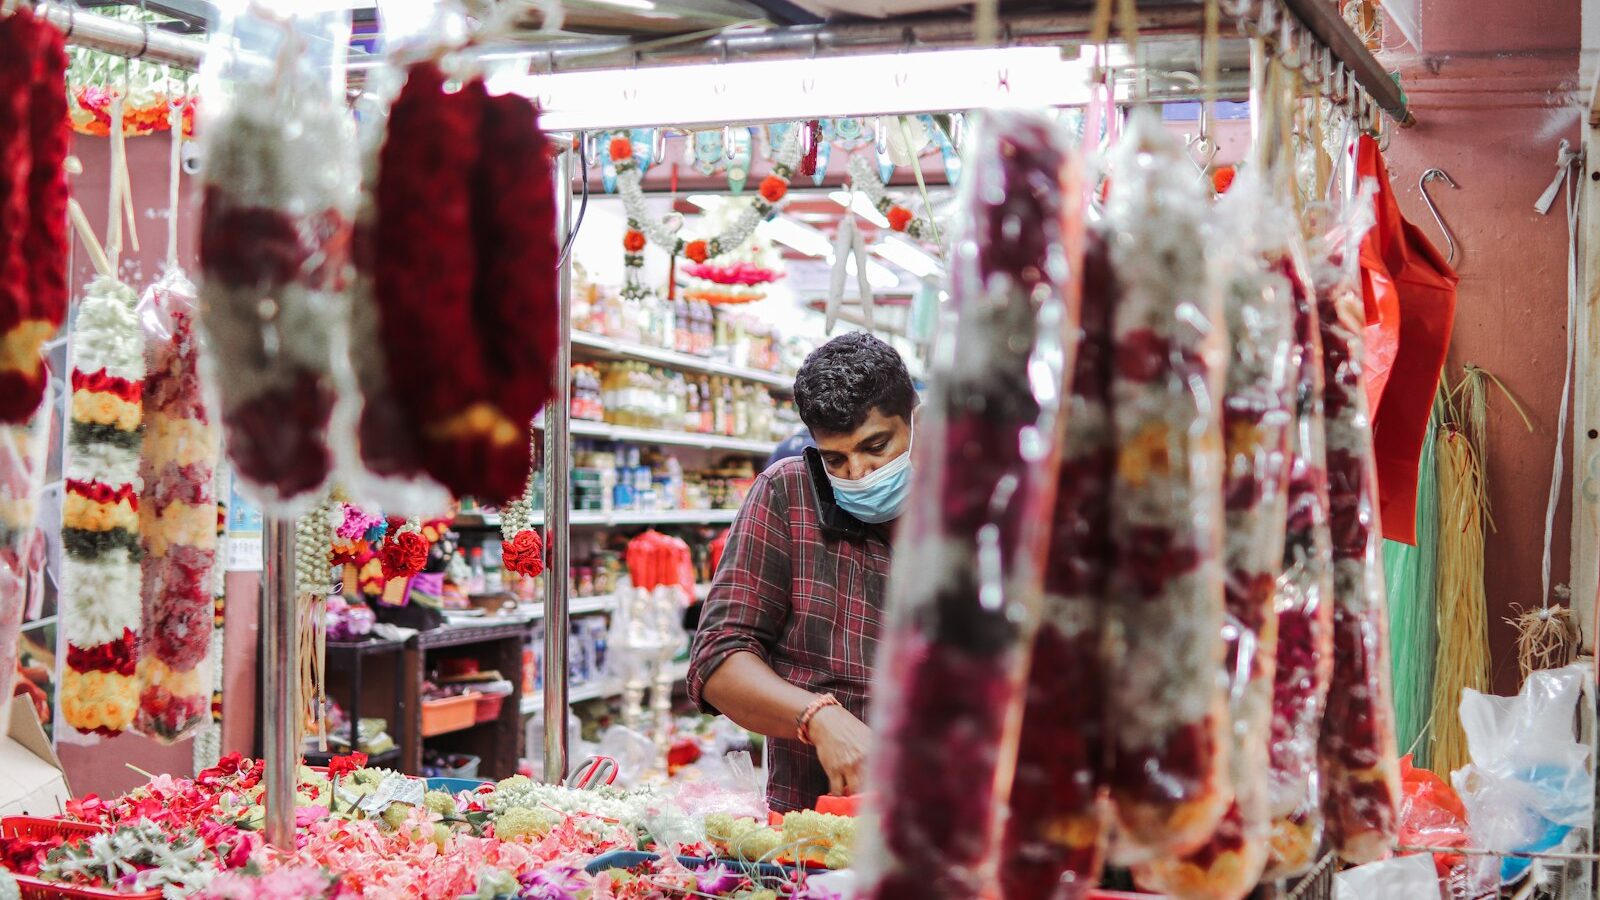
A wreath is really just a circle of gathered things, and that simple form has a way of making a doorway or a wall feel cared for. If you have been looking into wreath making Singapore style, with dried and preserved flowers rather than fresh blooms that wilt in a day, you are in for a genuinely rewarding craft. Dried flowers last for months, forgive slow beginners, and let you build something beautiful over an unhurried afternoon.
Working with dried and preserved materials suits our climate far better than fresh florals for a hobbyist. There is no rush against wilting, no need for water, and a finished wreath can hang happily indoors for a long time. The craft rewards patience and an eye for texture more than any technical skill, which makes it a lovely place to start.
Understanding Your Materials
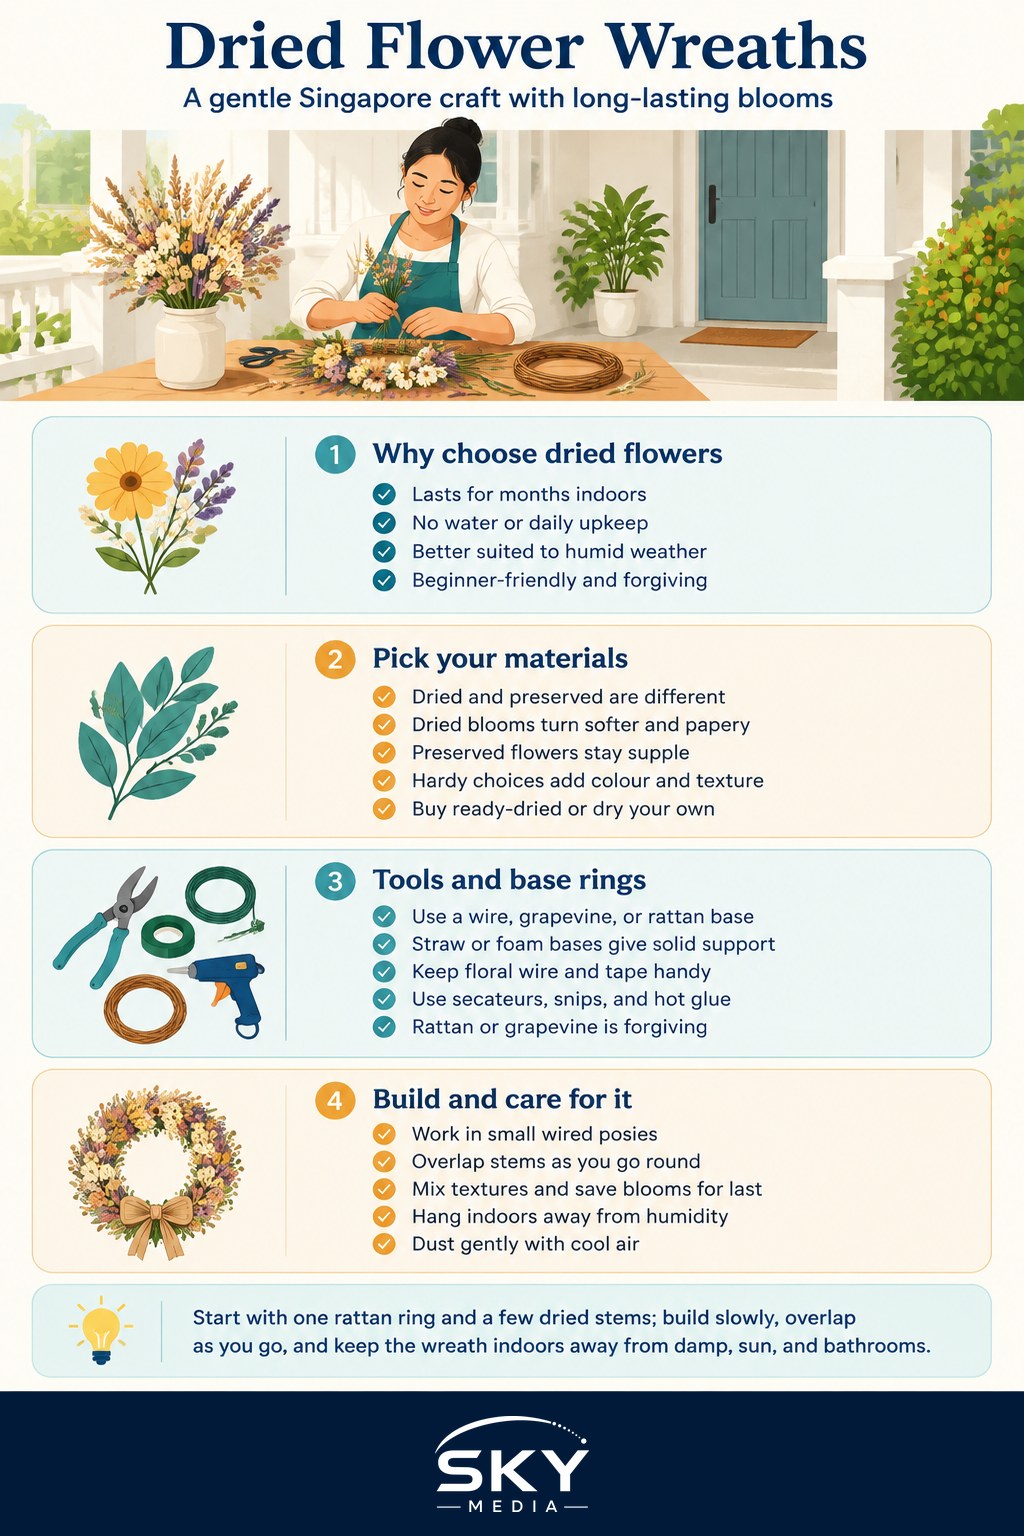
Dried and preserved are not quite the same thing, and knowing the difference helps you shop well. Dried flowers are simply blooms that have had their moisture removed, so they keep their shape but often fade to softer, papery tones. Preserved flowers and foliage have been treated so they stay supple and vividly coloured, which costs more but looks lush.
Popular, hardy choices for beginners include:
- Bunny tails, pampas, and other dried grasses, which add movement
- Statice, strawflowers, and gomphrena, which hold colour well
- Preserved eucalyptus and ruscus for green structure
- Seed heads, pods, and dried leaves for texture
You can buy these ready-dried from craft and florist suppliers, which is the easy route, or you can dry your own. Air drying is the classic method, hanging small bunches upside down in a dark, airy spot. In a humid flat this can be slow and risks mould, so hang bunches loosely with good airflow, run a fan or the air conditioning, and check them often. Silica gel drying in an airtight box gives faster, more reliable results for precious blooms.
The Base and the Tools
Every wreath starts with a base ring, and your choice shapes the final look. A wire ring is light and mostly hidden by your materials. A grapevine or rattan base is sturdy and rustic, and you can tuck stems straight into it. A straw or foam base gives a solid body to pin into. For a first wreath, a rattan or grapevine ring is the most forgiving.
Your basic toolkit is short:
- A wreath base of your chosen type
- Floral wire and floral tape
- Sharp secateurs or wire snips
- A hot glue gun for securing delicate pieces
- Ribbon or twine for hanging
A quick safety word, since this is hands-on work. A glue gun runs genuinely hot, so keep a heatproof surface underneath, mind your fingertips, and never leave it plugged in unattended, especially around children. Secateurs and wire are sharp, so cut away from yourself and store them safely.
Building Your First Wreath
The reliable method is to work in small bunches rather than placing single stems. Gather three or four pieces into a little posy, wire the stems together, and lay it on the base. Then lay the next posy so its flowers cover the stems of the first, and wire that down too. Keep going in one direction around the ring, always overlapping, and the wreath builds itself into a smooth, full circle.
A few habits make the result look intentional:
- Decide on a focal point or keep it even all the way round before you start
- Vary your textures, mixing a fluffy grass with a firm seed head and a pop of colour
- Turn the wreath as you work so you keep the density consistent
- Save your most striking blooms to glue on last, once the base layer is done
Do not overthink symmetry. A slightly wild, asymmetric wreath often looks more alive than a perfectly balanced one.
Caring for Dried Wreaths in Singapore
The enemy of a dried wreath here is moisture and dust. Hang yours indoors, out of direct sun, which bleaches colour, and away from bathrooms or kitchens where humidity spikes. A gentle puff from a hairdryer on the cool setting clears dust without breaking brittle petals. Kept well, a wreath easily lasts a year or more before it starts to look tired.
If you catch the bug, wreaths open a door to a whole family of botanical crafts. You might enjoy the delicate work of pressed flower crafts, the living arrangements of flower arranging and ikebana, or a nearby paper craft like paper quilling for making tags and toppers.
Where to Learn and Buy
Craft studios and florists around the island run wreath making workshops, especially in the run-up to festive seasons, and they are a fun way to spend an afternoon with friends. For supplies, florist wholesalers and craft shops stock bases, wire, and dried stems, while online sellers offer preserved flowers in colours you will not always find in person. Community centres sometimes run seasonal sessions too.
Start with a single rattan ring, a bag of mixed dried grasses, and one bunch of something colourful. Build your first circle slowly, overlapping as you go, and hang it where you will see it every day. There is real quiet joy in a craft that turns a handful of dried stems into something that greets you at the door.
Further reading: Making a Living Wreath or Arrangement