
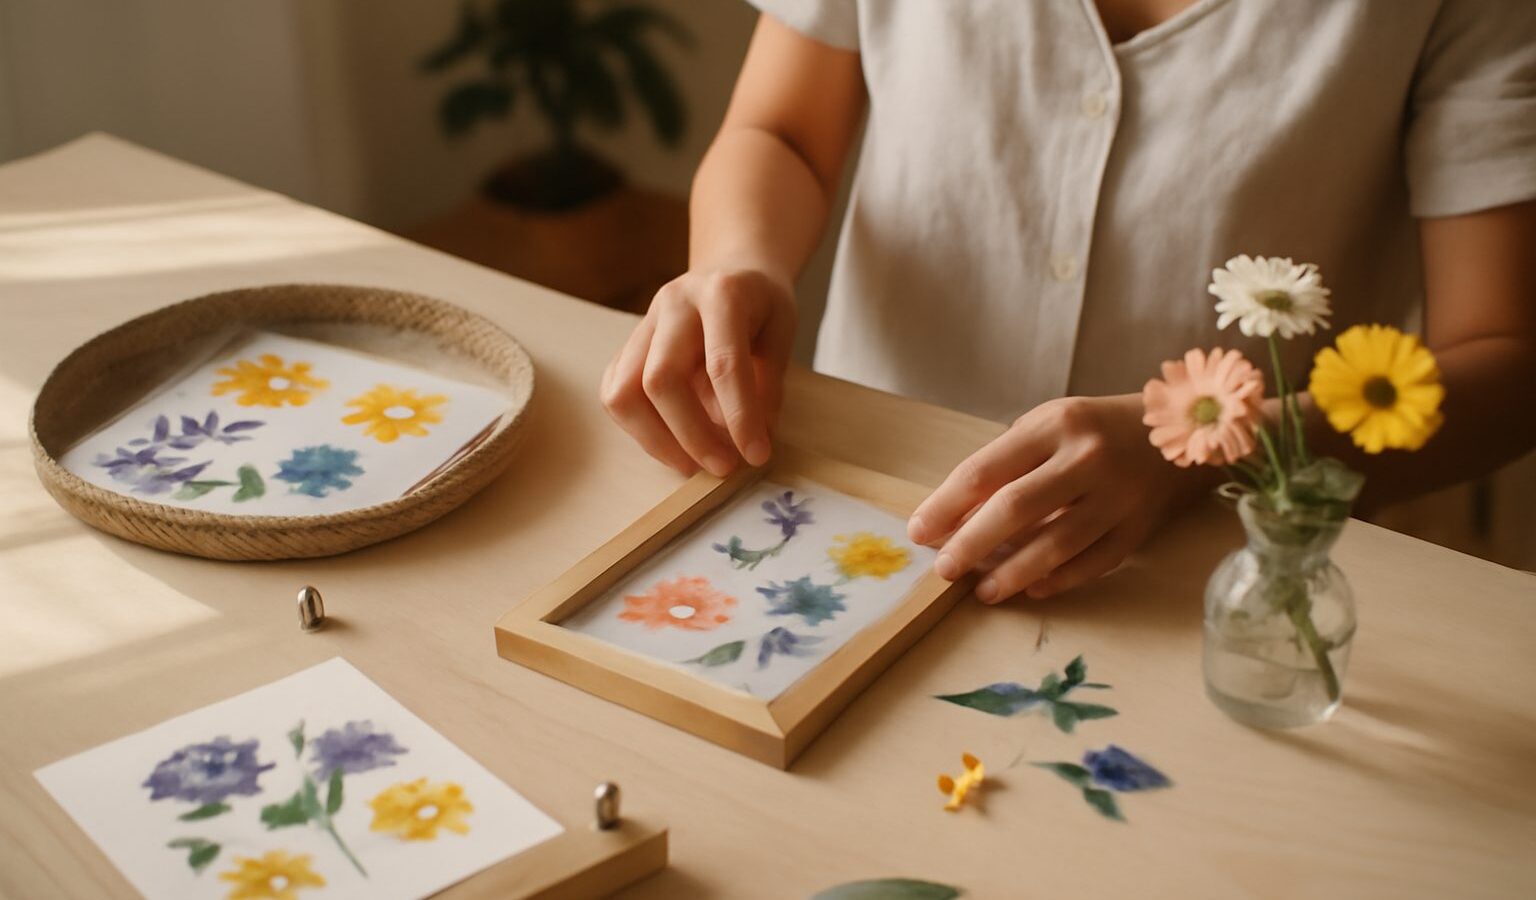
Pressed flowers turn something fleeting into something you can keep. A bloom that would wilt in a day becomes a flat, papery keepsake you can frame, tuck into a card, or seal under resin years later. It is one of the gentlest crafts to take up: no sharp tools, no noise, almost no cost, and a table’s worth of space is all you need. For a Singapore beginner, the real skill is not the pressing itself but working with our climate, and once you understand that, the rest is delightfully easy.
This guide covers how to gather and press flowers here, the two main pressing methods, your first simple project, and how to keep humidity from ruining your work. If you have ever wanted a slow, calming hobby that leaves you with something beautiful, pressed flowers are a lovely place to begin.
Why Pressed Flowers Suit Singapore Beginners
Flower pressing is patient by nature, which makes it a wonderful antidote to a busy week. You prepare your blooms in a few minutes, then wait, and the waiting is part of the pleasure. Because everything happens flat and dry, the craft fits into the smallest HDB flat: a heavy book on a shelf or a slim press in a drawer is all the storage you need.
It is also almost free to start. Your first flowers can come from a walk around the neighbourhood, a bunch bought for the home, or even trimmings from a balcony pot. The tools are things most homes already own. And unlike crafts that need heat or chemicals, pressing is safe to do around the family, so long as you keep any silica gel packs away from young children, who might mistake the beads for sweets.
Choosing and Preparing Local Blooms
The blooms you choose matter more than any technique. Flat, thin flowers press best because there is less moisture to remove. Thick, fleshy tropical flowers hold a lot of water and tend to brown or rot, so they are a harder start.
Good beginner-friendly choices are flowers and foliage that are naturally slim: small daisy-like flowers, ferns and leaves, bougainvillea bracts, orchid petals separated from the flower, and delicate grasses. Around Singapore you can find plenty of these in gardens, along park connectors, and in bunches from a florist or wet market. Only pick from your own plants or where picking is clearly allowed; leave public and reserve plantings alone.
A few habits set you up to succeed:
- Gather flowers when they are dry, ideally late morning after any dew has gone, not after rain.
- Choose blooms that are fresh and just opened, since older flowers fall apart.
- Press as soon as you can after picking, because our heat wilts flowers fast.
- Pat off any surface moisture, and for thicker flowers, gently flatten or halve them first.
Two Ways to Press: Book vs Silica Gel
Beginners in Singapore quickly discover that the classic heavy-book method, which works fine in cooler, drier countries, can struggle here because our damp air slows drying and invites mould. That is why many local crafters reach for silica gel or a proper flower press. This comparison shows when each approach works best.
| Method | Best for | What to watch in our climate |
|---|---|---|
| Heavy book or flower press | Thin flowers, leaves, grasses | Change the paper often so damp does not cause mould |
| Silica gel | Thicker or moisture-rich blooms | Keep the container sealed and reuse dried gel |
| Microwave press | Quick results, small pieces | Use short bursts to avoid scorching petals |
The takeaway is simple: for flat, papery blooms, a book or press with frequent paper changes is cheap and effective. For anything thicker, or during a stretch of rainy weather, silica gel pulls moisture out faster and gives cleaner colour. Many people use both, matching the method to the flower.
Pressing Step by Step
To press with a book, the most affordable method, start by laying each flower flat between two sheets of plain absorbent paper, such as blotting paper or newsprint without ink. Kitchen towel works in a pinch. Arrange the petals exactly how you want them to dry, because they set in that shape.
Close the paper inside a heavy book, then stack more books or a weight on top. Here is the single most important local tip: open it up every day or two and swap in fresh, dry paper. In our humidity, the paper draws moisture from the flower and then holds it, so changing it prevents that musty smell and the brown spots that signal mould. Most thin flowers are fully pressed and paper-dry in two to three weeks.
For silica gel, bury the flower gently in a sealed container of the fine beads, cover it completely, and seal the lid. Thin flowers may be ready in a few days, thicker ones in about a week. The gel keeps its shape better and preserves colour well. Once your beads feel damp or change colour, dry them out in a low oven and reuse them; a bag of silica gel lasts a long time.
Your First Simple Project
A framed arrangement is the perfect first project because it shows off your flowers with no fiddly assembly. Choose a simple frame with glass, cut a piece of plain card to fit as a background, and lay out your pressed flowers before you fix anything. As with scrapbooking, move the pieces around first until the composition pleases you.
When you are happy, dab a tiny spot of clear-drying glue on the back of each flower, or use small strips of acid-free tape, and press gently into place. Close the frame so the glass holds everything flat. Hang it away from direct sunlight, which fades pressed flowers over time.
Once you have the knack, the same flowers can go into bookmarks sealed with clear film, greeting cards, or a phone case with a clear back. Keep your best specimens flat between sheets of paper in a labelled folder so they are ready whenever inspiration strikes.
Keeping Pressed Flowers Looking Good
Because they are dry and delicate, pressed flowers are vulnerable to the same humidity that made them tricky to press. Finished pieces last far longer with a little care.
- Seal framed or laminated pieces so damp air cannot creep back in.
- Store spare pressed flowers with a small silica gel pack in a flat, airtight folder or box.
- Keep everything out of direct sunlight and away from bathrooms and outside walls.
- If a piece starts to look faded, treat it as part of the charm; pressed flowers are naturally impermanent, and that is part of their quiet appeal.
Common Beginner Mistakes
The most frequent slip is choosing flowers that are too thick, then being disappointed when they brown. Start thin and flat, and save the ambitious blooms for when you have some silica gel and a little experience. The second is forgetting to change the paper, which in our climate is the difference between crisp flowers and mouldy ones. The third is rushing: opening the press too early leaves flowers that are still damp and will wrinkle. Patience really is the whole craft, and it rewards you every single time.
Explore More
Pressed flowers sit happily alongside other calm paper crafts. Slip your best blooms into a handmade card with card making and papercraft, or preserve a whole season of them in a scrapbook. For another quiet, patient craft that turns simple materials into something beautiful, take a look at paper quilling for beginners.