
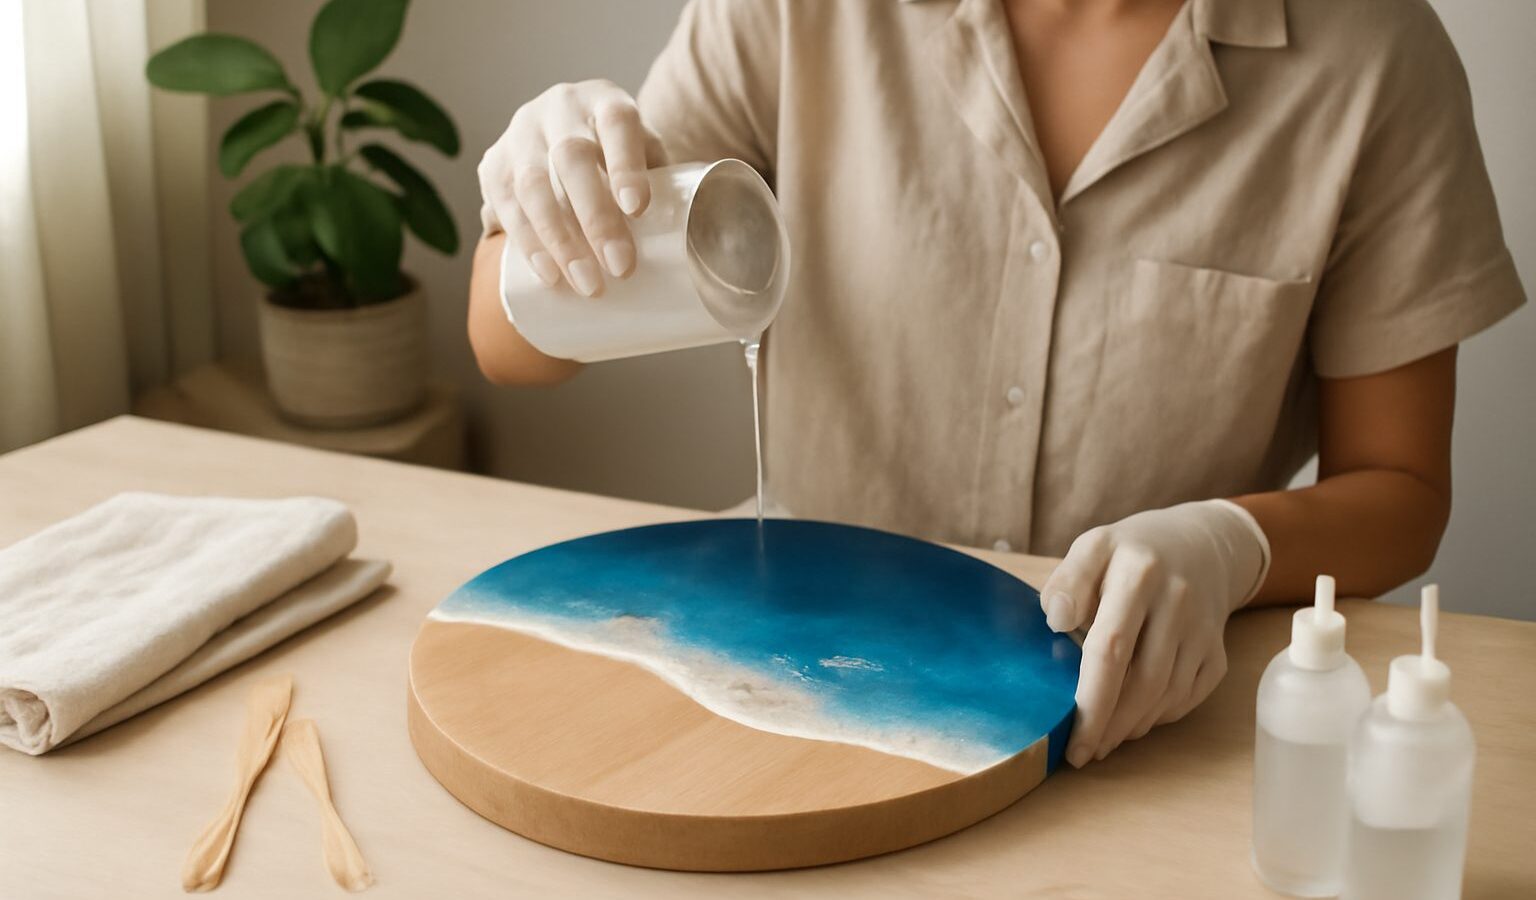
Glossy coasters, jewellery that looks like it holds a drop of the sea, keepsakes with real flowers suspended inside: resin art has a magic that is hard to resist. The good news is that resin art in Singapore is very approachable for a beginner. With one starter kit, a covered table and an afternoon, you can pour your first piece and watch it cure into something clear and glassy. It is forgiving of imperfections, endlessly customisable, and deeply satisfying to make.
This guide covers how resin works, the supplies that get you going, how to work safely and around our humidity, and where to find materials and classes across the island. Treat your first pours as practice, keep your expectations gentle, and enjoy the surprise of lifting a finished piece from its mould.
How Resin Art Works
Most resin art uses two-part epoxy resin: a resin and a hardener that you measure and mix together in a precise ratio, usually one to one or two to one by volume, depending on the brand. Once mixed, a chemical reaction begins, the liquid slowly thickens, and over several hours it cures into a hard, clear, glossy solid. You have a working window, often twenty to forty minutes, to add colour and arrange your design before it sets.
Within that window you can tint the resin with pigments, add glitter or mica, embed dried flowers, photos or small trinkets, and pour into moulds or over a flat surface. Because timing and ratios matter, resin rewards a little planning: mix your colours, lay out your inclusions, and have everything ready before you combine the two parts. Read your specific product’s instructions each time, as cure times and ratios differ between brands.
Beginner Projects and What Suits Whom
You do not have to start with anything ambitious. Some projects are far kinder to first-timers than others, and choosing well makes early wins likely. Here is a rough guide.
| Project | Difficulty | Why it suits beginners |
|---|---|---|
| Coasters and trinket trays | Easy | Flat pours, silicone moulds, quick to demould |
| Keychains and pendants | Easy | Small, cheap to repeat, low waste if it goes wrong |
| Bookmarks and magnets | Easy | Thin pours cure evenly, fun with dried flowers |
| Ocean or geode wall art | Harder | Layering and blending take practice and more resin |
Start flat and small. Coasters and keychains use little resin, cure predictably, and let you learn colouring and demoulding without much pressure. Larger art pieces and deep pours introduce heat build-up and bubbles, so save those for once you are comfortable.
What You Need to Start
A basic resin kit is compact and does not demand much room. For a first session, gather:
- A beginner two-part epoxy resin kit made for crafts and casting
- Silicone moulds, such as coasters or keychains, which flex to release your pieces
- Measuring cups and wooden or silicone stir sticks
- Nitrile gloves, and pigments or mica powders made for resin
- A heat gun or a small kitchen torch to release trapped bubbles, plus something to cover and level your table
Optional extras that make life easier include a plastic sheet or silicone mat to protect surfaces, painter’s tape, and dried flowers, glitter or sea glass for inclusions. A little cardboard box turned over your curing pieces keeps dust off while they set.
Budgets are flexible. A starter kit with resin, a few moulds and basic pigments is an affordable way to test the waters, mid-range spending adds better moulds and a wider colour set, and premium buys bring speciality resins and tools. Resin, pigment and mould prices change often and vary by brand, so check the retailer or studio for current rates rather than trusting any single figure.
Working Safely and Around the Humidity
Resin is safe and enjoyable when you handle it sensibly, and a few habits keep every session comfortable. None of this should put you off; it is simply good craft practice.
Work in a well ventilated space, open a window or run a fan, and wear nitrile gloves so resin does not touch your skin. Keep it off food surfaces, protect your table, and follow the safety instructions printed on your specific product, since brands differ in their guidance. A mask rated for fumes is a sensible extra if your space is enclosed or you are sensitive to smells. Keep resin and its containers away from children and pets, and let pieces cure fully before handling them bare-handed. Cured, fully hardened resin is stable and food-safe only if the product states so, so check the label before making anything that touches food or drink.
Our tropical climate matters here too. High humidity can leave a cloudy or tacky surface, and cool air conditioning slows curing. For the clearest results, mix and cure in a dry, warm, dust-free spot, avoid pouring right after rain when the air is heaviest, and gently warm your resin bottles in a bowl of warm water to help it flow and release bubbles. Store unused resin and hardener sealed, upright and away from direct heat and damp so they last.
Making Resin Art in an HDB Flat
Resin art fits small-space living well. You need only a table you can cover, a bit of ventilation, and a dust-free corner where pieces can cure undisturbed for a day or so. Lay down a silicone mat or plastic sheet, keep a dedicated set of cups and sticks for resin, and you can pack everything into a single box between sessions. A covered balcony with airflow, or a room with a window and a fan, works nicely.
Where to Learn and Buy in Singapore
Finding supplies locally is straightforward. Craft chains such as Spotlight and value shops like Daiso stock moulds, mixing cups and basic tools, while Art Friend carries pigments and accessories. Dedicated resin and craft suppliers, many online with local delivery, sell beginner epoxy kits, silicone moulds, mica powders and inclusions, and buying a small kit first lets you test before committing to larger quantities.
To learn hands-on, resin art workshops run by craft studios and community centres are a relaxed, guided way to complete your first coaster or tray with all materials provided. Online tutorials and beginner communities are excellent for troubleshooting bubbles, cloudiness and cure problems between sessions. Workshop and class fees vary, so confirm current pricing directly with the provider.
Begin with one small coaster or keychain, enjoy the pour, and let your confidence grow from there. Resin art gives beginners quick, glossy, giftable results and plenty of room to keep exploring.
Explore more
If resin art has caught your eye, you may enjoy other hands-on making crafts. Try a beginner’s guide to candle making in Singapore for another pour-and-set project, or work with your hands in getting into pottery and ceramics. Not sure which craft is yours yet? Start with how to find a new hobby in Singapore.