
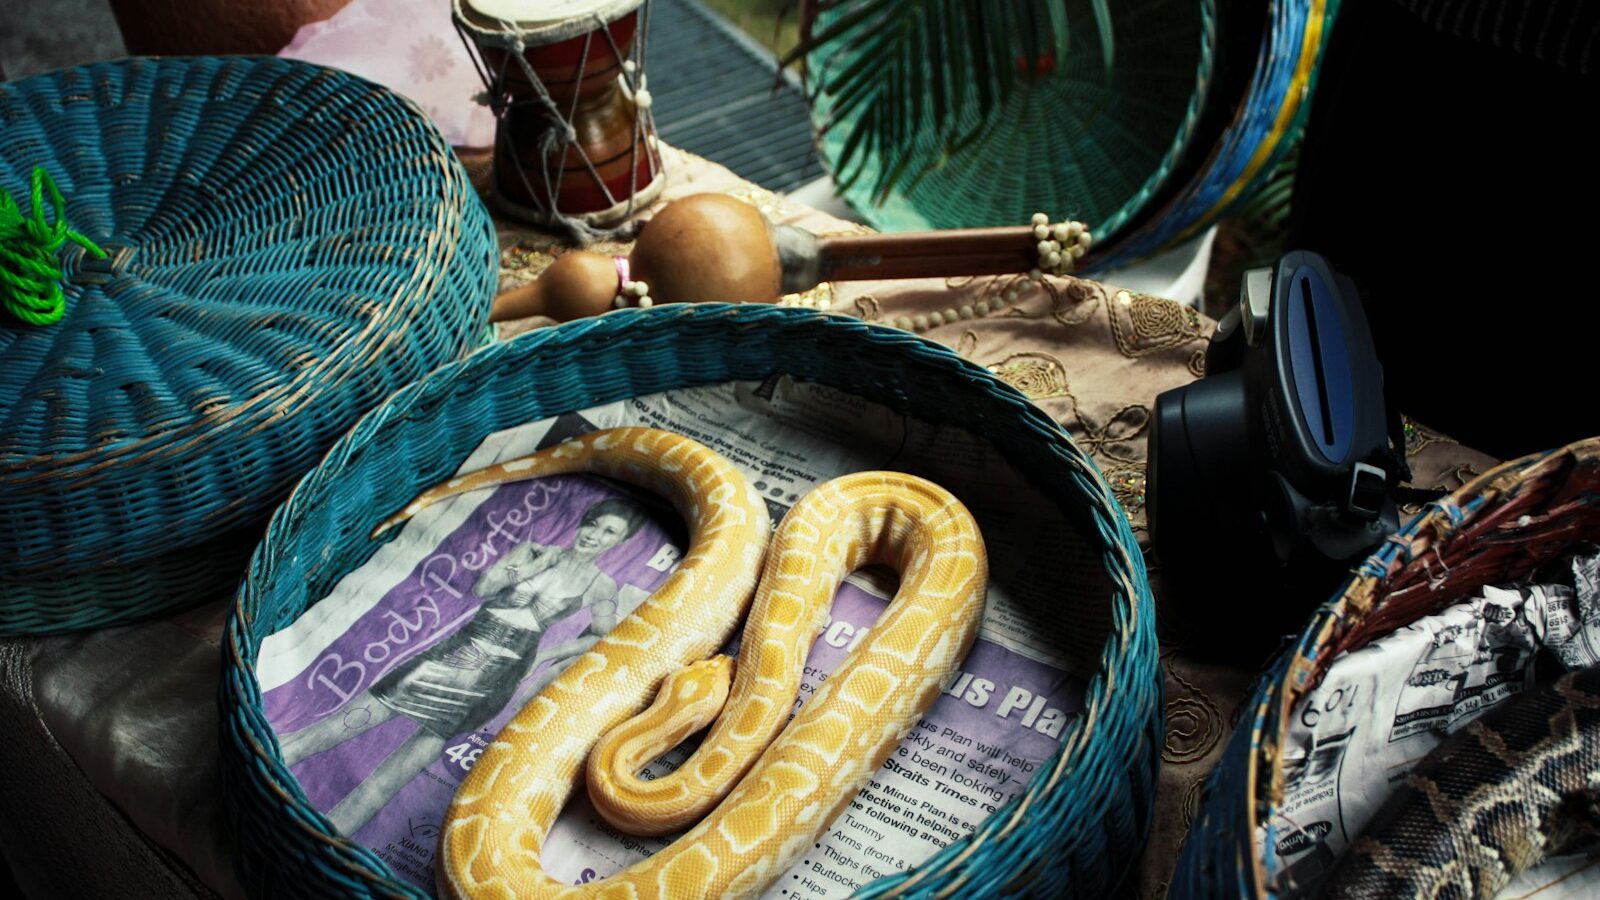
Few crafts feel as grounding as turning a pile of humble fibre into something you can actually hold and use. Basket weaving is one of the oldest human crafts, practised in almost every culture, and it is far more approachable than it looks. You do not need a workshop, expensive machinery or years of training. With a handful of materials and an afternoon, you can make a small, wonky, entirely lovable first basket.
This guide is for the complete beginner in Singapore. We will look at what basket weaving involves, the materials and few tools you need, simple first projects, the mistakes everyone makes, and how to weave sensibly in a small flat and a humid climate. It is honest about the mess, the patience required and the real learning curve, but the barrier to entry is genuinely low.
The Quiet Appeal of Weaving by Hand
At its heart, basket weaving is the craft of interlacing flexible material, such as cane, rattan, seagrass, paper or reed, over and under a framework to build a hollow shape. The repetitive over and under motion is soothing, almost meditative, and many people describe weaving as a way to switch off from screens and settle a busy mind.
The results are useful too, which is part of the charm. A basket holds fruit, keys, yarn or plants, so your practice pieces earn their place around the home instead of gathering dust. It is a tactile, forgiving craft where small irregularities read as handmade character rather than mistakes.
Weaving also sits comfortably alongside other slow fibre hobbies. If you enjoy the rhythm here, you may like the same qualities in hand spinning yarn or amigurumi crochet toys, which share that same calming, repetitive appeal.
What You Need to Start
Basket weaving needs surprisingly little kit. A basic starter set looks like this:
- A weaving material to begin with. Beginners often start with round reed or cane, flat reed, seagrass or even sturdy paper cord, all of which are pliable and easy to handle.
- A base or framework, which can be woven from the same material or, for coiled baskets, simply a bundle of fibre you stitch around.
- A few simple tools: sharp scissors or secateurs to cut fibre, a spray bottle or basin of water to soak natural material, a blunt tool like a bodkin or a large knitting needle to open gaps, and clothes pegs to hold your work.
- A towel and a bucket, because natural fibre must be dampened, and weaving is a slightly drippy activity.
That is the whole list. You do not need a loom or any large equipment. Natural materials are sold generically at craft shops and online; check current stock and prices locally rather than trusting any figure you see quoted.
A quick safety note, since it is a mostly gentle craft. The main risks are minor: sharp scissors and secateurs, the odd splinter from stiff cane, and fibre ends that can poke fingers. Cut away from yourself, keep tools out of reach of small children, and a pair of thin gloves helps if your hands are sensitive. Soaking fibre keeps it supple and greatly reduces splinters and snapping.
Choosing Your First Material
Different materials suit different first projects and budgets. This comparison helps you pick a starting point.
| Material | Feels like | Good first project | Keep in mind |
|---|---|---|---|
| Round reed or cane | Firm, springy, classic | Small round or coiled bowl | Must be soaked so it bends without cracking |
| Flat reed | Ribbon like and easy to see | Simple square based basket | Can crease if bent too sharply when dry |
| Seagrass or rush | Soft, rope like, natural smell | Coiled mat or soft basket | Thickness varies, so tension takes practice |
| Paper cord or recycled paper | Clean, dry, no soaking | Small desk tidy or coaster | Less durable and not for anything wet |
If you want the least mess and fuss, paper cord lets you weave straight away with no soaking. If you want the traditional feel and a sturdier result, soaked round reed is the classic beginner choice.
Simple First Projects and First Steps
Do not begin with an ambitious lidded hamper. Start small and finish something, because a completed wonky coaster teaches you more than an abandoned masterpiece. Good first projects include:
- A woven coaster or small mat, which teaches the basic over and under weave flat on the table.
- A coiled bowl, where you wrap and stitch a fibre bundle into a spiral. This is one of the most beginner friendly techniques and needs no rigid frame.
- A small round basket with a simple woven base and upright stakes bent up to form the sides.
The core steps are the same across projects. Soak natural fibre for a few minutes until it is bendy but not soggy. Lay out or build your base. Weave your working strand over one stake and under the next, all the way round, keeping the tension firm but not so tight that the shape buckles. When a strand runs out, tuck the end in and start a new one behind a stake. Trim loose ends once everything has dried and tightened.
Expect your first basket to lean, gap or bulge. That is completely normal and part of learning tension by feel.
Common Beginner Mistakes
A few issues catch nearly everyone early on:
- Weaving fibre too dry. Dry natural material cracks and snaps. Keep it damp with a spray bottle as you go.
- Uneven tension. Pulling too tight warps the shape, too loose leaves gaps. Aim for consistent, gentle firmness and it will even out with practice.
- Starting too big. Large projects magnify small errors and sap your motivation. Master a coaster or bowl first.
- Rushing the base. A wonky, loose base makes the whole basket unstable. Take your time on the foundation.
- Not soaking long enough, or too long. Over soaked fibre goes slimy and weak; under soaked fibre fights you. A few minutes is usually right, so test with a gentle bend.
Cost, Space and Weaving in Singapore’s Humidity
Basket weaving is one of the cheaper crafts to try. A starter bundle of reed or seagrass and a few basic tools cost little, and much of what you need, such as scissors and a spray bottle, you may already own. Prices shift, so check current rates at craft shops rather than assuming.
It suits small homes well, though it is not a no space hobby while you work. You need a table or a clear patch of floor, a bucket of water nearby, and a towel down to catch drips. Once you finish, everything packs away into a small box, which is ideal for an HDB flat.
Humidity is the one local factor to respect. Singapore’s damp, warm air means natural fibre can grow mould if stored wet or kept in a stuffy cupboard. Always let finished baskets and leftover material dry fully in an airy spot before storing them, and keep spare fibre in a breathable bag rather than a sealed plastic one. If a basket ever smells musty, air it out in the sun. Kept dry, a handmade basket lasts for years.
Improving and Finding Community in Singapore
To improve, weave regularly and try one new technique at a time, moving from flat weaving to coiling to shaped sides as your confidence grows. Free beginner tutorials and videos are plentiful online, and following along with a simple project is the fastest way to learn tension by hand.
For company and hands on help, look out for weaving and natural craft workshops that appear from time to time at community centres, libraries, art studios and maker spaces. Details and class names change often, so check current listings rather than relying on any specific one. Craft fairs and heritage craft events are also lovely places to see traditional weaving up close and meet others who share the interest.
If you enjoy making practical, handmade objects, weaving also sits well beside crafts like flower arranging and ikebana and decoupage, which turn simple materials into something for the home. Soak a little fibre, weave your first uneven row, and let your hands learn the rhythm of one of the world’s oldest and most satisfying crafts.