
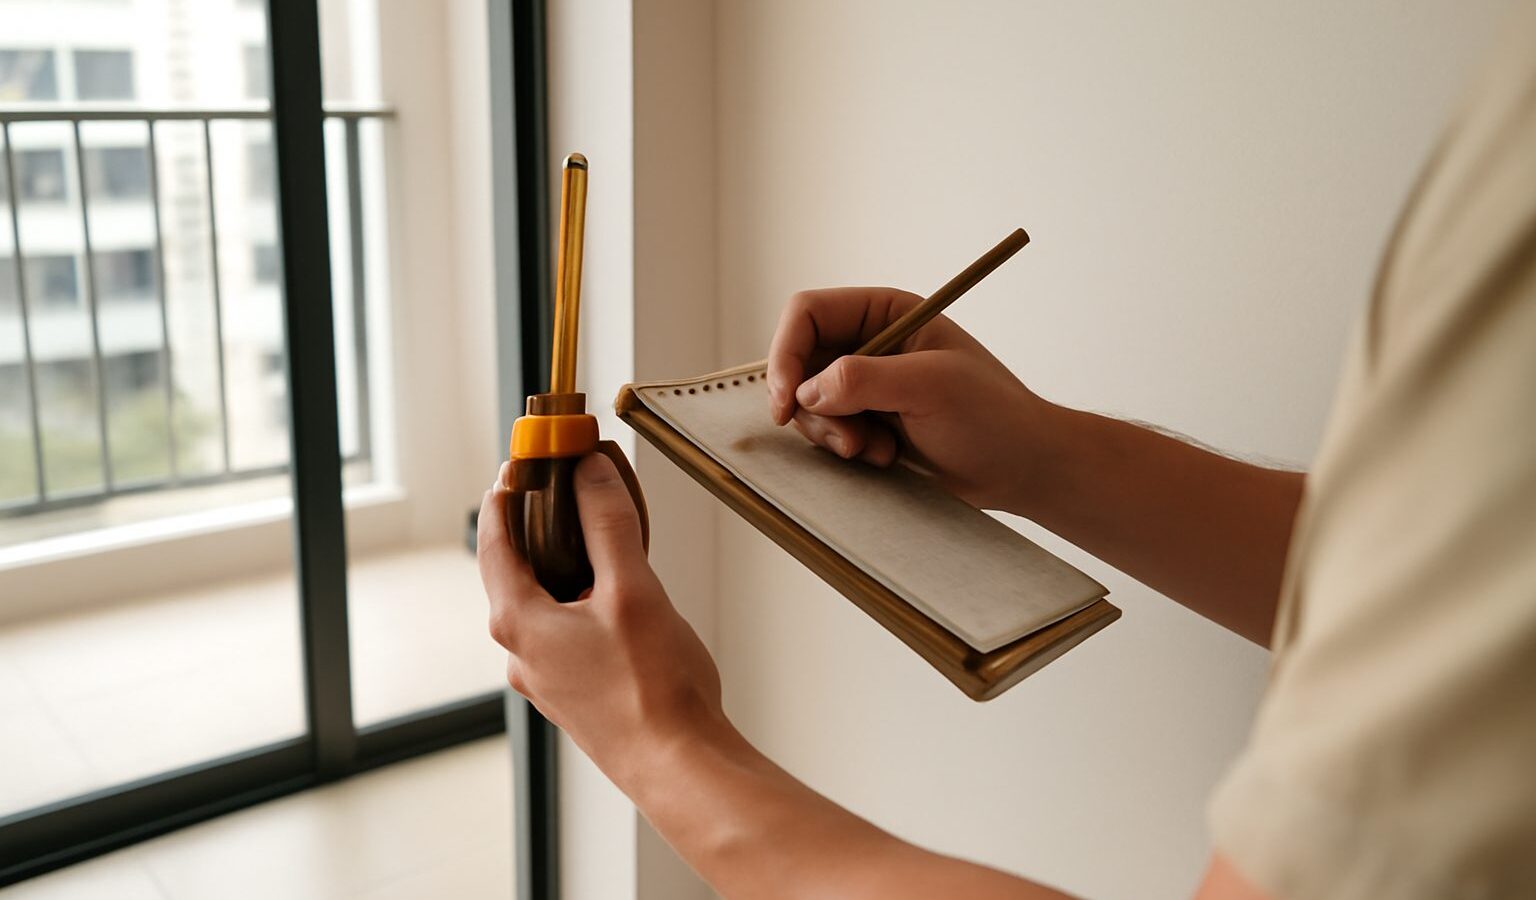
Collecting the keys to your Build-To-Order flat is a huge milestone, but before you order furniture or book a renovation contractor, there is one job that pays off for years: a thorough BTO defects check. Singapore flats are handed over in a “as built” state, and small faults such as hollow tiles, uneven paint, or a door that will not shut properly are common in any new build. Spotting them early, while your flat is still covered, means HDB can put them right at no cost to you. This guide walks through what to look for and how the process generally works, so you can inspect with confidence.
What the Defects Liability Period Covers
When you collect your keys, your flat comes with a Defects Liability Period (DLP). During this window, HDB will repair qualifying defects in the building work at no charge to you. The idea is simple: the flat should be handed over in good, usable condition, and genuine workmanship or material faults are HDB’s responsibility to fix.
The DLP typically covers things like cracked or hollow floor and wall tiles, defective doors and windows, faulty locks, paintwork and plaster defects, leaking or poorly finished plumbing points, and electrical fittings that do not work. It generally does not cover damage you cause yourself, fair wear and tear once you move in, or issues introduced by your own renovation works. That last point matters: once your contractor starts hacking, tiling, or rewiring, some defects can become harder to attribute, so most owners aim to complete their defects check and reporting before renovation begins.
The exact length of the DLP and the precise scope can change, so treat the details above as a general picture rather than a fixed rule. Always confirm the current period, coverage, and reporting process for your flat directly with HDB and the documents in your key-collection pack.
Before You Start: Tools and Timing
A good inspection is methodical, not rushed. Set aside a few hours on a bright day so natural light reveals surface flaws, and bring a helper if you can. A basic kit makes a real difference:
- A torch or your phone light for skirtings, cabinet interiors, and dark corners
- A small ball or marble to check whether floors slope oddly
- Masking tape and a marker to flag each defect on the spot
- A phone charger or plug-in tester to check power sockets
- Your camera to photograph every issue with a note of its location
- A tap tool such as a coin or knuckle to listen for hollow tiles
Work through the flat in a fixed order, room by room, so nothing is skipped. Label each defect with a numbered piece of tape and log the same number in a list with a photo. This paper trail keeps things organised when you submit your report and when the repair team arrives.
Room by Room: What to Look For
Move systematically and check the same categories in every space: walls, floors, ceiling, doors, windows, and fittings.
- Walls and ceilings: Look for cracks, uneven or patchy paint, bubbling, and stains that could hint at moisture. Run your hand along the surface for rough patches.
- Floors and wall tiles: Tap across the surface. A dull, hollow sound can indicate a tile that is not properly bonded and may lift later. Check for chips, uneven grout lines, and lippage where one tile sits higher than its neighbour.
- Doors and windows: Open and close everything. Doors should latch cleanly without dragging; windows should slide or swing smoothly, lock properly, and seal without gaps. Check that window catches and restrictors work.
- Kitchen and bathrooms: Run the taps, check water pressure, and watch that water drains away without pooling. Look under the sink for damp patches. Inspect the sealant around basins, the shower area, and the toilet base.
- Electrical points: Test every socket and light switch. Confirm the distribution board is labelled and that the doorbell and any provided fittings work. Do not attempt any wiring yourself; report faults to HDB and leave electrical work to a Licensed Electrical Worker.
- Household shelter: Check the shelter door seals, hinges, and ventilation fittings, as these are easy to overlook.
Take your time on wet areas and tiling, since these are the defects that are most disruptive to fix once you have moved in.
DIY Check or Professional Inspection?
Many owners inspect the flat themselves, and a careful DIY check catches most obvious faults. Others hire a professional defects inspection service, which brings trained eyes and tools such as moisture meters and thermal cameras. Neither is compulsory, so choose what suits your budget and confidence.
| Approach | Best for | Typical effort | What to keep in mind |
|---|---|---|---|
| DIY check | Confident owners on a tight budget | A few hours of your own time | Free, but you may miss subtle issues like hollow tiles |
| Professional service | Owners wanting thorough, documented findings | Booked appointment, a fee applies | Fees vary widely, so compare a few providers before booking |
| Hybrid | Most first-time owners | DIY first, then a pro if unsure | Your own walk-through helps you brief the inspector |
If you engage a professional, ask what their report includes and whether they revisit after rectification. Fees are not fixed, so request quotes from a few companies and check exactly what is covered before you commit.
How to Report Defects to HDB
Once your list is complete, submit it to HDB through the channel provided in your key-collection documents. HDB has moved much of this online in recent years, so check whether your defects are reported through an official portal, app, or your Branch. Include clear photos, the location of each defect, and a short description.
After you report, HDB arranges for the defects to be assessed and rectified. Be present or arrange access for the repair visits, and keep your numbered list handy so you can confirm each item as it is completed. Reporting early in the period gives everyone time to schedule the works comfortably.
Because timelines, channels, and the reporting form can change, follow the current instructions from HDB rather than any fixed schedule. If you are unsure whether something qualifies as a defect, report it and let HDB assess it.
After the Rectification
When the repair team has finished, walk through the flat again and check each item against your original list. Tap the replaced tiles, open the adjusted doors, and confirm the paint touch-ups have dried evenly. If anything is still not right, or a new issue has appeared, report it again while your flat remains within the liability period. Only when you are satisfied should you hand over to your renovation contractor, so that any faults introduced later are clearly separate from the original defects.
A patient, well-documented defects check is one of the highest-value hours you will spend on your new home. It costs little, protects your investment, and lets you start your renovation on a sound footing.
Explore more
Ready for the next steps? A solid inspection pairs naturally with getting your wet areas right, so read our waterproofing and wet works renovation guide before any tiling begins. If your layout plans involve removing walls, understand the rules first in our guide to hacking walls in HDB flats. And before you sign with a designer, arm yourself with the right questions to ask your interior designer.