
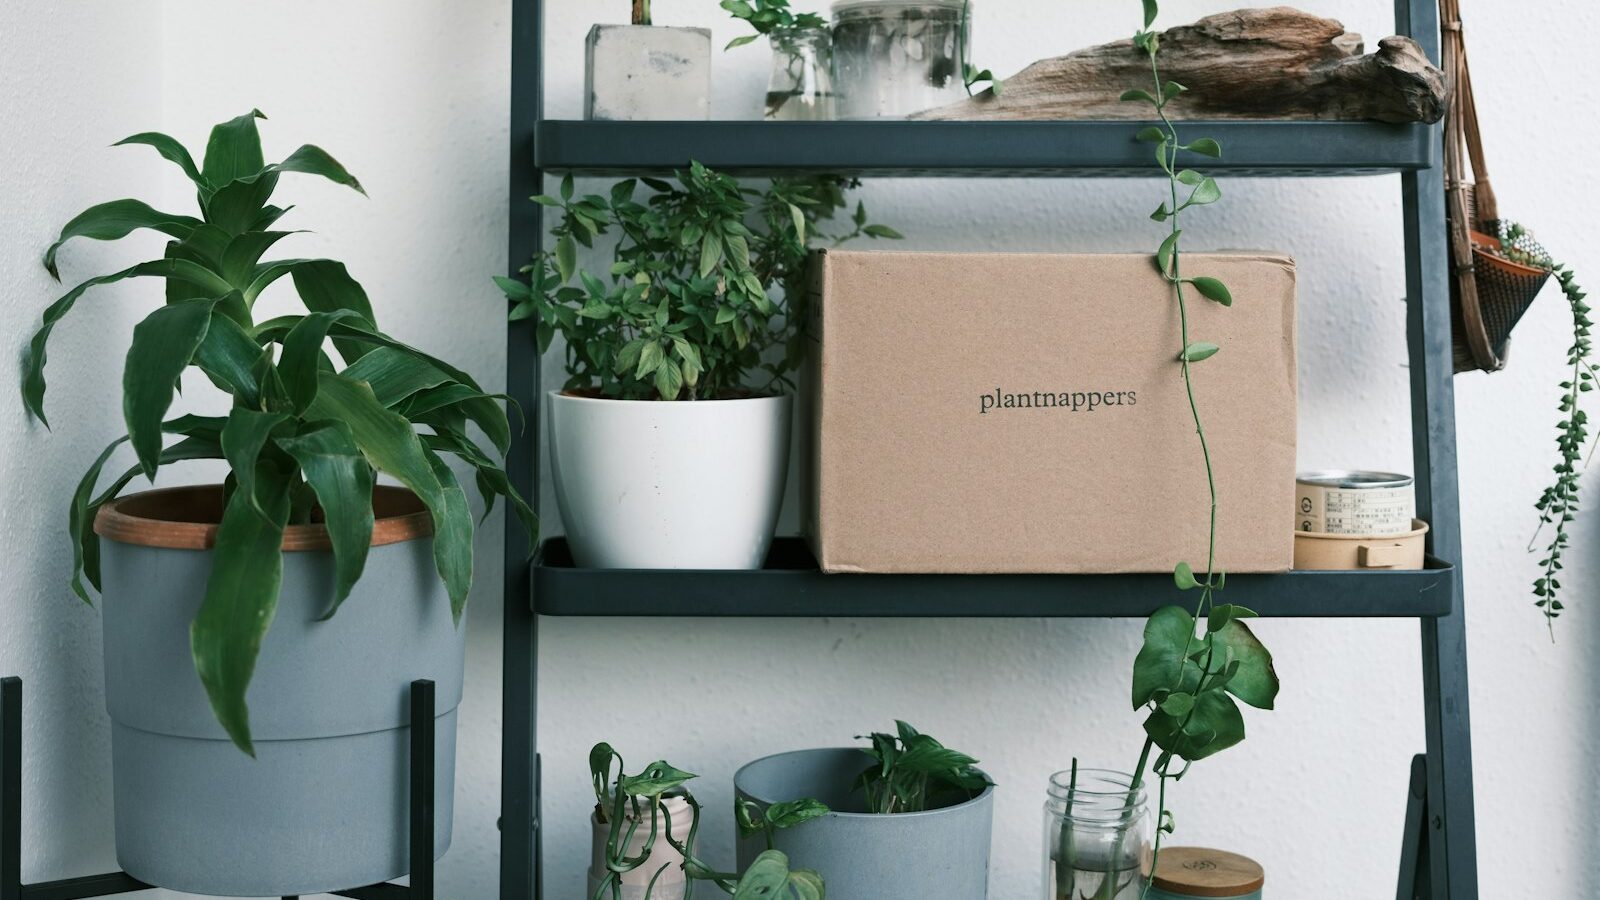
Concrete has a calm, minimalist look that suits Singapore homes well: a grey planter for a pothos on the HDB window ledge, a small tray for keys by the door, a set of coasters on a teak coffee table. The good news is that DIY concrete crafts are cheap, forgiving and possible on a balcony or kitchen service yard with a few basic tools.
This guide covers the materials (cement mixes and moulds), the mixing and curing process, and how to seal and finish small decor pieces so they look good and last. It is aimed at complete beginners working at home with small batches.

Choosing Your Mix: Cement, Concrete or Craft Blends
“Concrete” in crafts usually refers to one of a few products. Hardware shops and online craft suppliers sell them in small bags suited to home projects.
| Material | What it is | Best for | Things to know |
|---|---|---|---|
| Ready-mix concrete | Cement, sand and gravel | Larger, chunky planters | Coarse stones can leave rough patches in small or thin moulds |
| Sand and cement mortar mix | Cement with fine sand, no gravel | Most planters, trays and bowls | A good all-rounder with a slightly textured finish |
| Fine craft cement or “concrete for crafts” blends | Cement with very fine fillers, sometimes with additives | Coasters, small trays, jewellery dishes, detailed moulds | Smoother surface and finer detail, usually costs more per kilo |
| Rapid-set cement | Sets faster than standard mixes | Quick projects and repairs | Very short working time, harder for beginners to handle |
For a first project, a fine craft blend or a sand and cement mix is the easiest. Read the bag for mixing ratios and curing times, as these differ between products.
Adding Colour
Cement-safe powder pigments (often iron oxides) can be stirred into the dry mix for tinted pieces, such as terracotta, charcoal or soft pink. Add a little at a time and record the amount so you can repeat the colour. Acrylic paint can be used on the surface after curing instead.
Finding and Preparing Moulds
Almost anything that holds a shape can be a mould, which is part of the fun.
- Silicone moulds: flexible and easy to release. Good for coasters, small trays and geometric shapes. Buy moulds sold for resin, soap or concrete crafts.
- Plastic containers: takeaway boxes, yoghurt tubs and drink bottles cut to height. For a planter, you need an outer mould and a smaller inner one to form the hollow.
- Cardboard: milk cartons and boxes make good one-off moulds. Line them with packing tape for a smoother surface.
- Household items: a bowl inside a bigger bowl makes a simple round planter.
Before pouring, coat hard moulds with a release agent. Cooking oil or a thin layer of petroleum jelly works for most plastic and glass moulds. Silicone usually does not need it.
Drainage holes: for planters, push a short piece of straw, cork or a cut wine-bottle stopper through the base of the mould before pouring. Remove it after the concrete sets. A planter without drainage is fine for succulents in a cache-pot style, but most plants prefer a hole.
Mixing, Pouring and Curing Step by Step
Work in a ventilated area, ideally outdoors or in a service yard, and protect the floor with newspaper or an old plastic sheet.
- Gear up. Wear a dust mask when handling dry cement, plus nitrile or rubber gloves and safety glasses. Wet cement is alkaline and can irritate or burn skin, so keep it off your hands.
- Measure the dry mix into a disposable bucket or old container.
- Add water slowly, stirring with a stick or spatula. Aim for a thick, smooth consistency, a bit like peanut butter or thick yoghurt. Too much water weakens the piece and causes cracks.
- Pour into the mould in stages, tapping the sides firmly after each layer to release air bubbles. A gentle shake on a table helps.
- Insert the inner mould for planters and weigh it down with stones or coins so it does not float up. Centre it carefully.
- Smooth the top with a spatula or gloved finger.
- Leave it to set somewhere shaded and level. Follow the bag’s guidance, but many craft mixes can be demoulded after about a day.
- Cure slowly. After demoulding, keep the piece out of direct sun and mist it with water or cover it with a plastic bag for a few days. Slow curing makes concrete stronger and less likely to crack.
Disposal matters. Never wash cement down the sink, toilet or floor trap, as it can harden and block pipes. Let leftover mix and rinse water settle in a bucket, then scrape the hardened residue into the general waste bin.
Sealing and Finishing Your Pieces
Raw concrete is porous. It absorbs water, oil and stains, which is why a coaster can end up with permanent rings. Finishing makes the difference between a craft experiment and something you want on display.
Sanding
Once cured, sand rough edges with sandpaper or a sanding sponge. Start with a coarser grit, then move to a finer one. Wet sanding keeps dust down. Wear a mask if sanding dry.
Sealing
- Concrete or stone sealer: a penetrating sealer soaks in and leaves a natural look. Ideal for planters.
- Water-based polyurethane or acrylic sealer: forms a protective coat with a matte or satin finish. Good for trays and coasters.
- Wax: gives a soft sheen and some protection, but needs reapplying.
Apply thin coats with a brush or cloth, letting each dry as instructed. For coasters, glue felt or cork pads to the base to protect furniture.
Food contact: most craft sealers are not food-safe. Do not use concrete trays or bowls for serving food unless you use a sealer clearly labelled food-safe for that purpose, and follow the manufacturer’s instructions.
Decorative Touches
- Paint a colour block on one side with acrylic paint, then seal over it.
- Add gold leaf or metallic paint to edges for a festive or modern look.
- Press leaves, lace or textured fabric into the wet surface for a pattern.
- Embed small tiles or pebbles in the top before it sets.
Planters in Singapore’s Climate
Concrete planters suit our hot, wet weather, with a few adjustments.
- Drainage is essential during heavy rain on a balcony or ledge.
- New concrete is alkaline, which can affect some plants. Soaking cured planters in water for a day or two, changing the water a few times, helps. Sealing the inside adds a buffer.
- Weight adds up. Check that ledges and racks can safely hold a filled planter, and never place planters where they could fall from height. Items falling from high-rise flats are dangerous and an offence.
- Mosquito control: empty water from saucers regularly to avoid breeding, in line with NEA guidance.
Troubleshooting Common Problems
- Lots of holes on the surface: tap and vibrate the mould more, or use a smoother mix.
- Cracks: usually too much water or drying too fast. Cure slowly in the shade.
- Crumbly edges: the mix was too dry or the piece was demoulded too early.
- Stuck in the mould: use more release agent next time, or switch to silicone.
For more general home-workshop advice, our guides on DIY safety basics for the home and essential DIY tools for every home are worth a look. Concrete crafts also make a fun hands-on activity for couples, and our list of DIY craft date ideas in Singapore has more inspiration.