
Stained, faded or torn seat covers are often the only thing wrong with a perfectly good dining chair. A reupholster chair DIY project is one of the friendliest ways into furniture restoration: most dining chairs have a simple removable seat, you need only a handful of tools, and you can finish one chair in an afternoon. It is also a good way to refresh a set of chairs before Chinese New Year visitors or a family gathering without buying new furniture.
This guide covers the classic “drop-in” or screw-on seat found on most dining chairs. Chairs with upholstered backs, springs or deep buttoning are more advanced and worth leaving until you have a few seats under your belt.
What You Need Before You Start
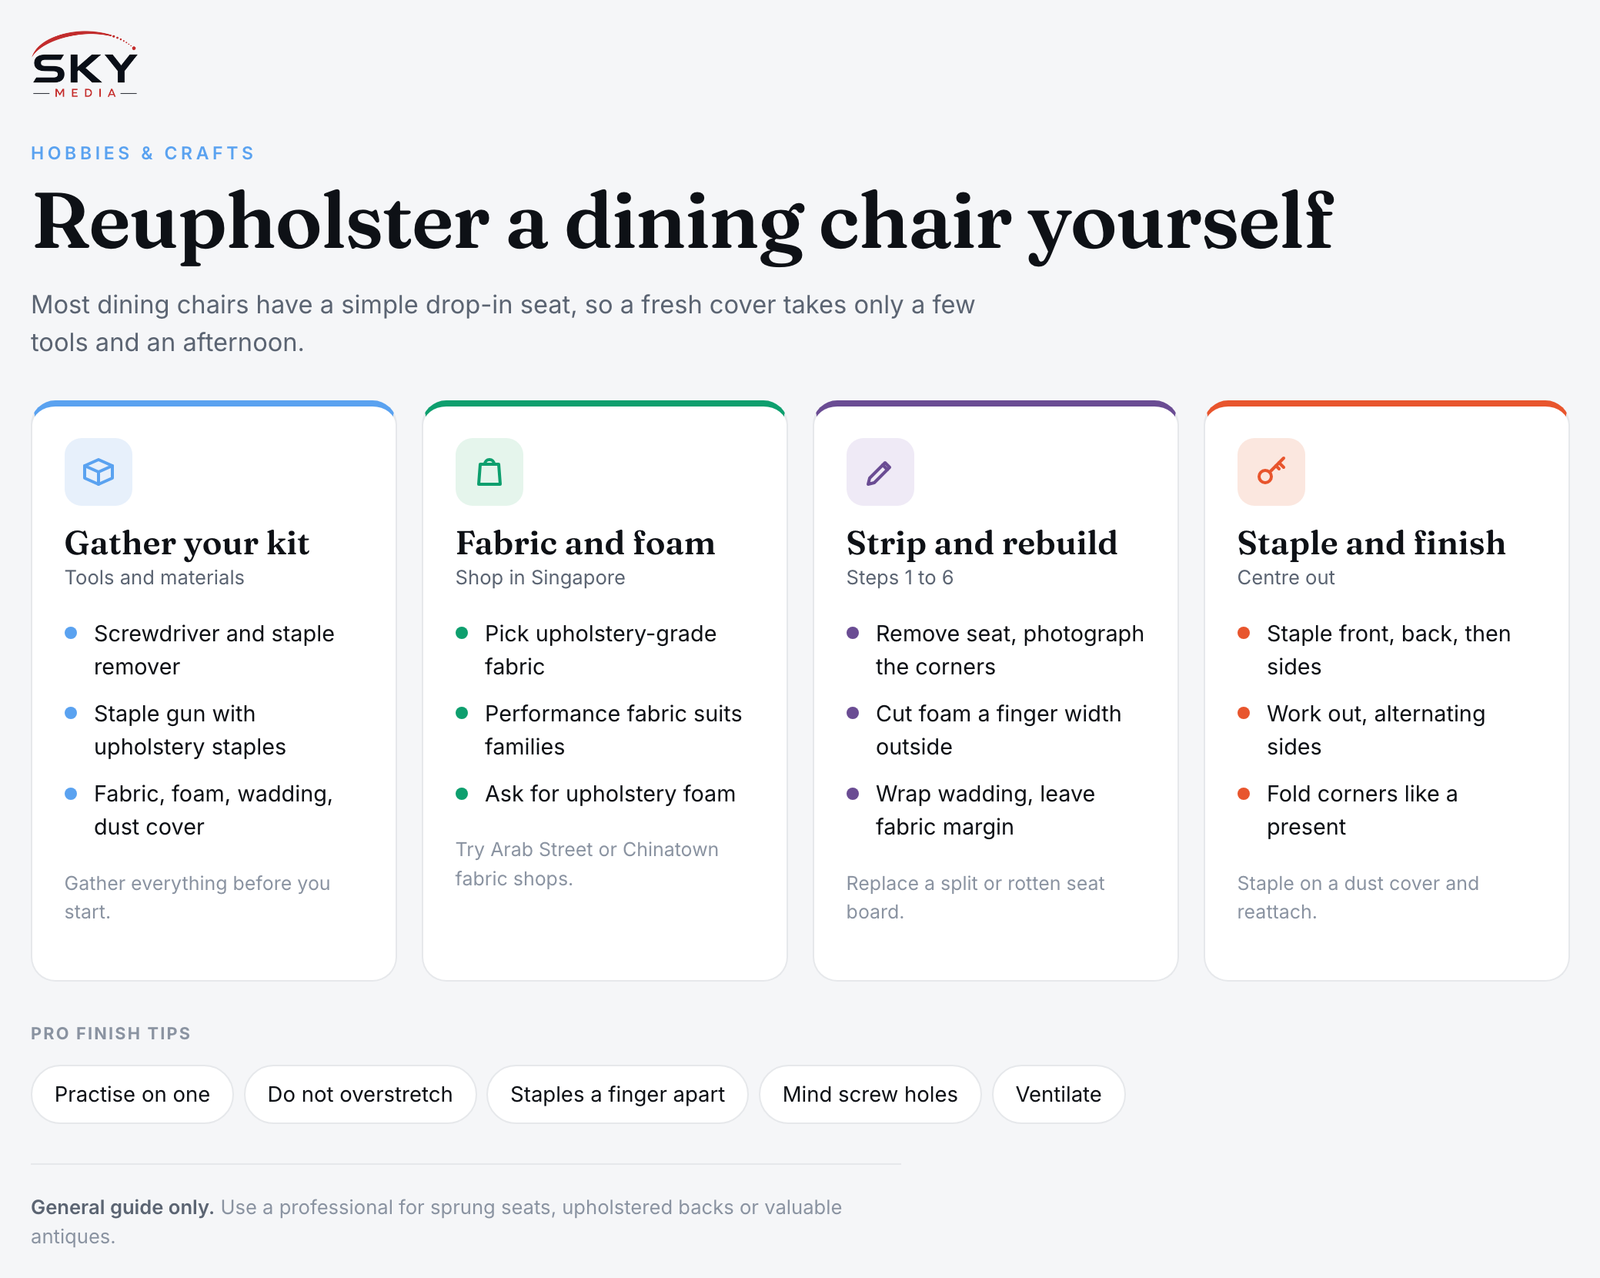
Gather everything first so you are not running out mid-job:
- Screwdriver to remove the seat from the frame
- Staple remover, flat-head screwdriver or upholstery tack lifter to pull out old staples
- Needle-nose pliers for stubborn staples
- Staple gun, manual or electric, with staples suitable for upholstery (a common choice is around 8 to 10 mm, but check that they will not go through your seat board)
- Upholstery fabric, enough to cover the seat plus a generous margin for wrapping
- Foam of a suitable thickness and density, if the old foam has flattened or crumbled
- Wadding or batting, a thin fibre layer that softens edges and helps fabric sit smoothly
- Dust cover or black cambric for the underside (optional, but neat)
- Sharp fabric scissors, a marker, a measuring tape and a bread knife or electric knife for cutting foam
- Spray adhesive suitable for foam (optional)
If you need to source tools, our guide on where to buy DIY tools and materials in Singapore covers hardware shops and home improvement stores.
Choosing Fabric and Foam in Singapore
Dining chairs take a beating from spills, curry splashes and children, so fabric choice matters more than pattern alone.
| Fabric type | Pros | Cons | Good for |
|---|---|---|---|
| Upholstery-grade woven cotton or linen blend | Breathable, wide range of prints | Stains easily unless treated | Adult households, decorative chairs |
| Polyester or performance fabric | Durable, often stain-resistant, easy to wipe | Can feel warmer in humid weather | Families with kids, everyday dining |
| Faux leather (PU or PVC) | Wipes clean, modern look | Can feel sticky in heat, may crack over time | Busy homes, easy cleaning |
| Velvet | Rich, soft finish | Shows marks and pet hair | Formal dining, low-traffic chairs |
Look for fabric sold specifically for upholstery, since dress fabric is usually too thin and will wear out quickly. In Singapore, the textile shops around Arab Street and Kampong Glam, the fabric stalls in Chinatown, and fabric sections in some department stores and craft chains are common starting points. Many shops sell by the metre and can advise on whether a fabric is heavy enough for seating. Bring a photo and measurements of your seat so staff can help you estimate quantity.
For foam, ask for upholstery foam rather than packing foam. Higher-density foam lasts longer and feels firmer. Some fabric and upholstery supply shops cut foam to size. Prices vary, so compare a couple of shops before buying for a full set.
Given Singapore’s humidity, choose fabrics that are easy to clean and dry, and consider a fabric protector spray. Dark or patterned fabrics hide marks better than plain pale colours.
Step by Step: Reupholstering a Drop-In Seat
1. Remove the Seat
Turn the chair upside down on a towel. Most seats are held by four screws through the corner blocks, or simply sit in the frame and push out from below. Keep the screws in a small container.
2. Strip the Old Fabric
Remove the dust cover if there is one, then pull out the staples or tacks holding the fabric. Work slowly and wear safety glasses, since old staples can snap and fly. Before throwing the old fabric away, note how the corners were folded, or take photos. It is a useful template.
3. Check the Seat Board and Foam
Inspect the wooden or plywood board. Small cracks can be glued and clamped, but a badly split or rotten board should be replaced with plywood cut to the same shape. If the foam is flat, crumbly or smells musty, replace it.
4. Cut the New Foam
Place the seat board on the foam and trace around it. Cut slightly outside the line, about the thickness of a finger, so the foam rolls neatly over the edge. A bread knife or electric knife gives a cleaner cut than scissors. Fix the foam to the board with spray adhesive if you like.
5. Add Wadding
Lay wadding over the foam and wrap it around the edges. Staple it to the underside, trimming any excess. Wadding smooths out lumps and stops the fabric rubbing directly on the foam.
6. Cut and Position the Fabric
Lay the fabric face down, centre the seat on top, foam side down, and cut around it leaving enough margin to wrap well under the board, usually a hand’s width. If your fabric has a pattern or stripe, check it is straight and centred before cutting.
7. Staple From the Centre Out
This is the step that makes or breaks the finish:
- Put one staple in the middle of the front edge.
- Pull the fabric firmly, not tightly, to the back and put one staple in the middle of the back edge.
- Repeat for the two sides.
- Work outwards from each centre staple towards the corners, alternating sides so tension stays even.
- Stop a few centimetres before each corner.
Flip the seat over regularly to check for wrinkles or a pattern that has drifted.
8. Fold the Corners
Corners take practice. A common method is to pull the corner point of the fabric straight in towards the centre of the board and staple it, then fold each side in neatly like wrapping a present, trimming bulk if needed before stapling. Aim for corners that match on all four sides.
9. Finish the Underside
Trim excess fabric, then staple on a dust cover for a tidy finish. Make a small slit or mark where the screw holes are. Reattach the seat to the chair frame.
Tips for a Professional Finish
- Practise on one chair first before buying fabric for a full set.
- Do not overstretch. Fabric pulled too tight shows wrinkles at the corners and can tear over time.
- Keep staples close together, roughly one finger width apart, for even tension.
- Mind the screw holes so you do not staple over them.
- Work in a ventilated space if you use spray adhesive.
- Wipe the frame while the seat is off. It is a good time to tighten loose joints or touch up wood.
If your chairs see heavy daily use, you may find it worth thinking about comfort and posture more broadly. Our guide on how to choose an office chair explains seat depth and cushioning principles that also apply when choosing foam firmness for a dining set.
When to Call a Professional
DIY works well for drop-in and screw-on seats. Consider a professional upholsterer if your chair has sprung seats, upholstered backs or arms, piping, deep buttoning, or if it is a valuable antique. Ask for a quote that lists fabric, foam and labour separately, and check how long the work will take.
Explore more: Where to Buy DIY Tools and Materials in Singapore and How to Choose an Office Chair.
Further reading: How to Choose Dining Chairs for Your Singapore Home · Concrete Crafts at Home: Making Planters, Trays and Coasters