

Tiny fingers, tiny nails and a wriggling baby: few new parent tasks feel as nerve-racking as the first nail trim. Yet baby nails grow fast and are surprisingly sharp, and long nails often lead to scratches on the face and around the eyes. Learning how to cut baby nails calmly and safely saves you and your little one a lot of fuss. This guide covers the right tools for each age, the best timing, a step by step method and exactly what to do if you accidentally nick the skin.
This is general information for parents, not medical advice. If you have concerns about your baby’s skin, nails or any injury, speak to your paediatrician, a polyclinic nurse or a family doctor.
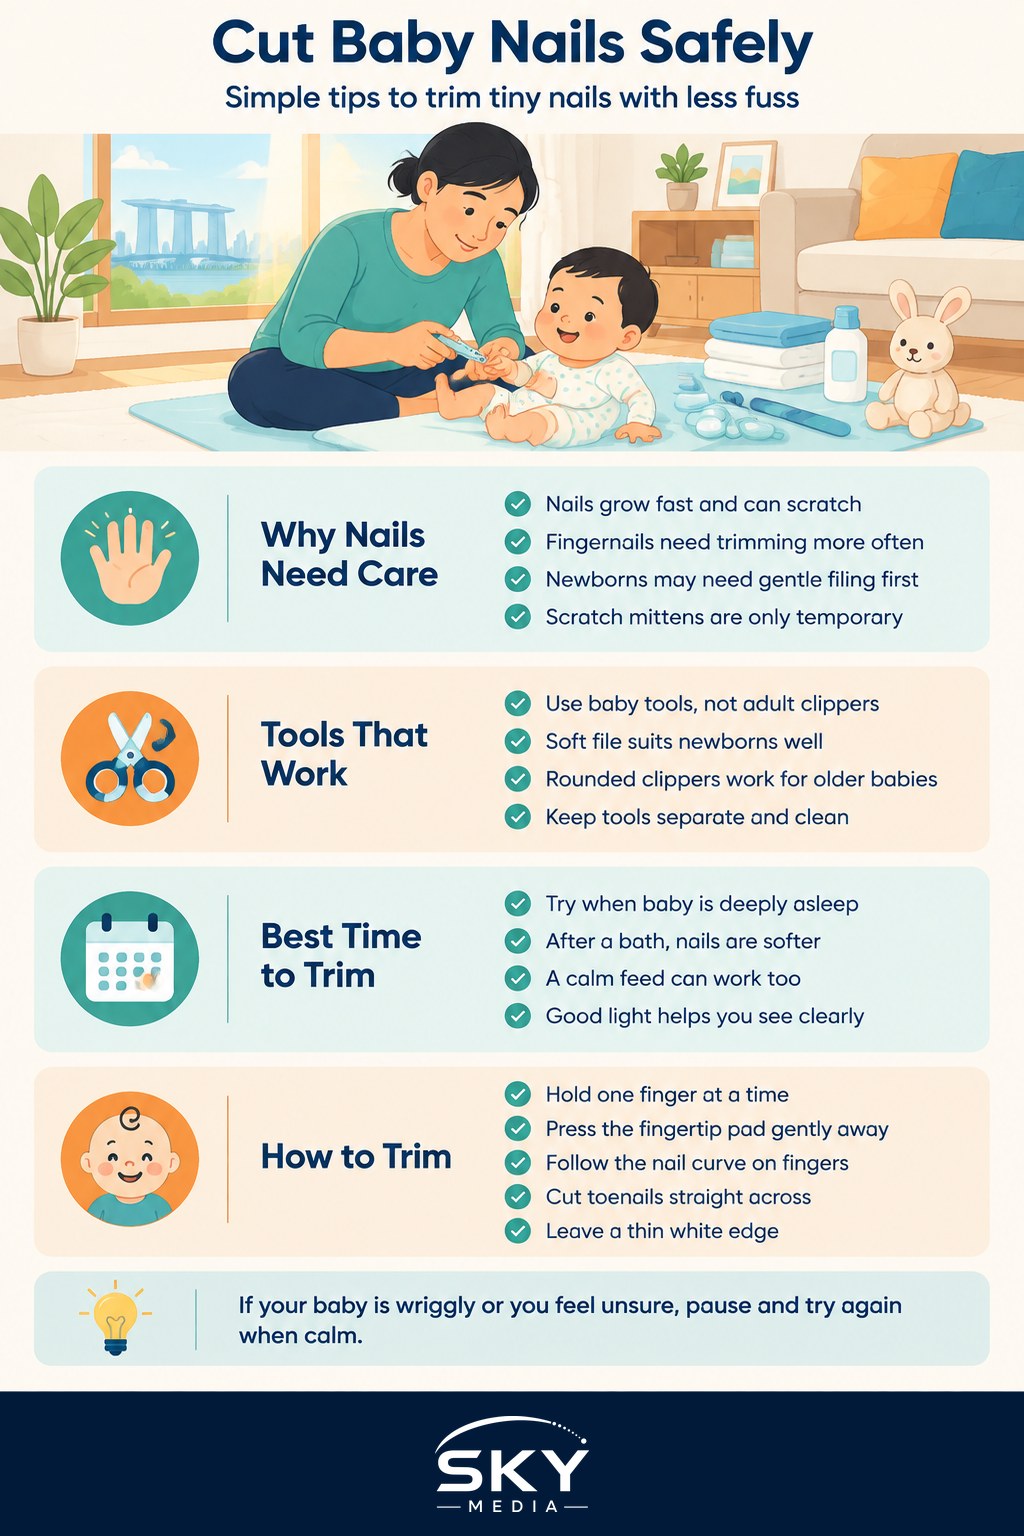
Why Baby Nails Need Regular Attention
Babies have little control over their hand movements in the early months, so they often scratch themselves while sleeping or feeding. Their fingernails can grow quickly and may need attention once or twice a week, while toenails usually grow more slowly and need trimming less often.
Newborn nails are soft and thin, and the tip is often still attached quite closely to the skin underneath. That is why many parents start with gentle filing rather than clipping in the first few weeks. Some babies are born with long nails, especially those born a little past their due date, so do not be surprised if you need to deal with them early.
Scratch mittens can help in the newborn stage, but they are not a long-term fix. Babies use their hands to explore, self-soothe and learn, so keeping nails short is better than keeping hands covered all the time.
Choosing the Right Tools
There is no single correct tool. Many parents end up using two: one for trimming, one for smoothing.
| Tool | Best for | Pros | Things to watch |
|---|---|---|---|
| Soft emery board or baby nail file | Newborns and smoothing after trims | Very low risk of cutting skin, easy to use | Slower, may take a few sessions |
| Electric baby nail trimmer (filing type) | Wriggly babies and nervous parents | Gentle, quiet, comes with pads for different ages | Needs batteries or charging, pads wear out |
| Baby nail clippers with a rounded edge | Older babies with firmer nails | Quick, neat cut | Easier to pinch skin if baby moves |
| Round-tipped baby nail scissors | Parents with steady hands | Good view of the nail while cutting | Requires a still baby and good lighting |
A few tips when buying:
- Choose products sold for babies, with rounded or blunt tips.
- Keep baby tools separate from adult ones and clean them regularly.
- Avoid adult clippers, which are too large and can take off more than you intend.
- Never bite or peel your baby’s nails. This can tear the nail unevenly and introduce germs from your mouth into tiny breaks in the skin.
The Best Time to Trim
Timing matters as much as technique. Good moments include:
- When your baby is deeply asleep. Many parents find this the easiest option, especially in the early months. Wait until the arms are floppy and breathing is slow and steady.
- After a bath. Warm water softens the nails, making them easier to cut or file.
- During a calm feed. Some babies relax enough while feeding that a partner can trim one hand while the other parent holds them.
- When you are calm too. If you are rushed or anxious, wait. Your baby picks up on tension, and a steady hand makes all the difference.
Good lighting is essential. Natural daylight near a window or a bright lamp helps you see exactly where the nail ends and the skin begins. Some parents use a small torch for night-time trims.
Step by Step: How to Cut Baby Nails
- Get comfortable. Sit with your baby on your lap facing away from you, or lie them on a bed or changing mat. Some parents find it easier to sit beside a sleeping baby.
- Hold the finger securely. Hold one finger at a time, pressing the fingertip pad gently down and away from the nail. This creates a small gap between the nail and the skin.
- Trim or file in small steps. For fingernails, follow the natural curve. For toenails, cut straight across, which helps reduce the chance of ingrown nails.
- Do not cut too short. Leave a thin edge of white nail. Cutting right down to the skin increases the risk of nicks and soreness.
- Smooth the edges. Use a soft file to round off any sharp corners that could scratch.
- Take breaks. You do not need to do all ten fingers at once. One hand now and the other after the next nap is perfectly fine.
If your baby wakes up or starts fussing, stop and try again later. A half-finished trim is far better than a struggle.
What to Do If You Nick the Skin
Almost every parent nicks a finger at some point. It looks alarming because babies’ fingertips bleed easily, but small nicks are usually minor.
- Stay calm. Comfort your baby first.
- Press gently. Hold a clean, soft cloth, tissue or sterile gauze against the fingertip with light pressure until the bleeding stops. This usually takes a short while.
- Rinse if needed. Once bleeding stops, you can rinse gently with clean water.
- Skip the plaster for young babies. Small babies put their hands in their mouths constantly, and a plaster can come off and become a choking hazard. Most tiny nicks heal well when simply kept clean.
- Watch over the next few days. Look for redness spreading around the nail, swelling, warmth, pus, or your baby seeming unusually unwell or feverish.
See a doctor promptly if bleeding does not stop with gentle pressure, if the cut looks deep, or if you notice signs of infection. For general guidance on small injuries as your child grows, our article on caring for a child’s cut or graze is a helpful read.
Common Nail Concerns
Some nail changes are normal in babies, while others need a check-up:
- Peeling or flaking tips are common in newborns and usually settle on their own.
- Toenails that look ingrown are often just soft nails that have not yet grown out. Keep trimming straight across and ask your doctor if the skin looks red or swollen.
- Redness and swelling around a nail can signal a nail fold infection, sometimes called paronychia. Have it checked by a doctor.
- Nails that look discoloured, unusually thick or misshapen are worth mentioning at your baby’s next developmental check.
Making Nail Trims Part of the Routine
Like many baby care tasks, nail trimming gets easier with practice. Building it into a weekly routine, perhaps after the Sunday bath, keeps nails short before they become a scratching problem. As your baby grows into a toddler, you can turn it into a game, counting fingers or singing a song while you trim.
For more on gentle grooming milestones, see our guide to your baby’s first haircut, and for other early care basics, read how to swaddle your baby safely.
Frequently Asked Questions
Is it better to file or clip a newborn’s nails? Filing is the gentler start for newborns, as their nails are soft and the tips sit close to the skin. A soft emery board or baby file carries very little risk of cutting skin. Move to clippers or scissors once nails firm up, if you want a quicker trim.
Why should toenails be cut straight across but fingernails curved? Fingernails follow the natural curve of the tip, while toenails are cut straight across to reduce the chance of ingrown nails. Leave a thin edge of white nail on both and smooth sharp corners with a soft file.
Can scratch mittens replace regular nail trimming? They help in the newborn stage but are not a long-term fix. Babies use their hands to explore and self-soothe, so keeping nails short is better than keeping hands covered all the time.
Should I put a plaster on a baby’s nicked fingertip? Usually not for young babies. They put their hands in their mouths constantly, and a plaster can come off and become a choking hazard. Press gently with clean gauze until bleeding stops, keep the area clean, and see a doctor if it will not stop.
How do I know if the skin around my baby’s nail is infected? Redness spreading around the nail, swelling, warmth, pus, or a baby who seems unusually unwell or feverish can point to infection, sometimes called paronychia. Have a doctor check it promptly rather than treating it at home.
Further reading: How to Clear a Baby’s Blocked Nose Safely