

If you have ever wanted to make a poster, a social media post, a simple flyer or an event invitation without wrestling with complicated design software, Canva is where most people begin. Getting started with Canva in Singapore is quick and free, and its template-first approach means you can produce something that looks professional even if you have never designed anything before. This guide walks you through the basics, from setting up an account to finishing your first design.
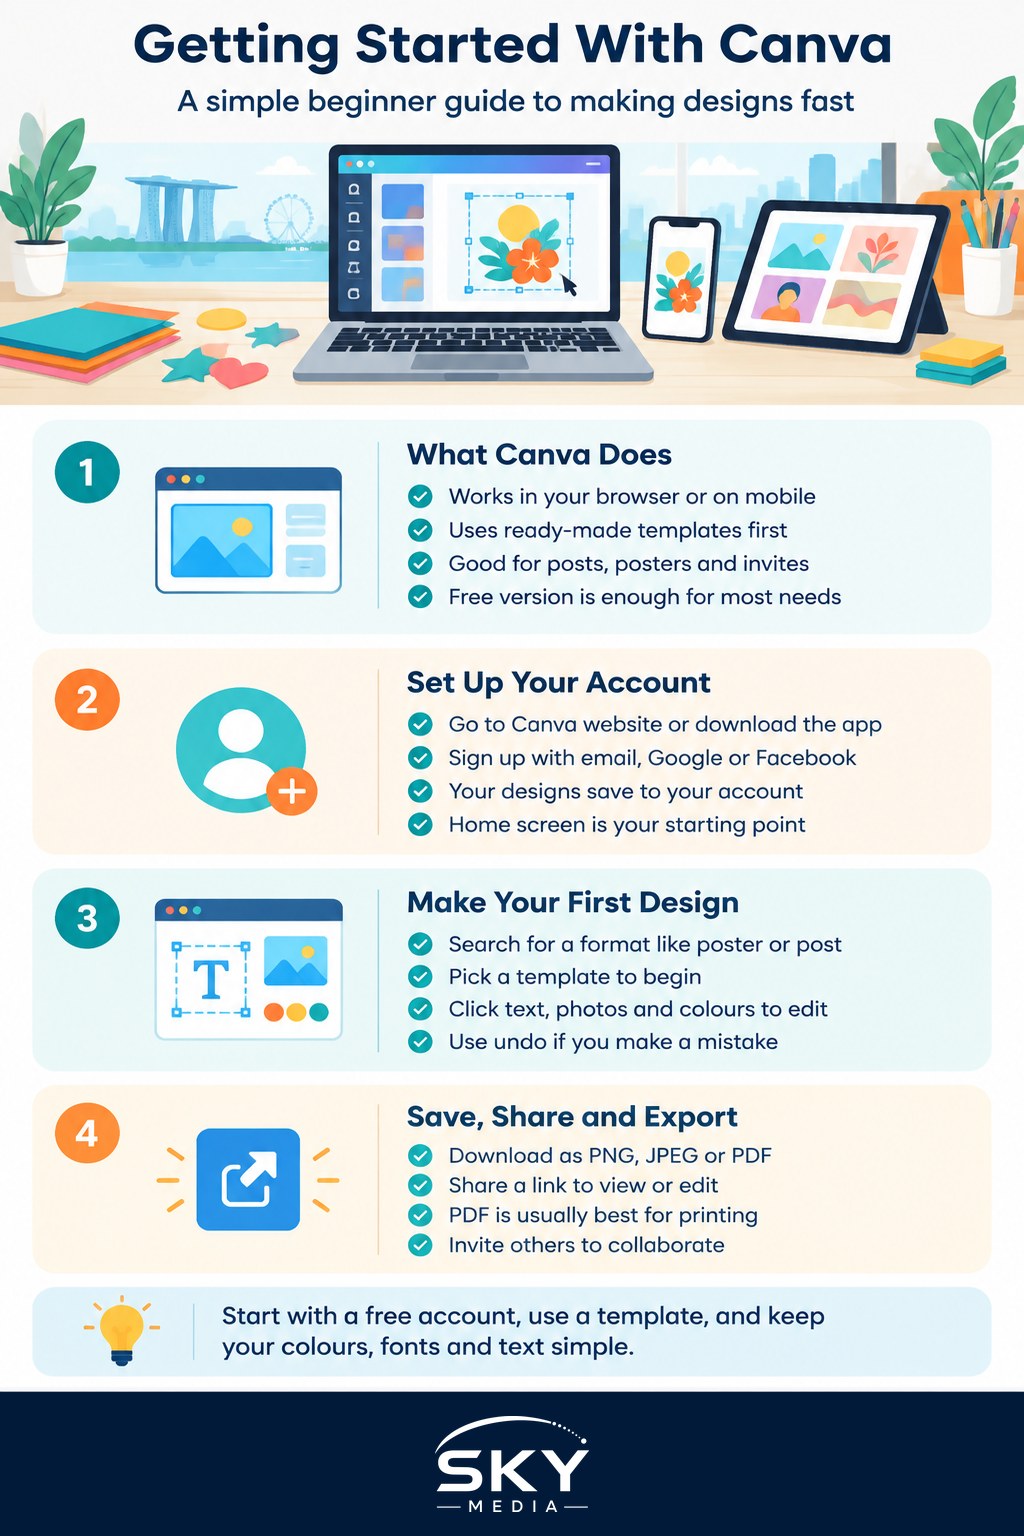
What Canva Is and Who It Is For
Canva is an online design tool that runs in your web browser and as an app on your phone or tablet. Instead of starting from a blank page, you pick a ready-made template and swap in your own words and images. That single idea is why it has become so popular with small business owners, teachers, students, community groups and anyone who needs a decent-looking graphic in a hurry.
It covers a huge range of formats, including social media posts, presentations, posters, resumes, invitations, name cards and more. There is a free version that is generous enough for most everyday needs, and a paid tier that unlocks extra templates, images and features. You do not need the paid version to get real value, so start free and upgrade only if you find yourself hitting its limits.
If you plan to use Canva mainly for slides, it is worth reading our guide on making a slide presentation alongside this one, since the design principles overlap.
Setting Up Your Account
Getting started takes a couple of minutes. Go to the Canva website or download the app, then sign up with an email address or an existing Google or Facebook login. Signing in with an account you already have is the quickest route and means one less password to remember.
Once you are in, you will see a home screen with a search bar and rows of design types. This is your starting point every time. You can create a design from here, find templates, and return to anything you have made before, since your work saves automatically to your account in the cloud.
Making Your First Design
Here is a simple flow to create your first graphic:
- Choose a format. Type what you want, such as Instagram post or A4 poster, into the search bar, or pick from the suggested types. Canva sets the correct size for you.
- Pick a template. Browse the templates on the left and click one you like. The whole design loads onto your canvas, ready to edit.
- Change the text. Click any text to select it, then type your own words. You can change the font, size and colour using the toolbar at the top.
- Swap the images. Click a photo to replace it, then upload your own or search Canva’s library. Drag any image to reposition it.
- Adjust colours. Click an element and choose a new colour to match your theme or brand.
Everything works by clicking to select, then editing with the toolbar that appears. If you make a mistake, the undo arrow reverses it, so feel free to experiment.
Handy Features Worth Knowing Early
A few features make life much easier once you know they exist:
- Uploads. The Uploads tab lets you add your own photos and logos so they are ready to drag into any design.
- Elements. This is a library of shapes, icons, lines and illustrations you can drop in to decorate your design.
- Background remover. Canva can cut the background out of a photo, which is handy for product shots and headshots. If you want to go deeper on that, see our guide on removing backgrounds from photos.
- Magic and AI tools. Canva includes AI-powered features that can generate images or draft text. These are useful for getting started, but treat their output as a first draft. AI can produce odd images or inaccurate wording, so always review and edit before you publish, and make sure any generated content is appropriate to use.
- Resize. You can take one design and resize it for another platform, which saves redoing your work for every channel.
Keeping Your Designs Looking Clean
Templates do a lot of the heavy lifting, but a few simple habits keep your designs looking professional:
- Stick to two or three colours and one or two fonts so everything feels consistent.
- Leave space around your content rather than cramming everything in.
- Keep text short and readable, especially on posters people will glance at.
- Use high-quality images so nothing looks blurry or stretched.
If you are designing for social media, our guide on making simple videos for social media pairs well with Canva, since many posts mix graphics and short clips.
Sharing and Exporting Your Work
When your design is ready, click the share or download button. You can save it as an image such as a PNG or JPEG, as a PDF for printing, or share a link so others can view or edit. For anything you plan to print, a PDF usually gives the best quality. You can also invite others to collaborate on the same design, which is handy for group projects and community events.
A quick note on responsible use: only upload images and logos you have permission to use, and be mindful of copyright when you reuse templates and stock content in commercial work.
A Quick Recap
Getting started with Canva in Singapore comes down to a few easy steps: create a free account, pick a template that matches what you need, then swap in your own text and images. Lean on the free version first, keep your designs clean with a small set of colours and fonts, and treat any AI feature as a helpful starting point rather than a finished result. With a little practice, you will be turning out polished posters, posts and presentations in minutes, no design background required.