
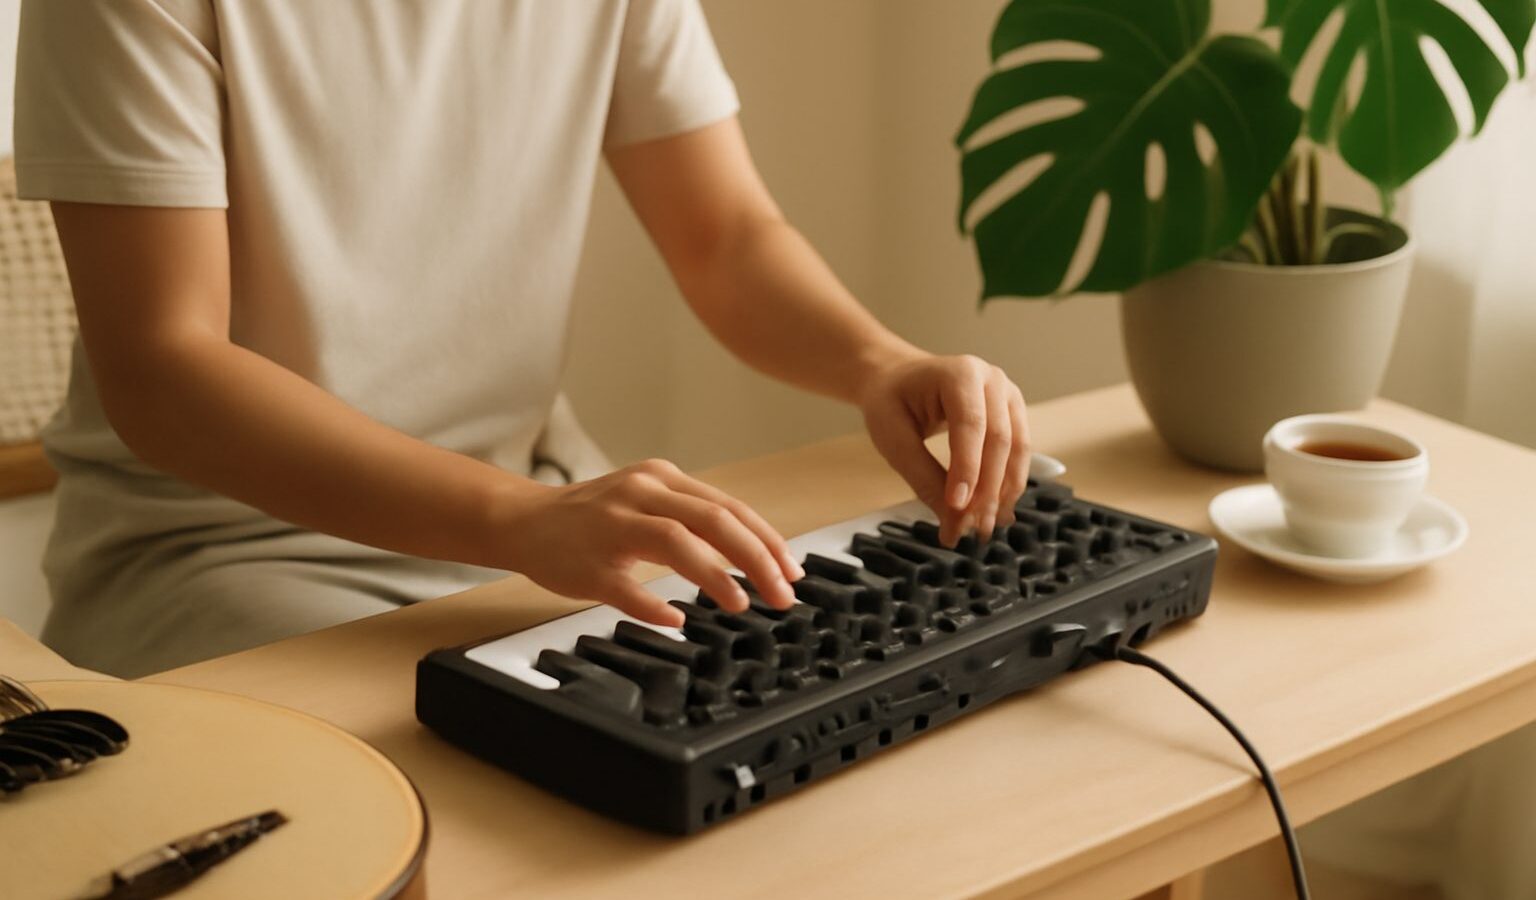
A synthesiser is an instrument that creates sound electronically rather than from a vibrating string or a struck skin. That single idea opens a huge world, and it is exactly why synthesisers for beginners can feel intimidating at first. All those knobs, sliders and menus look like a spaceship cockpit. The good news is that almost every synth, cheap or costly, is built from the same handful of building blocks. Once you understand those blocks, the panel stops being scary and starts making sense.
This guide walks you through what those parts do, how to choose a first instrument, and how to practise in a Singapore flat without turning your neighbours against you.
How A Synth Actually Makes Sound
Most beginner-friendly synths use a method called subtractive synthesis. The name sounds technical, but the idea is simple: start with a bright, buzzy raw sound, then subtract the parts you do not want until you are left with the tone you like. Three sections do the heavy lifting.
The oscillator is where sound is born. It produces a raw waveform that vibrates at a chosen pitch. Common shapes have names you will see printed on the panel: a sawtooth sounds bright and rich, a square sounds hollow and reedy, and a sine sounds pure and smooth like a whistle. Picking a waveform is your starting colour.
The filter is the sculptor. It removes frequencies to make the sound darker or brighter. The most common type is a low-pass filter, which lets low frequencies through and cuts the highs above a point called the cutoff. Turning the cutoff down makes a sound feel muffled and warm; opening it up makes it bright and sharp. A second control, resonance, adds emphasis right at the cutoff point for a squelchy, vocal quality.
The amplifier controls loudness over time, and it is shaped by an envelope. The classic envelope has four stages, usually labelled ADSR: attack (how fast the sound reaches full volume), decay (how it drops to a held level), sustain (the level it holds while you press the key), and release (how it fades after you let go). A slow attack gives a soft pad that swells in; a fast attack with short release gives a sharp pluck. Learning ADSR is the single biggest step from confused to confident.
The Controls You Will Meet First
Beyond those three sections, a few extras shape the character of your sound.
- LFO (low frequency oscillator): a slow, silent wave that wobbles another control for you. Point it at pitch for vibrato, or at the filter for a rhythmic sweep.
- Envelope amount: lets the ADSR shape open and close the filter automatically, which is how you get that classic rising synth sweep on each note.
- Voices and polyphony: a monophonic synth plays one note at a time, which suits basslines and leads. A polyphonic synth plays chords. If you want to explore chords and progressions, choose a polyphonic instrument.
- Presets: ready-made sounds you can load instantly. Presets are a great teacher. Load one you like, then twist each knob to hear what it does and reverse-engineer why it sounds that way.
Do not rush to buy everything at once. Nearly every professional record you love was made with these same basics, just used with taste.
Hardware Or Software: Where To Begin
Your first real decision is whether to start with a physical synth or a software one that runs on a computer. Both make identical sounds in principle, so the choice is about how you like to work, your budget and your space. A software synth (often called a soft synth or virtual instrument) lives inside a recording program and is played with a simple MIDI keyboard controller. Hardware is a self-contained box you can play without a screen.
| Approach | Best for | Trade-off |
|---|---|---|
| Software synth plus MIDI keyboard | Tight budgets, small desks, recording into a computer | You must sit at a screen; sound depends on your audio setup |
| Compact hardware synth | Hands-on learning, playing away from a computer | Costs more per sound; one box is one instrument |
| Semi-modular hardware | Curious tinkerers who want to see signal flow | Steeper learning curve; easy to overspend |
| Synth app on a tablet | Trying the idea cheaply before committing | Limited controls; fiddly for serious practice |
For most people starting out, a modest MIDI keyboard plus a well-reviewed software synth is the cheapest way to learn the fundamentals, and it takes up almost no room. When you know you love it, a hands-on hardware unit becomes a joy rather than a gamble. Try instruments in person at a reputable music shop, and compare current options rather than chasing a single model on a forum.
Practising Quietly In An HDB Flat
Here is the quiet superpower of the synthesiser: it is one of the most neighbour-friendly instruments you can own. Unlike drums or an acoustic piano, a synth sends its sound to an output jack, so you can plug in headphones and practise in complete silence at any hour. In a flat with thin walls and close neighbours, that matters.
A few habits keep the peace and protect you:
- Practise on headphones late at night, and keep speaker sessions to reasonable daytime hours in line with HDB and town council guidance.
- Keep the volume moderate. Loud sound damages hearing permanently, and headphones sit close to your ears, so resist the urge to crank it. Take regular breaks.
- If you ever notice ringing, muffled hearing or ear pain, stop, rest, and see a doctor. This is general hobbyist guidance, not medical advice.
- Mind humidity. Singapore air is damp, so store your gear away from windows, wipe off condensation, and let equipment reach room temperature before switching on if you bring it in from a cold, air-conditioned room.
Building Skills That Outlast Your First Synth
The synth is a wonderful window into how music works, because you can hear a change the instant you make it. Twist the filter and you hear brightness move; stretch the release and you hear notes bloom. Pair that hands-on feedback with a little theory and you will improve quickly.
Spend some time away from sound design learning the notes under your fingers. Understanding scales and keys helps your melodies feel settled rather than random, and a grasp of rhythm and time signatures keeps your basslines locked in the groove. As your ear sharpens, try switching off the presets and building a sound from silence: pick a waveform, shape it with the filter, then carve the envelope until it feels alive. When you are ready to play without a plan, our guide on how to improvise music is a natural next step.
Start small, learn the three core sections, and let curiosity lead. A synthesiser rewards patient exploration more than any expensive upgrade, and the skills you build on a humble first instrument will carry straight over to whatever you play next.