
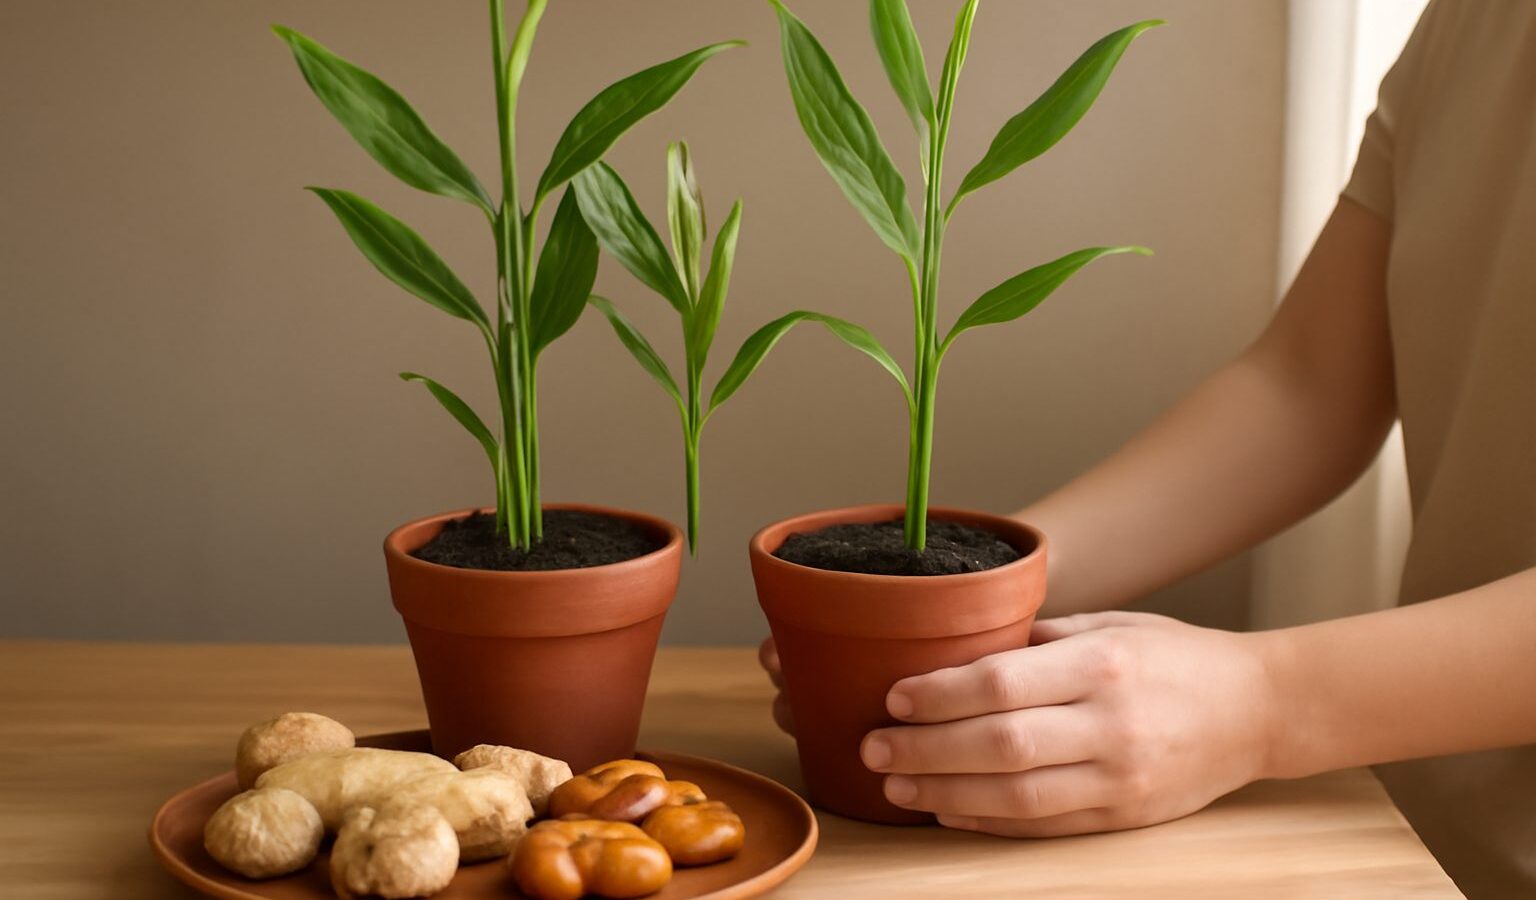
Few crops feel as rewarding as pulling a knobbly, fragrant rhizome from a pot you tended yourself. Growing ginger, along with its golden cousin turmeric, suits Singapore beautifully, because both plants come from the warm, humid tropics and ask for the very conditions our climate gives freely. You do not need a garden, only a deep pot, a bright but sheltered corner, and a little patience while the leafy stems grow tall. This guide walks you through choosing rhizomes, planting, watering and feeding, then harvesting and using your own home-grown spice safely in a small HDB or condo space.
Why Ginger and Turmeric Thrive Here
Ginger and turmeric are close relatives, both grown for the swollen underground stems we call rhizomes rather than for their roots or flowers. In the wild they carpet the shaded floor of Southeast Asian forests, spreading sideways in warm, moist, leaf-rich soil. That origin is exactly why our year-round heat and humidity suit them so well: there is no cold season to stop them, so they simply keep growing whenever conditions are good.
The plants send up tall, reed-like stems with long leaves, reaching knee to waist height on a balcony. Turmeric leaves are broader and can carry a lovely scent, while ginger stays a touch slimmer. Both die back and rest for a spell after a long growing period, which is your cue that the rhizomes below are mature and ready to lift. Understanding this cycle takes the mystery out of the crop and helps you know when to plant and when to harvest.
Choosing and Planting Your Rhizomes
Start with fresh, plump rhizomes bought as known culinary ginger or turmeric from a plant nursery, garden centre or grocer, choosing firm pieces with small, rounded growth buds, often called eyes. Avoid anything shrivelled, mouldy or soft. For the best start, sit the rhizomes in a warm, bright spot for a week or two until the eyes swell or sprout small green tips. Cut larger pieces so each section has at least one or two healthy eyes, and let the cut surfaces dry for a day to reduce rot.
Choose a wide, deep container, since these plants spread outward as they grow. A pot at least twenty-five to thirty centimetres deep with good drainage holes gives the rhizomes room to fatten. Fill it with a rich, free-draining mix: quality potting mix blended with compost and a little perlite or coarse sand holds moisture yet lets excess water escape. Lay the rhizomes flat, eyes facing up, and cover them with about three to five centimetres of mix. Water in gently and place the pot in warm, bright shade. Sprouts often take a few weeks to appear, so do not lose heart during the quiet start.
Light, Water and Feeding in Our Climate
Both crops prefer bright, dappled light rather than harsh, all-day sun, which can scorch the leaves and dry the pot too fast on an exposed balcony. A spot with morning sun and afternoon shade, or bright light filtered through a railing or overhang, is close to their forest-floor home. Indoors near a bright window works for a while, but they grow strongest with plenty of natural light and fresh air, so a sheltered balcony usually beats a dim corner.
Water is the make-or-break factor. Ginger and turmeric like the mix kept consistently moist through their growing months, never bone dry and never waterlogged. In our heat you may need to water every day or two, so check the top few centimetres of mix with a finger and water thoroughly when it starts to dry. Tip away anything that gathers in the saucer, and never let a saucer or tray sit full of water, because stagnant water breeds Aedes mosquitoes. Empty standing water at least weekly, keep any water stores covered, and follow current NParks and NEA guidance to prevent breeding. As the plant nears its rest period, ease off watering to let the rhizomes firm up.
Feed regularly while the leaves are actively growing, since fattening rhizomes are hungry. A balanced liquid fertiliser at the labelled strength every few weeks, or a scatter of compost worked into the surface, keeps growth steady. Ease off feeding once the stems begin to yellow and flop, which signals the plant is winding down for harvest.
Ginger and Turmeric Compared
Grown side by side, the two crops behave in similar ways but differ in a few useful details. Use the table to plan your pots and your patience.
| Feature | Ginger | Turmeric |
|---|---|---|
| Rhizome flesh | Pale cream to yellow, pungent and warming | Deep orange, earthy and staining |
| Leaf and height | Slimmer stems, roughly knee height | Broader, fragrant leaves, taller |
| Time to harvest | Around eight to ten months for mature rhizomes | Around eight to ten months, often a little longer |
| Best use | Baby ginger young, mature ginger later | Fresh grated or the classic dried spice |
| Light preference | Bright, dappled shade | Bright, dappled shade, tolerates a little more sun |
Harvesting and Using Your Crop Safely
You can steal a little young ginger a few months in by scraping back the mix at the pot edge and snapping off a small piece, then re-covering the rest. For a full harvest, wait until most of the leaves have yellowed and died back, then tip out the whole pot and lift the clump. Break off what you need, wash the rhizomes well to remove all soil, and keep a few firm, healthy pieces with good eyes to replant for your next crop. This is a genuinely renewable habit: one pot can seed the next.
Because these are edibles, a few safety habits matter. Grow only from rhizomes sold as culinary ginger or turmeric, so you know exactly what you are eating, and never eat any plant part you cannot positively identify. It is the washed, cooked or peeled rhizome that is the edible reward here, so scrub off every trace of soil before use and prepare it as you normally would in the kitchen. Turmeric in particular stains hands, cloth and surfaces a vivid yellow, so wear gloves and use an old board when you grate it. Store spare rhizomes somewhere cool and dry, and compost any pieces that turn soft or mouldy rather than using them.
Keeping Pots Happy and Getting Started
On a high floor, secure your pots against wind so a tall, top-heavy stem cannot topple, and follow your HDB, town council or MCST rules for balconies and shared corridors, keeping runoff and pests away from neighbours. Watch for the odd nibbling pest or leaf-rolling caterpillar, and start with the gentlest fix: pick pests off by hand or rinse them away with water, moving to insecticidal soap only if needed. If you ever reach for a stronger product, follow the label exactly, keep it well away from children, pets and food crops, and ventilate the space.
The best advice is simply to begin. Pot up one piece of ginger and one of turmeric, keep them warm, bright and evenly moist, and let them show you how they grow through the seasons. Observe, adjust one thing at a time, and in under a year you will be lifting your own fragrant spice from a corner of the balcony.
Explore more
If home-grown flavour appeals, keep building your edible balcony with our guides to growing lemongrass at home in Singapore and growing a curry leaf plant, two more aromatic staples that love our heat. For fresh leaves to pair with your spice, try growing mint and basil in Singapore next.