
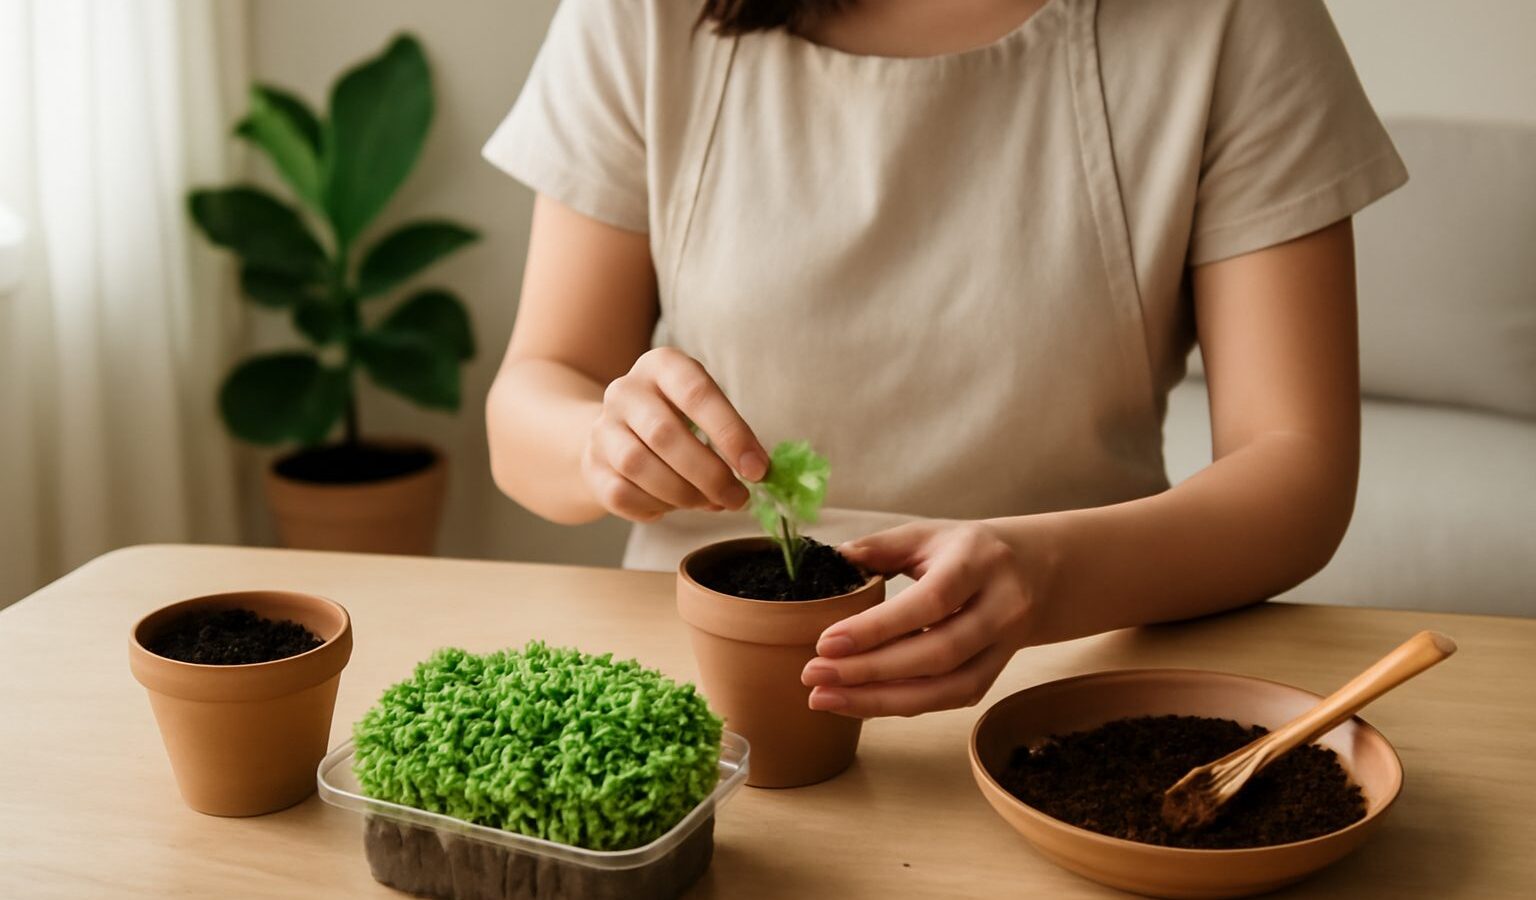
If you want to eat something you grew this week, not next season, microgreens are the answer. These are simply young vegetable and herb seedlings, harvested when the first tiny leaves appear, and they pack a surprising amount of flavour and colour into a shallow tray. For a Singapore home with little more than a bright window or a small balcony, microgreens are one of the most rewarding and forgiving edibles you can grow. There is no digging, no waiting for months, and no need for ground space. This guide walks you through choosing seed, sowing, light and water, harvesting, and staying safe with what you eat.
Why Microgreens Suit a Small Singapore Home
Microgreens are the whole plant caught at its youngest and tenderest stage, somewhere between a sprout and a baby salad leaf. You grow them densely in a shallow container, they green up in a warm, bright spot, and most are ready to snip in seven to twenty-one days. That short cycle is the whole appeal in a flat with limited room.
Our climate helps enormously. The year-round warmth that makes some plants sulk is exactly what fast seedlings love, so germination is quick and growth is steady with no heat mat or greenhouse needed. A single tray fits on a kitchen counter, a windowsill, or a corner of the balcony, and you can run several trays in rotation so there is always a fresh batch coming. Because you harvest young, you sidestep many of the pests and diseases that trouble mature crops in the tropics.
Popular, beginner-friendly choices include radish, sunflower, pea, broccoli, mustard, kale, coriander and basil. Radish and pea are especially quick and hard to fail with, so start there before you branch out.
Choosing Seed, Trays and Growing Medium
Buy seed sold for eating, sprouting or microgreens from a plant nursery, garden centre or reputable online seller, ideally untreated. Ordinary flower seed is sometimes coated with chemicals not meant for food, so it is not suitable. Because microgreens are sown thickly, you will get through seed quickly, and larger seeds like sunflower and pea are worth soaking for a few hours before sowing to speed things up.
For containers, almost any shallow, food-safe tray works: a repurposed takeaway box, a seed tray, or a small plastic punnet. It needs to be only three to five centimetres deep. Punch a few drainage holes in the base so water never pools, both to protect the roots and to avoid stagnant water, which breeds Aedes mosquitoes in our climate.
As a growing medium, a fine, peat-free seed-starting or potting mix is the simplest and most reliable option. Coconut coir works well too and is easy to find locally. Some growers use hemp or fibre mats, which are tidy and great for quick crops like radish, though heavier seeds still do best on a shallow layer of mix. Fill the tray with one to two centimetres of moist medium, level it gently, and you are ready to sow.
Sowing, Light and Watering
Scatter the seed evenly and densely across the surface so the tray looks well covered, but not piled in clumps. There is no need to bury it; just press it gently into contact with the moist medium. Mist the surface, then cover the tray for the first few days with a lid, a second tray, or a loose cloth to keep it dark and humid while the seeds germinate. This blackout period encourages strong, even sprouting.
Once you see sprouts lifting the cover, usually after two to four days, move the tray into bright light. A spot that gets plenty of indirect light or a little gentle morning sun is ideal. Harsh midday sun on a hot balcony can cook a shallow tray fast, so filter it or pull the tray back. Too little light gives pale, leggy, floppy growth, so if your greens stretch and lean, they simply need brighter conditions.
Keep the medium consistently moist but never waterlogged. Misting from above is fine early on, but once the seedlings are up, watering from below is better: stand the tray briefly in a shallow dish of water so the medium soaks it up, then remove it and tip away any excess. This keeps the leaves dry, which reduces mould, a common problem in our humidity. Never leave the tray sitting in a dish of water; empty any saucer or catch-tray and do not let water stand, so mosquitoes cannot breed. Good airflow, a lightly ventilated spot and not overcrowding the seed all help keep fungus at bay.
Harvesting and Eating Microgreens Safely
Most microgreens are ready when the first true leaves start to show above the initial seed leaves, giving you tender, flavourful greens. Harvest by holding a bunch and snipping cleanly just above the medium with clean scissors. Cut only what you need for that meal, since microgreens are freshest eaten straight away and keep for just a few days in the fridge.
Safety with edibles matters, so keep a few rules in mind. Only grow from seed you can positively identify as a safe, edible variety, and never eat a plant you are unsure of. Eat only the parts meant to be eaten: for microgreens that means the stems and leaves above the medium, not the roots or leftover seed hulls. Avoid growing microgreens from plants whose seedlings are toxic, such as those in the nightshade family like tomato and potato, whose young greens are not safe to eat. Always wash your harvest gently before eating, and use clean trays, clean water and clean hands throughout to keep things hygienic.
The table below compares a few easy microgreens to help you pick your first tray.
| Microgreen | Speed to harvest | Flavour | Good for beginners |
|---|---|---|---|
| Radish | Very fast, about 7 to 10 days | Peppery, crisp | Excellent, very forgiving |
| Pea shoots | Fast, about 10 to 14 days | Sweet, fresh | Excellent, soak seed first |
| Sunflower | Medium, about 10 to 14 days | Nutty, crunchy | Good, soak and weigh down early |
| Broccoli | Fast, about 8 to 12 days | Mild, mustardy | Very good, fine seed |
| Coriander | Slow, about 14 to 21 days | Strong, herby | Fair, needs patience |
Keeping a Steady Supply Going
The secret to always having microgreens on hand is succession sowing: start a fresh tray every few days rather than one big batch. Because each tray is small and quick, a rotation of three or four trays gives a continuous harvest with very little effort. Label each tray with the date and variety so you know what is coming next.
After harvest, most microgreens do not regrow reliably, so compost the spent medium and roots rather than trying to force a second cut. Peas and a few others may give a small second flush, but a fresh sowing is usually quicker and better. Reuse or wash trays between crops to keep mould and pests down.
If your balcony or corridor is shared, keep trays tidy and secured against wind on higher floors, avoid drips onto neighbours below, and follow your HDB, town council or condo rules on shared spaces. Start with one easy tray of radish or pea, watch how it responds to your particular light and airflow, and build your rotation from there. Few crops give a keen beginner such quick, tasty encouragement.
Explore more
Once you are hooked on fast, fresh greens, keep going with our guide to hydroponics at home for beginners, a natural next step for soil-free growing. For more edible leaves in small spaces, try growing mint and basil in Singapore and growing Chinese vegetables at home.