

Colour grading is the step that separates footage that looks like a home video from footage that looks intentional and cinematic. It is where you set the mood, unify your clips, and give your work a signature feel. If you have ever wondered why your videos look flat compared to the ones you admire online, the answer is usually grading. Learning colour grading video in Singapore is well worth the effort, because our bright, contrasty tropical light and mixed indoor lighting give you plenty to tame and shape.
This guide breaks the process into two clear stages, walks you through a simple workflow, and shows you how to build a look you can repeat.
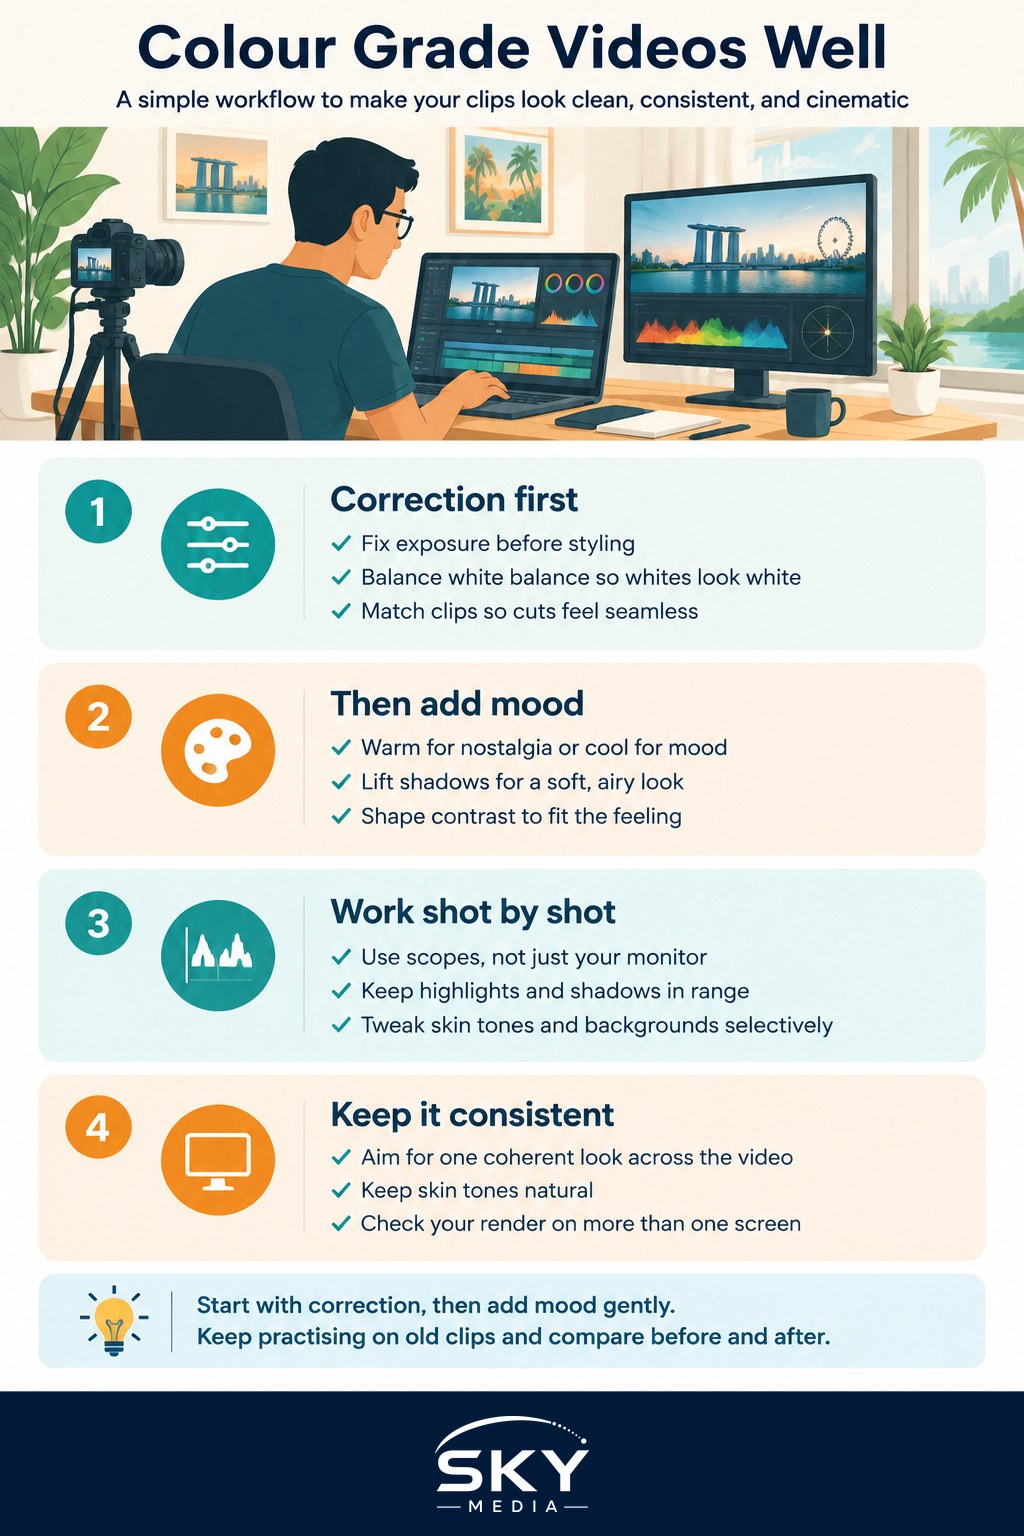
Correction Versus Grading
The single most useful idea to grasp is that “colour” is really two jobs, and doing them in order makes everything easier.
Colour correction comes first. This is the technical clean-up: you fix exposure, balance the white balance so whites look white, and match your clips so they belong to the same scene. If you filmed the same interview over an afternoon, the light shifted, and correction is how you make cut-to-cut look seamless. The goal here is neutral and natural, not stylish.
Colour grading comes second. This is the creative layer: you push the mood, warm it up for a nostalgic feel, cool it down for something moody, or lift the shadows for a soft, airy look. Grading is where taste comes in, and it is the fun part, but it only works on a well-corrected foundation.
If you rushed white balance in camera, fix it early. Our guide on how to set white balance in Singapore explains why getting it close on the day saves you hours later. It also helps to understand the broader concept, which our overview of understanding colour grading covers in more depth.
A Simple Grading Workflow
You do not need expensive software to start; many free and affordable editors include capable colour tools. Work through your clips in this order and you will avoid most beginner mistakes.
- Set your exposure. Use your editor’s scopes, especially the waveform, rather than trusting your monitor, which may be miscalibrated. Bring highlights and shadows into a sensible range without clipping either end.
- Balance the white balance. Neutralise any colour cast so the image looks natural. A pure white or grey object in the frame is your reference.
- Match your clips. Go shot by shot within a scene so brightness and colour are consistent. Nothing breaks immersion faster than a jump in tone between two cuts of the same moment.
- Apply your creative grade. Now add mood. Adjust the overall tone, shape the contrast, and gently push colours towards the feeling you want.
- Refine selectively. Use masks or secondary tools to tweak specific areas, such as warming up skin tones or calming a distractingly bright background.
Two habits will protect your work. First, grade with a light hand; it is easy to overcook an image until skin looks orange or the whole frame turns teal. Second, if you shot in a flat or “log” profile, you will need to apply a conversion or lift the contrast yourself, because that flat footage is meant to be graded, not left as is. Good grading also depends on good footage, so solid lighting basics for video and photo on the day gives you far more to work with in the edit.
Building a Consistent Look
A grade that changes wildly from clip to clip feels amateur. The aim is a coherent look across a whole video, and ideally a recognisable style across your body of work. Decide on a mood before you start, keep skin tones natural even when the rest of the frame is stylised, and check your final render on more than one screen, because phones, laptops, and TVs all show colour differently.
Presets and LUTs, which are ready-made looks you can apply in one click, are a useful shortcut, but treat them as a starting point rather than a finished grade. Every scene is lit differently, so you will almost always need to adjust exposure and white balance before and after applying one. Over time you can develop your own signature, much as photographers do when they develop a consistent editing style.
Colour grading rewards patience and practice more than gear. Start by simply correcting your clips so they look clean and consistent, then experiment gently with mood once the basics feel comfortable. Grade a few old projects for practice, compare before and after, and train your eye. Before long, that cinematic polish you admired in other people’s videos will start showing up in your own.
Frequently Asked Questions
Do I need to shoot in log to colour grade properly? No. Standard profiles can be graded well, particularly for beginners. Log footage gives more flexibility but looks flat until converted, so it needs a more careful workflow. Start with a normal profile and move to log once you are comfortable.
What are LUTs and should I use them? LUTs are ready-made looks you apply with one click. They are a handy starting point, but every scene is lit differently, so adjust exposure and white balance before and after applying one rather than leaving the look untouched.
Why do my colours look different on my phone and my laptop? Screens differ in brightness, calibration and colour handling, so the same video can look warmer or cooler. Check your final grade on more than one device, and rely on your editor’s scopes rather than your monitor alone.
How do I keep skin tones natural while I stylise the colours? Grade the overall mood first, then isolate skin with a mask or secondary tool and nudge it back towards natural. Watch for orange or green shifts, and compare the result with the original frame.
What is the quickest way to make footage from different cameras match? Correct each clip first for exposure and white balance, then match them shot by shot against a reference clip. Different cameras render colour differently, so expect small adjustments, and apply your creative look afterwards.
Further reading: How to Colour Match Clips in Video