
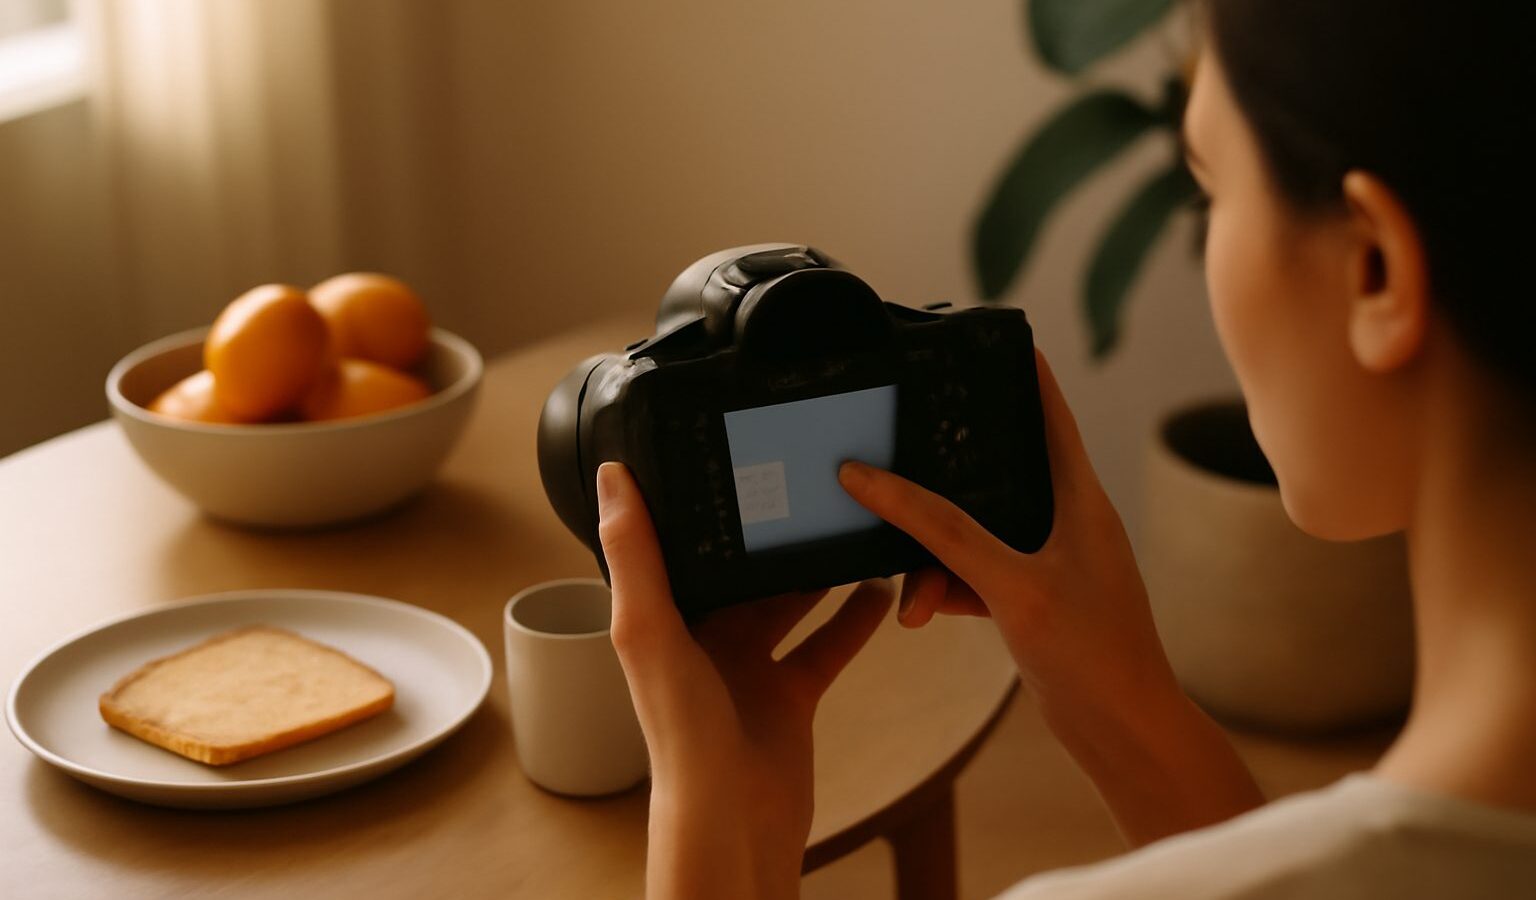
Have you ever taken a photo indoors that came out orange, or a shady shot that looked oddly blue? That is white balance, or rather the lack of it. White balance is how your camera decides what counts as white under different lighting, and getting it right is what makes skin tones look healthy, food look appetising and a Marina Bay sunset look the way you remember it. In Singapore, where you move between fierce daylight, warm hawker centre bulbs and cool office lighting all day, white balance matters more than most beginners realise.
This guide explains what white balance is, how to set it on both phones and dedicated cameras, and how to handle the mixed lighting you meet across the city.
What White Balance Really Is
Different light sources have different colours, even when your eyes adjust and call them all white. Photographers describe this as colour temperature, measured in kelvin. Warm light, like a household bulb or late afternoon sun, is orange and sits at a low kelvin number. Cool light, like open shade or an overcast sky, is blue and sits at a high number. Midday daylight is roughly in the middle.
Your brain corrects for all this automatically, so a white plate looks white under a warm bulb and under daylight. A camera does not know the difference unless you tell it. White balance is the setting that shifts the colours so that whites look white and everything else falls into natural place.
Set it wrong and the whole photo takes on a colour cast: too orange under warm light, too blue in shade. Set it right and the colours look the way they did in real life.
Auto Versus Manual White Balance
Almost every camera and phone offers auto white balance, or AWB, which analyses the scene and guesses the correct setting. Modern auto white balance is genuinely good and handles most everyday shooting well. For a lot of casual photography, leaving it on auto is a perfectly sensible choice.
Auto has two weaknesses, though. It can be inconsistent, shifting slightly between frames of the same scene, which is annoying when you shoot a series. And it can be fooled by a scene dominated by one colour, such as a green forest at MacRitchie or a red lantern display at Chinatown during Chinese New Year, where it may overcorrect.
Manual white balance fixes both. You choose a preset or a specific kelvin value and it stays locked, giving consistent, predictable colour. The trade off is that you must remember to change it when the light changes.
A practical middle path is to shoot in a raw file format if your camera or phone offers it. Raw records the full colour information and lets you set white balance perfectly afterwards in editing, with no loss of quality. If you shoot raw, white balance in camera becomes a preview rather than a permanent decision.
White Balance Presets And When To Use Them
Beyond auto, cameras offer named presets that match common light sources. Phones offer similar options in pro or manual camera modes.
Here is how the common presets behave and where they fit in Singapore.
| Preset | What it does | Good for | Local example |
|---|---|---|---|
| Daylight | Neutral, for direct sun | Outdoor midday shooting | East Coast Park at noon |
| Cloudy | Warms the image slightly | Overcast, softens grey light | A rainy monsoon afternoon |
| Shade | Warms more strongly | Cool blue open shade | Under trees at Botanic Gardens |
| Tungsten | Cools to fight orange bulbs | Warm indoor lighting | A hawker centre or old kopitiam |
| Fluorescent | Corrects green or cool tubes | Office and shop lighting | An MRT station or mall interior |
The pattern is that presets either warm up a scene that is too blue, like shade, or cool down a scene that is too orange, like a tungsten bulb. If a photo looks too warm, you need a cooler setting, and the reverse.
Setting White Balance Step By Step
On a dedicated camera, the process is quick once you know where the menu lives.
- Find the white balance button or menu, usually marked WB.
- Start with auto and take a test shot. If the colours look natural, you are done.
- If there is a colour cast, choose the preset that matches the light: tungsten indoors, shade under trees, and so on.
- For critical colour, use custom white balance. Photograph a white or neutral grey card under the actual light, then set that shot as your reference. The camera calibrates precisely to that light.
- For fine control, switch to the kelvin setting and dial the number up to warm the image or down to cool it, watching the preview.
On a phone, open the camera app’s pro or manual mode if it has one. Look for a WB or kelvin control and either pick a preset or drag the temperature slider until whites look white. In the standard auto mode, you usually cannot set white balance directly, but you can correct any cast afterwards in a photo editing app by adjusting the temperature and tint sliders.
Handling Mixed And Tricky Light
Singapore loves to mix light sources in one frame, and that is where white balance gets interesting.
Mixed indoor and window light. A cafe with warm bulbs and cool daylight from the windows cannot be perfectly balanced for both at once. Pick the light falling on your main subject and balance for that, or move your subject closer to one source.
Golden hour and sunsets. The warm orange of a Marina Bay sunset is the whole point, so do not let auto white balance neutralise it. Use the daylight or cloudy preset to preserve the warmth rather than cancelling it out.
Deep shade under trees. Open shade goes noticeably blue. The shade preset, or a warmer kelvin value, brings skin tones back to life for portraits at the Botanic Gardens.
Neon and stage colour. For coloured festival lights or a neon lit night scene, there is no single correct white balance, because the colours are the subject. Set a neutral daylight balance and let the colours read as they are.
Underwater or pool blue casts. Water adds a strong blue or green cast. Warm the white balance considerably, or fix it in editing, to recover natural tones.
The reliable habit is to glance at your test shot, decide whether it looks too warm or too cool, and nudge the setting the opposite way.
Building Good White Balance Habits
You do not need to obsess over colour to get consistent results. A few habits do most of the work.
- Shoot raw when colour really matters, so you can perfect white balance later without quality loss.
- Match the preset to the light when you shoot straight to JPEG, rather than leaving everything on auto in tricky lighting.
- Carry or improvise a neutral reference, even a plain white piece of paper, for custom white balance on important shoots.
- Correct casts in editing with the temperature and tint sliders, which every decent photo app includes.
- Trust your eyes. If a photo does not match what you remember seeing, adjust the warmth until it does.
White balance is not about chasing technically perfect colour every time. It is about making your photos look natural, or warm and inviting where you want that mood. Learn to read whether a scene is too orange or too blue, reach for the right preset or slider, and your colours will finally match the Singapore you actually saw.
Explore more: Understanding Metering Modes, How to Read the Histogram, Using Exposure Compensation, and Understanding Autofocus Modes.