
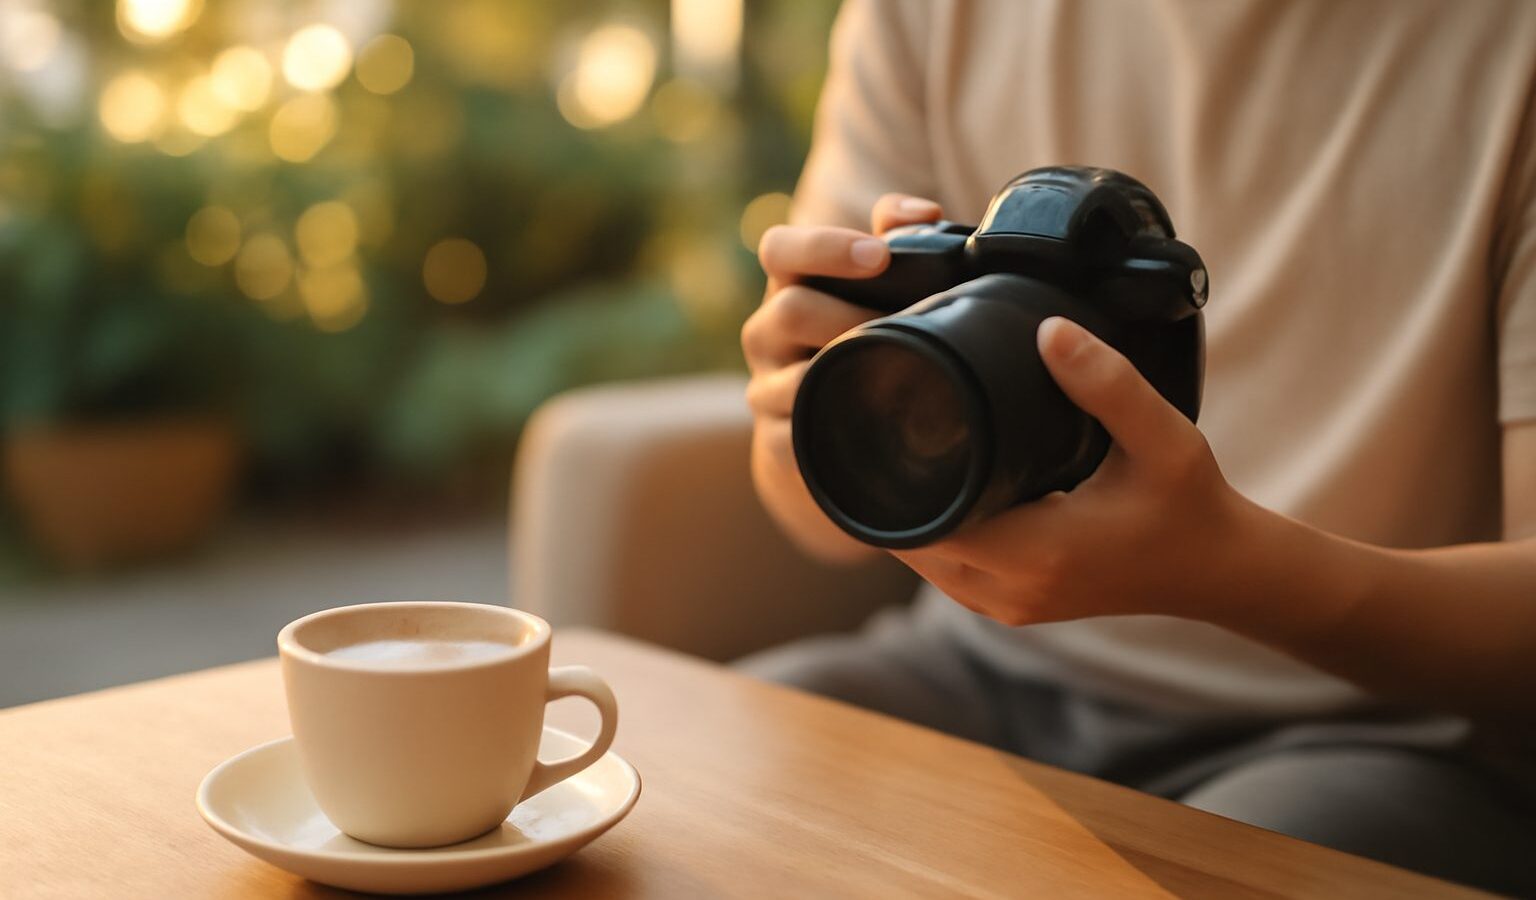
Bokeh is the soft, dreamy quality of the out-of-focus parts of a photo, especially the way bright points behind your subject melt into smooth, glowing circles. It is the look that makes fairy lights at Gardens by the Bay turn into floating orbs and a portrait pop off a busy hawker background. Good bokeh is not just blur; it is pleasant, buttery blur that flatters your subject. The word covers the character of that blur, and once you understand what creates it, you can produce creamy bokeh on purpose rather than by accident.
This guide is written for both phone shooters and dedicated-camera owners, and every tip is grounded in real Singapore conditions.
What Creates Bokeh in the First Place
Smooth bokeh comes from a shallow depth of field, which is how much of the frame is sharp from front to back. Three levers control it.
- A wide aperture. Aperture is the opening in the lens; a wide one has a small f-number such as f/1.8 or f/2.8. Wide apertures throw the background out of focus and give you the biggest, softest bokeh. If this is new, our guide on controlling depth of field breaks the idea down step by step.
- A longer focal length. A lens around 50mm, 85mm or a phone telephoto compresses the scene and enlarges the background blur.
- Distance relationships. Get close to your subject and put plenty of distance between the subject and the background. The nearer you are to your subject and the further the background sits behind them, the creamier the result.
On a dedicated camera, a fast prime lens (a lens with a wide maximum aperture that does not zoom) is the classic bokeh tool. On a phone, most cameras cannot open the aperture wide, so they simulate blur with Portrait mode software instead.
Camera Settings for Smooth Bokeh
If you shoot with a mirrorless or DSLR camera, here is the reliable recipe.
- Switch to Aperture Priority (marked A or Av) so you control the f-stop while the camera sets shutter speed.
- Open the aperture wide, to the smallest f-number your lens allows, such as f/1.8 or f/2.8.
- Use a longer lens if you have one. An 85mm gives noticeably creamier bokeh than a wide 24mm at the same aperture.
- Get physically close to your subject and step them well away from the background.
- Focus on the eyes using a single autofocus point, because at a wide aperture only a thin slice is sharp. Miss the eyes and the whole shot feels off.
- Look for background lights. Distant fairy lights, sun through leaves, or car headlights at dusk render as those signature bokeh balls.
A gentle warning: at f/1.8 the sharp zone can be thinner than a face, so the near eye may be crisp while the far eye softens. Narrow to f/2.8 if you need a touch more of the face sharp.
Getting Bokeh on a Phone
You can absolutely get creamy-looking bokeh on a phone, you just get there differently.
- Use Portrait mode. It detects your subject and blurs the rest in software. Many phones let you adjust the blur strength before or after the shot, so dial it back if it looks fake.
- Try the telephoto lens. If your phone has a 2x or 3x camera, it flatters faces and enlarges background blur more naturally than the main wide lens.
- Mind the cut-out. Software struggles with hair, glasses, frizz and leaves. Give your subject space from the background, keep the whole subject in the focus zone, and zoom in to check the edges before you move on.
- For real optical bokeh, shoot a close subject such as a flower or a cup in normal Photo mode and tap to focus on it. Getting physically close creates genuine blur even without Portrait mode.
Camera Versus Phone Bokeh at a Glance
Both routes work; they simply have different strengths and traps.
| Approach | How the blur is made | Strengths | Watch out for |
|---|---|---|---|
| Fast prime lens on a camera | Optical, from a wide aperture | Smooth, natural, true bokeh balls | Very thin focus zone, miss and it is soft |
| Zoom lens on a camera | Optical, less extreme | Flexible framing, still creamy at 85mm | Narrower max aperture means less blur |
| Phone Portrait mode | Software simulation | Convenient, adjustable strength | Smeared edges around hair and glasses |
| Phone close-up in Photo mode | Optical, from short focus distance | Genuine blur, no cut-out errors | Only works when the subject is near |
Use the table to pick your method for the situation, then apply the matching cautions.
Singapore Spots and Conditions for Bokeh
Our city gives you plenty of bokeh-friendly backdrops, along with a few tropical hazards.
- Evening lights. Gardens by the Bay, Marina Bay, Orchard Road at Christmas and any festival light-up turn into glorious bokeh balls once the sun drops. Shoot at blue hour with the lights behind your subject.
- Dappled greenery. The Botanic Gardens and neighbourhood parks give you sunlight filtering through leaves, which reads as soft green bokeh behind a portrait.
- Golden hour is short. Near the equator the flattering low sun fades fast, so arrive early and be ready in the half hour around sunrise or sunset.
- Humidity and fogging. Stepping from a cold mall into the heat fogs your lens or phone glass instantly. Let it acclimatise for a few minutes and wipe with a microfibre cloth, or your bokeh turns to haze.
- Bright midday sun. A wide aperture in harsh light can overexpose the frame. Move into shade, or on a camera use a neutral density filter, which acts like sunglasses for the lens. Learning exposure compensation also helps you hold detail in bright scenes.
- Sudden rain. During the monsoon, keep a cloth and a dry bag ready, because droplets on the front glass wreck otherwise clean bokeh.
Practise Until It Looks Natural
Try this simple drill. Place a subject a couple of metres in front of a string of lights or a leafy background, then shoot it three ways: wide aperture up close, the same aperture from further back, and a longer lens if you have one. On a phone, compare Portrait mode against a genuine close-up in Photo mode. Notice how distance and focal length change the size and smoothness of the blur. If you are shooting people, remember to ask permission before photographing identifiable strangers, and be considerate in busy public spaces.
Creamy bokeh is really just shallow depth of field used with taste. Open up, get close, put distance behind your subject, nail focus on the eyes, and let a light-filled background do the rest. Once the technique becomes second nature, you will start seeing bokeh opportunities everywhere, from a kopi cup on a table to a friend under the festive lights.
Explore more: controlling depth of field, understanding autofocus modes, and using exposure compensation.