
Exposure compensation is the quickest, most useful control most photographers never touch. It lets you tell the camera, in one small adjustment, “make this brighter” or “make this darker” than the setting it chose on its own. Your camera or phone measures the light and picks an exposure automatically, but it guesses wrong more often than you would think, especially in the bright, high-contrast light we get in Singapore. Exposure compensation is how you override that guess without diving into full manual mode. Learn this one dial and your photos stop coming out muddy or washed out.
This guide explains what it does, why cameras get it wrong, and how to use exposure compensation on both phones and dedicated cameras.
Why Your Camera Guesses Wrong
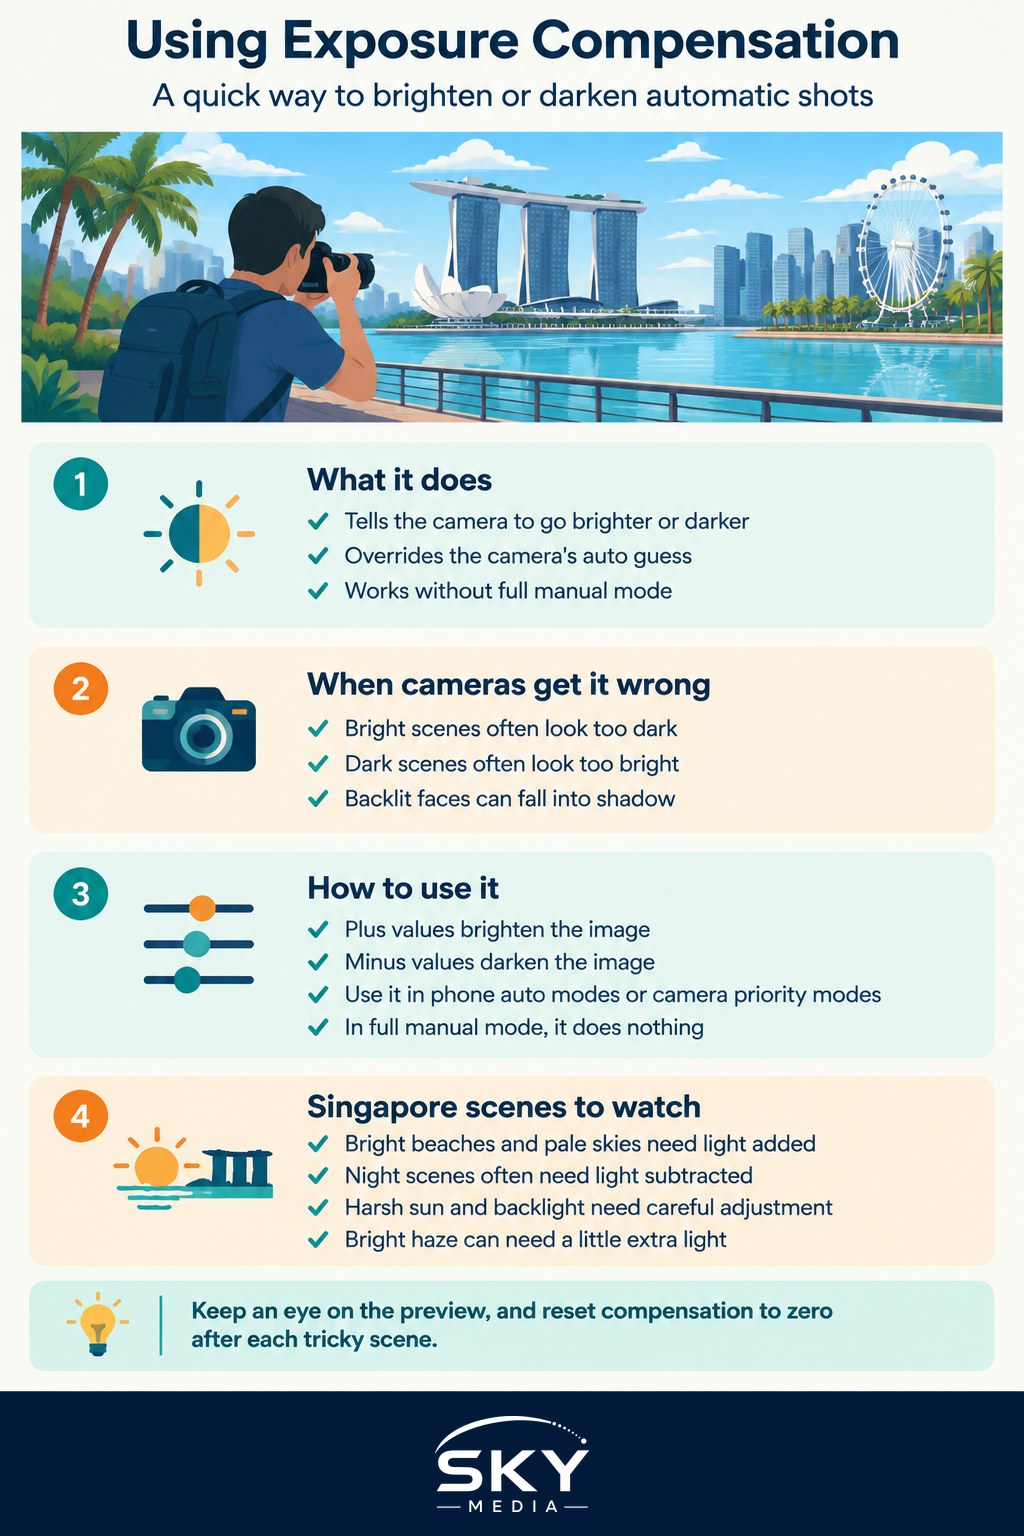
To set exposure automatically, your camera uses a light meter that assumes the average scene should come out to a middle grey, a tone halfway between black and white. That assumption works for ordinary scenes but breaks whenever a scene is mostly very bright or mostly very dark.
Point at a bright subject, such as a white sandy beach at East Coast, a pale HDB wall in full sun, or a sky-filled frame, and the meter overcorrects by darkening everything, so your beach turns grey and dull. Point at a dark subject, such as a shadowy heritage shophouse interior or someone in dark clothing, and the meter brightens too much, washing the shot out. Exposure compensation is your tool for pushing back against these predictable mistakes. If you want the full picture of how the meter reads a scene, our guide to metering modes goes deeper.
How Exposure Compensation Is Measured
Exposure compensation is measured in stops, marked as EV, for exposure value. Each full stop doubles or halves the light. Plus values brighten the image; minus values darken it. Most cameras and phones let you nudge in thirds, so you will see steps like +0.3, +0.7, +1.0 and the matching minus values.
You will only see the effect when the camera is choosing part of the exposure for you, which means it works in Program, Aperture Priority and Shutter Priority modes, and in the automatic modes on a phone. In full manual mode you are already setting everything yourself, so the compensation dial has nothing to adjust.
When to Add or Subtract Light
Here is a quick reference for the situations that fool the meter most often around Singapore. Start with these and fine-tune from what you see on screen.
| Scene | Direction | Typical amount | Why |
|---|---|---|---|
| Bright beach or pale sky | Add light | +0.7 to +1.3 EV | Meter darkens bright scenes too much |
| Snow-white or light background | Add light | +1.0 to +1.7 EV | Keeps whites white, not grey |
| Backlit subject, sun behind them | Add light | +0.7 to +1.7 EV | Stops the face going into shadow |
| Dark shophouse or night scene | Subtract light | -0.7 to -1.3 EV | Meter over-brightens dark scenes |
| Spotlit subject on dark stage | Subtract light | -1.0 to -2.0 EV | Preserves mood and stops blowout |
The pattern is worth memorising: bright scene, add light; dark scene, subtract light. It feels backwards at first, but it counters exactly what the meter gets wrong.
Setting It on Camera and Phone
The control is easy to reach once you know where to look.
- On a dedicated camera, find the button or dial marked with a plus and minus symbol. Often you hold that button and turn a wheel, or on many cameras there is a dedicated exposure compensation dial on top. Turn towards plus to brighten, minus to darken.
- On a phone, tap the screen to set focus on your subject. A small slider, usually a sun icon, appears beside the focus box. Drag up to brighten, down to darken. That slider is exposure compensation in everyday clothing.
- Watch the live preview or the meter scale. On a phone the screen shows the change instantly. On a camera, mirrorless bodies preview it live, while on a DSLR you watch the exposure scale move and check the shot afterwards.
- Reset it when you are done. This is the big trap: compensation stays applied until you set it back to zero. Many a next photo comes out too dark or too bright because the dial was left where it was. Make a habit of returning to zero after each tricky scene.
Singapore Light That Needs Compensation
Our tropical conditions serve up the exact scenes that trip meters up.
- Harsh midday sun creates extreme contrast between bright sky and dark shade. For a backlit portrait against a bright Marina Bay sky, add around +1 EV so the face is not a silhouette. If you would rather keep the silhouette, subtract light instead for a bold outline.
- Bright overcast haze can fool the meter into underexposing. A little positive compensation often restores a natural, clean look.
- Blue hour and night at Gardens by the Bay or the city skyline usually need negative compensation, so the lights stay rich and the shadows stay dark instead of turning muddy grey.
- Beach and pool scenes at East Coast are classic bright traps; add light to keep sand and water looking bright rather than dingy.
- Stage shows and indoor events with a spotlit performer against darkness need negative compensation to hold the mood and protect the highlights.
Exposure compensation also pairs naturally with the motion techniques in our other guides. Keeping a shot correctly bright matters just as much whether you are freezing fast motion at a futsal court or panning to capture motion along a park connector.
Building the Habit
Try a simple exercise on your next outing. Photograph one bright scene, such as a sunlit wall or the sky, three ways: at zero, at plus one, and at minus one. Then do the same with a dark scene. Compare the results and you will quickly feel which direction rescues each type of light. After a week of this, reaching for the plus or minus becomes instinct, and you will fix problems in the moment rather than wrestling with them later in editing.
None of this is complicated gear or expensive kit; it is one small control that respects your judgement over the camera’s. Learn to read when a scene is too bright or too dark for the meter, nudge exposure compensation the right way, remember to reset it, and your photos will come out looking the way your eyes actually saw them.
Explore more: understanding metering modes, how to freeze fast motion, and panning to capture motion.