
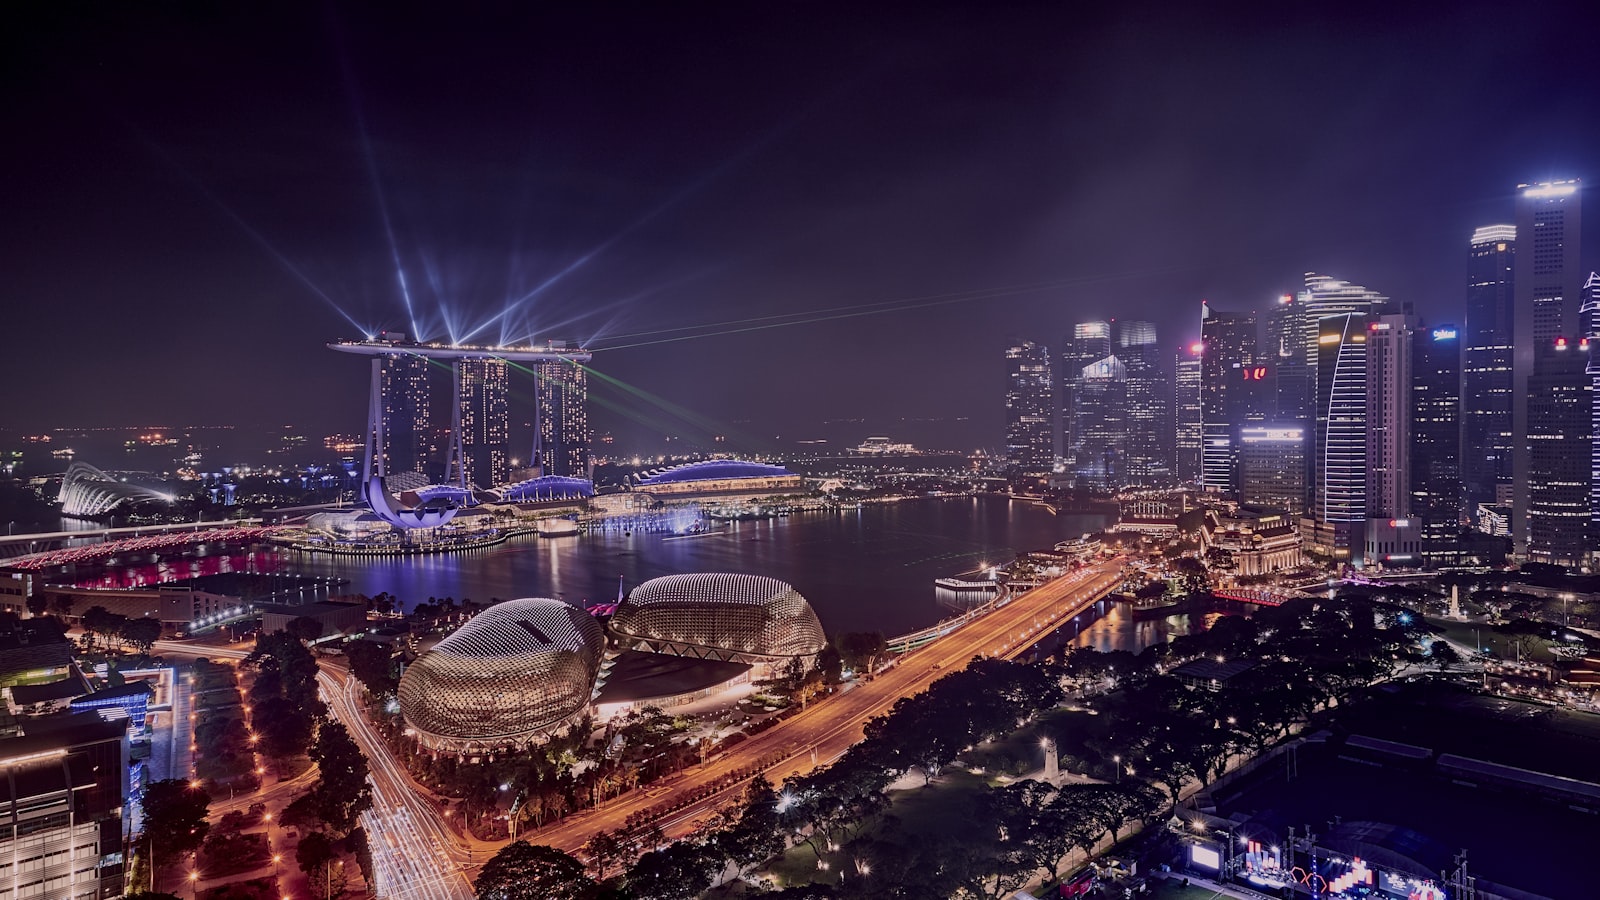
Few subjects are as exciting or as demanding as a live show, which is why concert photography is such a rewarding skill to build. You are working in dark venues, chasing fast-moving performers, and dealing with coloured lights that change by the second. The good news is that a few clear principles will carry you through almost any gig: embrace high ISO, use a fast lens, switch off your flash, and always check the venue’s photo policy first. Get those right and you can freeze the energy of the stage.
Check the rules before you shoot
Every venue and every artist sets their own rules, so this comes first. Some shows ban cameras entirely, some allow phones only, and some permit interchangeable lens cameras for the first few songs. Professional access usually needs a photo pass arranged in advance, and there is often a three-song limit with no flash. Read your ticket terms, check the venue website, and when in doubt, ask staff at the door. Ignoring this can get your gear confiscated or get you removed, so respect it.
The low light challenge
Concerts are dark, and your subject rarely stands still. That combination forces some hard choices. To freeze a singer or a guitarist mid-motion, you need a reasonably fast shutter. To get a fast shutter in dim light, you need to gather as much light as possible in other ways. That means a wide aperture and a high ISO.
Forget about clean, noise-free files here. A slightly grainy but sharp photo of a great moment beats a clean but blurry one every time. Modern cameras handle high ISO far better than older ones, and grain suits the raw mood of live music anyway.
Gear and settings
- A fast lens. A lens with a wide maximum aperture such as f/1.8 or f/2.8 lets in far more light than a typical kit lens and is the single biggest upgrade for gig work. A fixed 50mm f/1.8 is an affordable, capable choice.
- Shoot in manual or aperture priority. Set the aperture wide open, then manage shutter and ISO around it.
- Aperture: as wide as your lens allows, often f/1.8 to f/2.8.
- Shutter speed: aim for 1/200 second or faster to freeze movement. Drop to around 1/125 second for slower, calmer moments.
- ISO: let it climb. ISO 1600, 3200, 6400 and beyond are normal at concerts. Set it high enough to reach your shutter speed.
- Focus: use continuous autofocus so the camera tracks moving performers. Aim for the eyes or face.
No flash, and why
Switching off your flash is not just about the rules. On-camera flash flattens the scene, kills the atmospheric stage lighting that makes the shot special, and distracts the performers and the audience. The whole point is to capture the mood the lighting designer created, so let the stage lights do the work. If your photos are too dark, raise the ISO rather than reaching for flash.
Settings by situation
| Situation | Aperture | Shutter speed | ISO | Focus |
|---|---|---|---|---|
| Bright stage, energetic act | f/2.8 | 1/250 to 1/500s | 1600 to 3200 | Continuous, track the face |
| Dim club, small stage | f/1.8 | 1/160 to 1/200s | 3200 to 6400 | Continuous, single point |
| Slow ballad, still singer | f/2 | 1/125s | 1600 to 3200 | Single point on eyes |
| Phone at a big concert | widest available | let app decide | auto | Tap performer to focus |
| Backlit, smoke and haze | f/2.8 | 1/250s | 3200 | Focus on the lit edge |
Working with the light
Stage lighting is your biggest challenge and your biggest tool. It shifts constantly, so timing matters more than any setting. Watch the wash of light and wait for the moment the performer is well lit, then shoot in short bursts. Front lighting shows faces clearly. Backlighting with haze creates dramatic silhouettes and glowing rims.
Red light is a common trap: it can overload and smear detail in the file. When the stage floods red, expose a touch darker and fix the rest later, or wait for the colour to change. Shooting RAW gives you much more room to correct wild colour casts afterwards.
Composition and moments
- Anticipate the peaks: a jump, a raised arm, a big note, a drummer’s crash. Watch the performance and press just before the moment.
- Vary your framing: mix tight portraits of the lead with wider shots showing the whole band and the crowd.
- Include the audience: hands in the air and a sea of faces tell the story of the night.
- Mind the background: cluttered cables and equipment distract, so shift your position for a cleaner frame.
- Steady yourself: brace against a barrier or wall to help handhold at slower shutter speeds.
Common mistakes to avoid
- Using flash, which breaks the rules and ruins the atmosphere.
- Keeping ISO too low, which leaves you with dark, blurry frames.
- A shutter speed too slow to freeze motion, turning performers into smears.
- Fighting red light instead of waiting a beat for the colour to shift.
- Blocking other people’s view. Be considerate, stay low, and do not hold a bright screen up for a whole song.
Get out to a gig
Singapore has a lively scene, from intimate bars and community stages to big arena shows, so there is always somewhere to practise. Start at a small, well-lit venue where the rules are relaxed, open your aperture wide, push your ISO, and shoot in bursts around the peak moments. The more shows you shoot, the sharper your timing becomes, and concert photography will start to feel less like a fight with the dark and more like riding the energy of the night.
Explore more: Understanding aperture, shutter speed and ISO · Photographing events and parties basics · Photography basics for beginners Singapore