
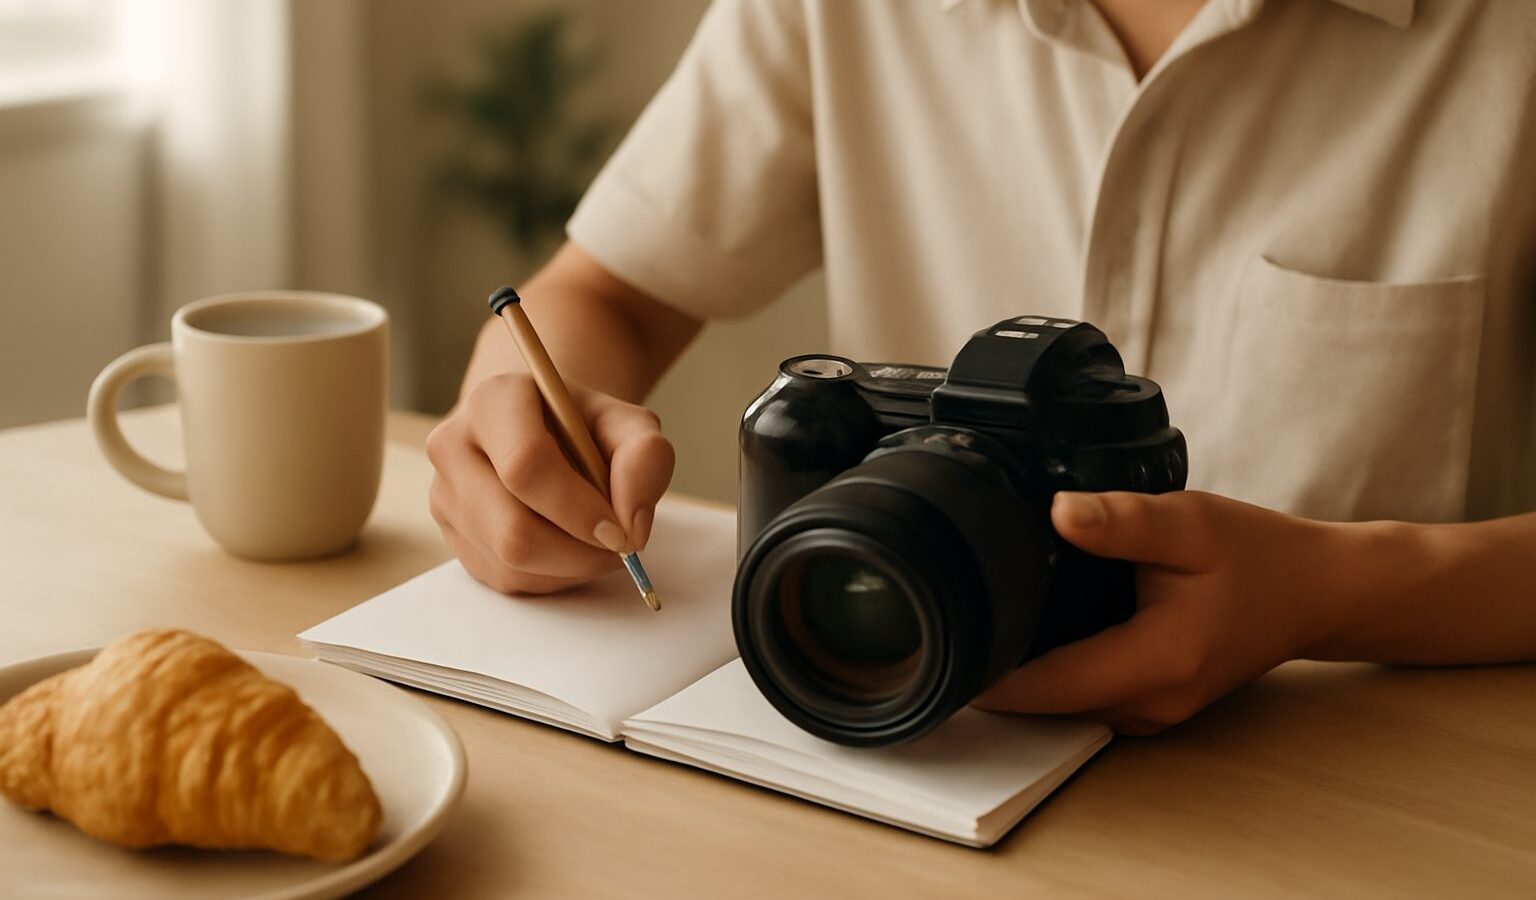
Picking up a camera for the first time can feel like being handed a cockpit full of buttons. The good news is that the photography basics that actually matter are few, and once they click, everything else gets easier. This guide keeps things plain and doable, whether you are holding an entry-level mirrorless, a hand-me-down DSLR, or simply the phone in your pocket. We will focus on light, framing and steadiness, and you will be able to try every idea today, right where you live in Singapore.
Photography is really just the craft of collecting light. Understand how light reaches your sensor, learn to arrange what is in the frame, and keep the camera still, and your pictures will improve straight away. Let us walk through it step by step.
Understanding Light and the Exposure Triangle
Every photo is a balance of three settings that together decide how bright the image is and how it looks. Photographers call this the exposure triangle, and the three corners are aperture, shutter speed and ISO.
- Aperture is the opening in the lens that lets light in. A wide opening (a small f-number like f/2.8) lets in lots of light and gives that soft, blurred background you see in portraits. A narrow opening (a large f-number like f/11) keeps more of the scene sharp, which suits landscapes such as the Marina Bay skyline.
- Shutter speed is how long the sensor is exposed to light. A fast shutter (say 1/1000 of a second) freezes a swooping myna bird, while a slow shutter (a second or more) blurs moving traffic into light trails along the CBD roads.
- ISO is how sensitive the sensor is to light. Low ISO (100 or 200) gives clean images in bright daylight. High ISO (3200 and up) helps in dim settings like a hawker centre at night, but it adds grain, known as noise.
The trick is that these three work together. If you let in more light with one, you often need less from another to keep the brightness right. You do not have to memorise numbers. Just remember that brightening one corner usually means dimming another.
Singapore light is worth a special mention. Our midday sun is strong and high, which creates harsh shadows and squinting faces. The kinder hours are early morning and the golden hour before sunset, when the light is soft and warm. An overcast afternoon, common before a downpour, acts like a giant softbox and flatters portraits beautifully.
Composition: Arranging What Is in the Frame
A technically correct photo can still be dull. Composition is how you arrange the elements so the viewer’s eye knows where to look. A few simple habits go a long way.
- The rule of thirds. Imagine your frame split by two vertical and two horizontal lines, like a noughts-and-crosses grid. Placing your subject on one of those lines, or where they cross, feels more natural than dead centre. Most cameras and phones can show this grid, so switch it on.
- Leading lines. Use lines that already exist to draw the eye inward. Think of the walkways at Gardens by the Bay, the five-foot-ways of a Chinatown shophouse row, or an HDB corridor stretching into the distance.
- Fill the frame. Beginners often stand too far back. Step closer to your plate of chicken rice or your friend’s face so the subject dominates the shot.
- Mind the background. Before you press the shutter, glance behind your subject. A lamppost sprouting from someone’s head is the classic rookie mistake.
Composition is a skill you build by looking, not by buying. The more you notice how light and lines fall around you, the better your framing becomes.
Holding Steady and Getting Sharp Shots
Blur from a shaky camera is one of the most common reasons a beginner’s photos disappoint. Sharpness starts with how you hold the camera.
- Tuck your elbows into your body rather than letting them flap out.
- Support the lens from underneath with your left hand.
- Breathe out gently as you press the shutter, the way a marksman does.
- Press the button softly rather than jabbing at it.
In low light, such as a dim kopitiam in the evening, the camera slows its shutter to gather enough light, which makes hand-shake more obvious. Rest your elbows on a table, lean against a pillar, or use a small tripod. Many phones now have a night mode that takes several frames and blends them, so keep still for a moment after you tap the shutter.
Getting Off Auto Without the Fear
Auto mode is a fine place to start, and there is no shame in using it. When you are ready to take more control, try the in-between modes before jumping to full manual. Here is a simple map of when to reach for each.
| Mode | What it does | Best for a beginner when |
|---|---|---|
| Auto | Camera decides everything | You want a quick grab shot with no fuss |
| Aperture priority | You set aperture, camera sets the rest | You want blurred or sharp backgrounds, like portraits |
| Shutter priority | You set shutter, camera sets the rest | You want to freeze or blur motion, like MRT trains |
| Manual | You set everything yourself | You want full control and have time to think |
A gentle path is to start in aperture priority, since background blur is the effect most beginners want. Once that feels comfortable, experiment with shutter priority at a place with movement, such as the Singapore River. Manual can wait until the first two feel like second nature.
Building a Simple Practice Habit
Skill comes from mileage, not gear. Give yourself small, repeatable exercises rather than waiting for a grand photo trip.
- Photograph the same hawker dish in different light and compare the results.
- Take a short walk around your neighbourhood and shoot only leading lines.
- Spend one session on the rule of thirds and nothing else.
- Review your shots honestly and pick one thing to fix next time.
Look after your kit as you go, since our humidity is hard on cameras. Wipe your gear down after a sweaty outing and store it somewhere dry. Above all, be considerate. Ask before taking close candid portraits of strangers, and respect posted no-photography rules in temples, mosques and private property.
The heart of photography basics is not expensive equipment. It is understanding light, arranging your frame with care, and keeping the camera steady. Do those three things consistently and your photos will improve faster than any new purchase could manage.
Explore more
Ready to dig deeper? Build on these photography basics with our guide to understanding aperture, shutter speed and ISO, then steady your shots with tips on how to hold and stabilise your camera. When you feel ready to upgrade, see choosing your first camera.