
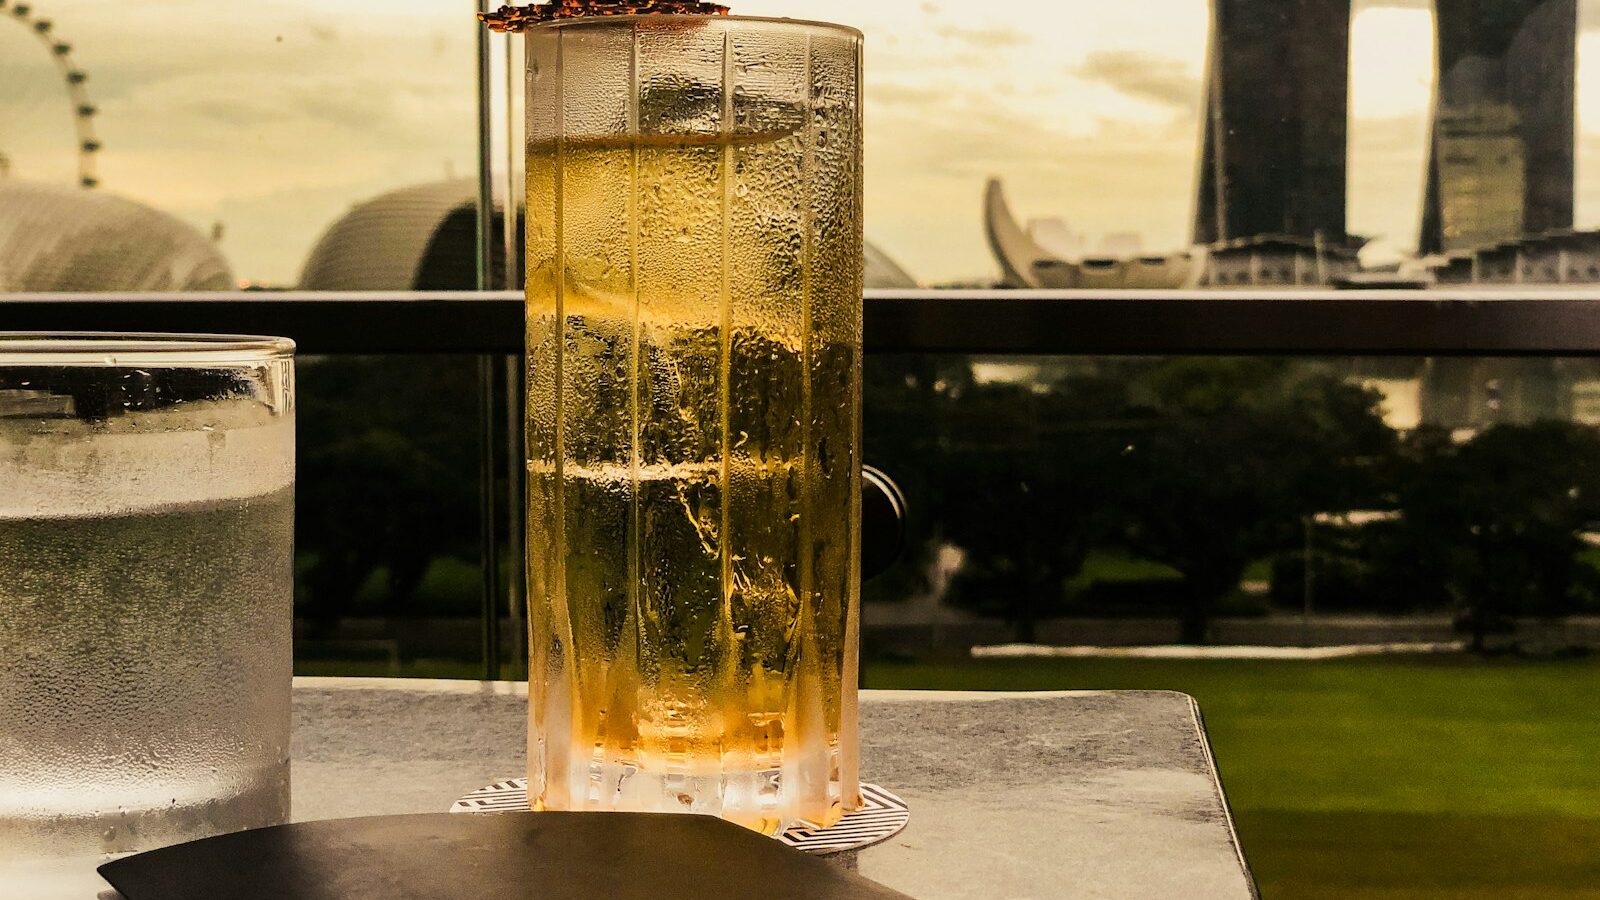
Drink photography lives and dies by light and by how you handle glass. A drink that looks refreshing in person can turn flat and grey in a photo if the light hits it wrong. The trick is to light glassware from behind so it glows, then style the details, ice, garnish, condensation, so the drink looks like something you want to reach into the screen and grab. This guide shows you how, mostly with kit you already own.
Gear and settings to start with
You need very little. A camera or a good phone, one window and a couple of household items will get you surprisingly far.
A short telephoto or macro, in the 50mm to 100mm range, keeps perspective natural and lets you fill the frame with a glass. A tripod is genuinely useful here because you will often work at smaller apertures and slower shutter speeds.
Sensible starting settings for a single glass:
- Aperture: f/4 to f/8. Wider isolates a garnish; smaller keeps the whole glass sharp.
- Shutter speed: whatever balances the exposure on a tripod, often 1/60s or slower.
- ISO: keep it at 100 to 200 for clean, noise-free glass.
- Focus: single point on the front rim or the garnish, the part you want the eye to land on.
Shoot RAW so you can fine-tune white balance; drinks are very sensitive to colour casts.
Backlighting: the key to glowing glass
The single most important lesson in drink photography is to light from behind. Glass and liquid are translucent, so light passing through them makes the drink glow and reveals its true colour. Light from the front, by contrast, bounces off the surface and looks dull and muddy.
Set up next to a window with the light behind and slightly to the side of the glass. The window becomes your main light. You will see the drink come alive, the amber of a whisky, the green of a mint cordial, the deep red of a bandung. For an overview of shaping window light, see using natural light in photography.
To define the edges of clear glass against a light background, place something dark just out of frame on each side, a folded black card or a book. These create dark reflections down the sides of the glass, called negative fill, that draw a crisp outline. It is the classic bar-menu look and it is free.
Styling the drink
Styling is where a competent shot becomes a mouth-watering one.
Condensation and freshness
Cold drinks look most refreshing when beaded with condensation. Real condensation fades fast under lights, so many photographers fake it: mist the glass with a spray bottle of water, or a mix of water and glycerin for droplets that cling longer. Spray from the side and the backlight will catch each bead like a jewel.
Ice, garnish and pour
- Use fresh, clear ice cubes; cloudy fridge ice looks dull. Some shooters use acrylic fake ice that never melts, which buys time.
- Add the garnish last and keep it crisp: a bright lime wheel, a sprig of mint, a twist of peel.
- For a splash or pour shot, use a faster shutter speed to freeze the motion and have a helper pour while you fire in bursts.
- Wipe fingerprints and drips off the glass before every frame. Smears show badly against backlight.
The background
Keep it simple and slightly darker than the drink so the glass stands out. A wooden table, a bar top, or a plain wall works. A few soft out-of-focus lights behind the glass, string lights or a lamp, create gentle bokeh that suggests a bar setting. Our guide on creamy bokeh explains how to shape those background highlights.
Settings by drink type: a quick reference
| Drink | Aperture | Shutter | ISO | Note |
|---|---|---|---|---|
| Iced coffee with condensation | f/5.6 | 1/80s | 100 | Backlit, mist the glass |
| Clear cocktail with garnish | f/8 | 1/60s | 100 | Black cards for edge definition |
| Hot coffee with steam | f/4 | 1/125s | 200 | Backlight the steam, dark backdrop |
| Pour or splash shot | f/8 | 1/500s | 400 | Freeze motion, burst mode |
| Wine or whisky glow | f/5.6 | 1/50s | 100 | Side-back light, low angle |
Composition and angles
Angle depends on the glass. Tall drinks, a highball or a latte glass, suit a straight-on or slightly low angle that shows their height and layers. Short, wide vessels like a coffee cup or a coupe often look better from a higher angle that reveals the surface, the crema, the foam art, the floating garnish.
Give the glass breathing room, then add a supporting prop or two, a coaster, a bottle, a scattering of coffee beans or citrus, to build a small story without clutter. The rule of thirds helps you place the glass off-centre for a more dynamic frame.
Common mistakes to avoid
- Front lighting. It is the biggest killer of drink photos. Get the light behind the glass.
- Fingerprints and drips. Wipe the glass before every shot; they are glaring against backlight.
- Cloudy ice. Dull ice reads as old and warm. Use fresh clear cubes.
- Busy backgrounds. A cluttered backdrop competes with the drink. Simplify.
- Working too slowly. Condensation, steam and foam all fade. Style, then shoot quickly.
- Wrong white balance. A green or orange cast ruins the appetite appeal. Correct it in RAW.
Bringing it together
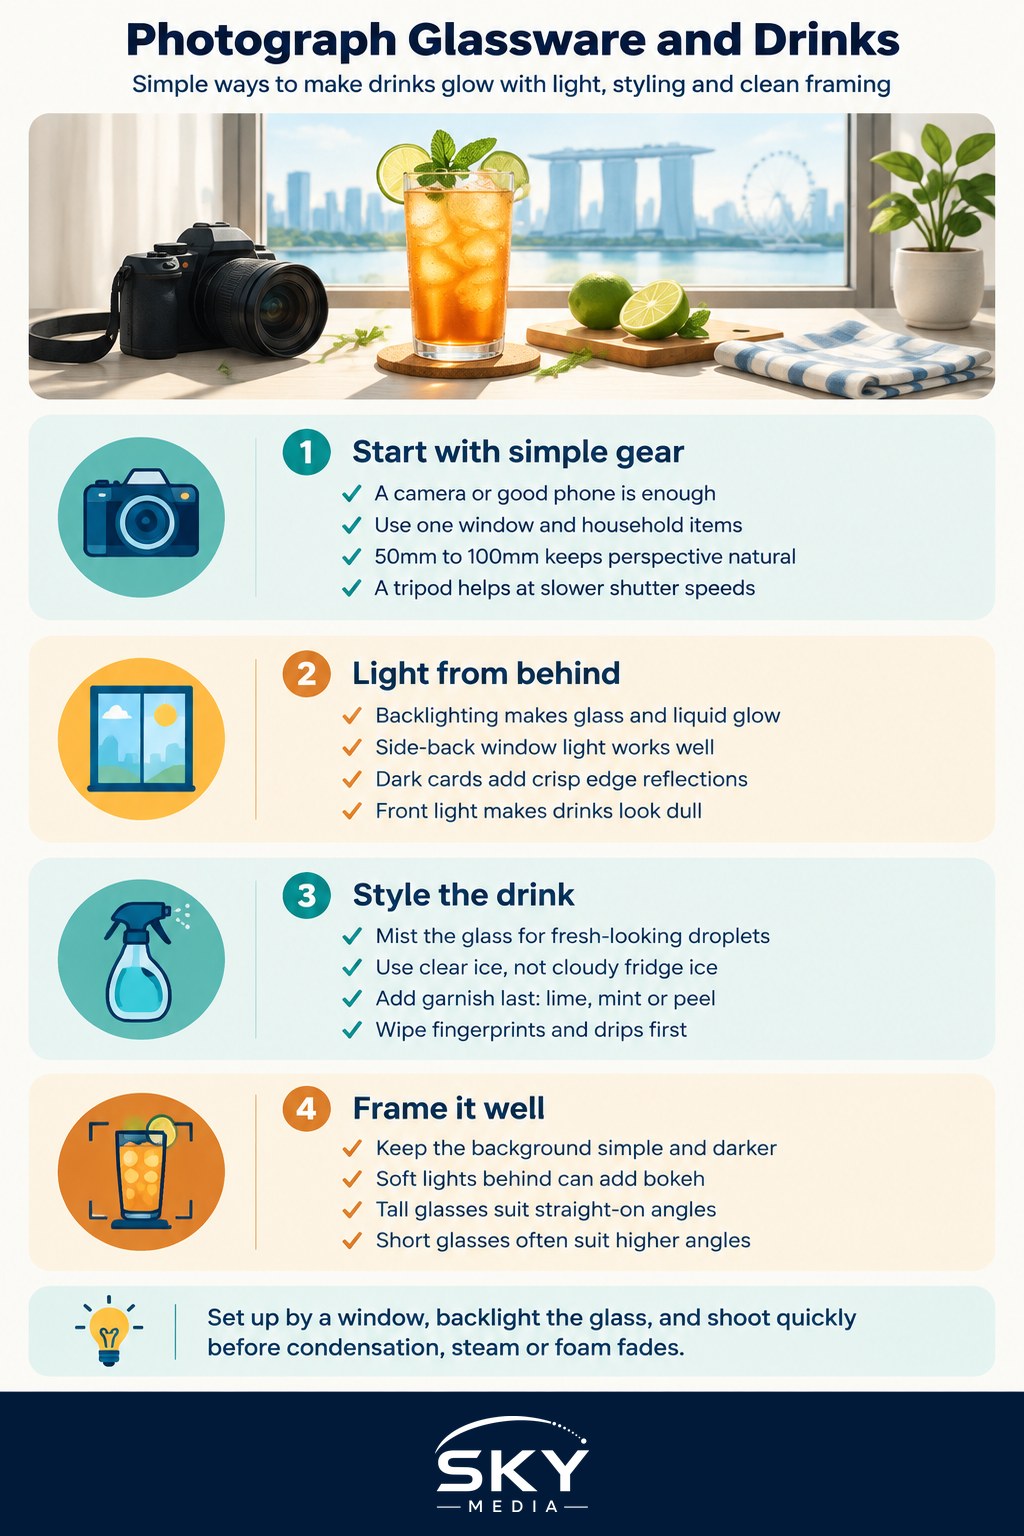
Light from behind, define your edges with dark cards, style with fresh ice and a mist of water, and keep the background simple. Those four moves are the whole game in drink photography. Set up by a window, work quickly before the freshness fades, and shoot a mix of angles. With almost no special gear, you can make a humble kopi or a home cocktail look like it belongs on a cafe menu.
Explore more: Product Photography at Home in Singapore · Using Natural Light in Photography · How to Get Creamy Bokeh in Singapore