
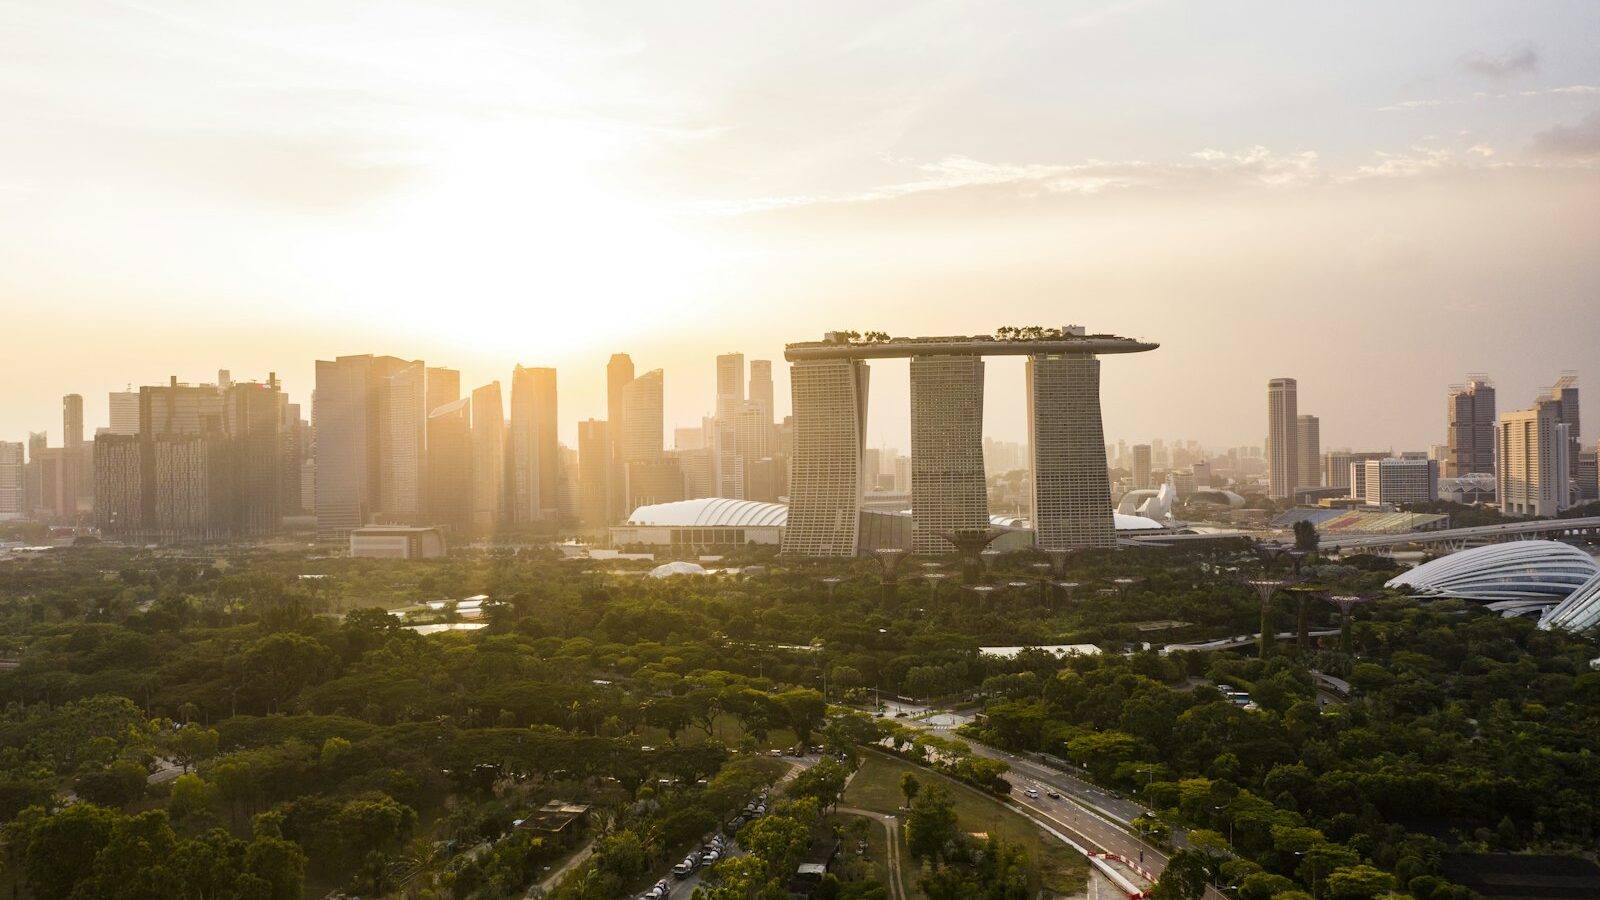
Singapore’s tropical light is beautiful but demanding. Shoot a friend under the midday sun and you often get a blindingly bright sky with a face lost in shadow. Learning to recover highlights and shadows in Singapore is the editing skill that rescues these shots, pulling detail back from the brightest and darkest parts of your image so the whole photo looks balanced and natural.
The good news is that modern cameras capture far more information than they first show, especially in raw files. Much of the detail you thought was lost is often still there, waiting to be revealed with a couple of sliders. This guide explains what highlights and shadows are, how to bring them back, and how to know when they are truly gone.

Understanding Highlights and Shadows
Every photo contains a range of tones, from the brightest highlights to the deepest shadows, with midtones in between. Trouble starts when a scene has more contrast than your camera can hold in one shot, which is very common in Singapore’s harsh sun.
- Blown highlights are areas so bright they record as pure white with no detail, like a washed-out sky.
- Blocked shadows are areas so dark they record as pure black with no detail, like the underside of a bridge at noon.
The single most useful tool for judging this is the histogram, a small graph that shows how your tones are distributed. If it is jammed hard against the right edge, your highlights are clipping. Against the left edge, your shadows are crushed. Our guide on how to read the histogram walks through exactly how to interpret it, both while shooting and while editing.
Recovering Detail in Editing
Most photo editors, including Lightroom and similar tools, give you dedicated highlight and shadow sliders. This is where the rescue happens.
- Pull the highlights slider to the left to darken the brightest areas. A blown sky often regains cloud detail and gentle colour.
- Push the shadows slider to the right to brighten the darkest areas, revealing texture in faces, foliage, and corners.
- Fine-tune with the whites and blacks sliders to set the true brightest and darkest points, so the image keeps some contrast and does not look flat.
Work in small steps and watch the histogram as you go. If you are new to this software, our guide on getting started with Lightroom covers the layout and basic sliders and gives you the wider foundation.
One important point: shoot in raw whenever you can. Raw files hold far more recoverable detail than JPEGs, which have already discarded much of the brightest and darkest information. Our article on raw versus JPEG explained shows why this matters so much for recovery work.
When detail is truly gone
Recovery has limits. If a highlight is completely blown to pure white, there is simply no information to bring back, and pushing the slider only produces a dull grey. The same goes for shadows crushed to pure black. In these cases, no amount of editing will invent detail that was never recorded. The lesson is to protect your highlights while shooting, since it is easier to lift shadows than to rescue a totally blown sky.
Getting It Right in the Camera
The best recovery is the one you never need. A few habits at the point of capture make editing far easier.
- Expose for the highlights in high-contrast scenes. It is generally safer to let shadows go a little dark, because they recover better than blown highlights do.
- Use a technique called bracketing, where you take several shots at different brightness levels and blend them later for a full range of detail. Our guide on bracketing and HDR photography explains how.
- Shoot during golden hour when the light is softer and the contrast is gentler, so your camera captures the whole range in one frame. These windows are short near the equator, so plan ahead.
- Use a reflector or fill flash to lift shadows on a subject’s face while you shoot, reducing how much you need to fix later.
Keeping It Natural
It is tempting to crank both sliders to the extreme, revealing every last detail. Resist that urge. Over-recovered images look flat, grey, and slightly artificial, with a strange glow around high-contrast edges. Aim for a photo that still has real blacks and clean brights, just with the harshness tamed. A little contrast is what makes an image feel alive.
Recovering highlights and shadows is one of the most satisfying edits you can learn, because it turns a disappointing shot into a keeper. Practise on a few of your brightest, contrastiest Singapore photos, watch the histogram, and keep the look natural. Load up an old shot tonight and see how much detail you can bring back.
Frequently Asked Questions
Why does my recovered sky look grey and dull? If the highlight was fully blown to white, there is no information left to restore, and pulling the slider only turns it grey. Shoot raw and expose to protect highlights next time. For existing shots, a replacement sky or blended frame may be the only fix.
Should I expose for highlights or shadows in harsh sun? Generally for the highlights, because shadows recover better than blown highlights. Let darker areas go a little dark, then lift them in editing. A reflector or fill flash can also help brighten faces.
How do I avoid the halo or glow around edges after lifting shadows? Avoid pushing the highlight and shadow sliders to extremes, as over-recovery produces flat, artificial-looking images with glowing edges. Make small adjustments and keep some real blacks and clean brights. Use masks to apply changes locally.
Can I recover highlights and shadows on a phone photo? Yes, most phone editors have highlight and shadow sliders. Results are better when the phone saved a raw or high-quality file. Make small changes and keep the look natural.
What is bracketing, and when should I use it? Bracketing means taking several shots at different brightness levels and blending them later to keep detail in both bright and dark areas. Use it in high-contrast scenes where one exposure cannot cope. A tripod keeps the frames aligned.
Further reading: How to Fix Underexposed Photos and Rescue the Shadows