
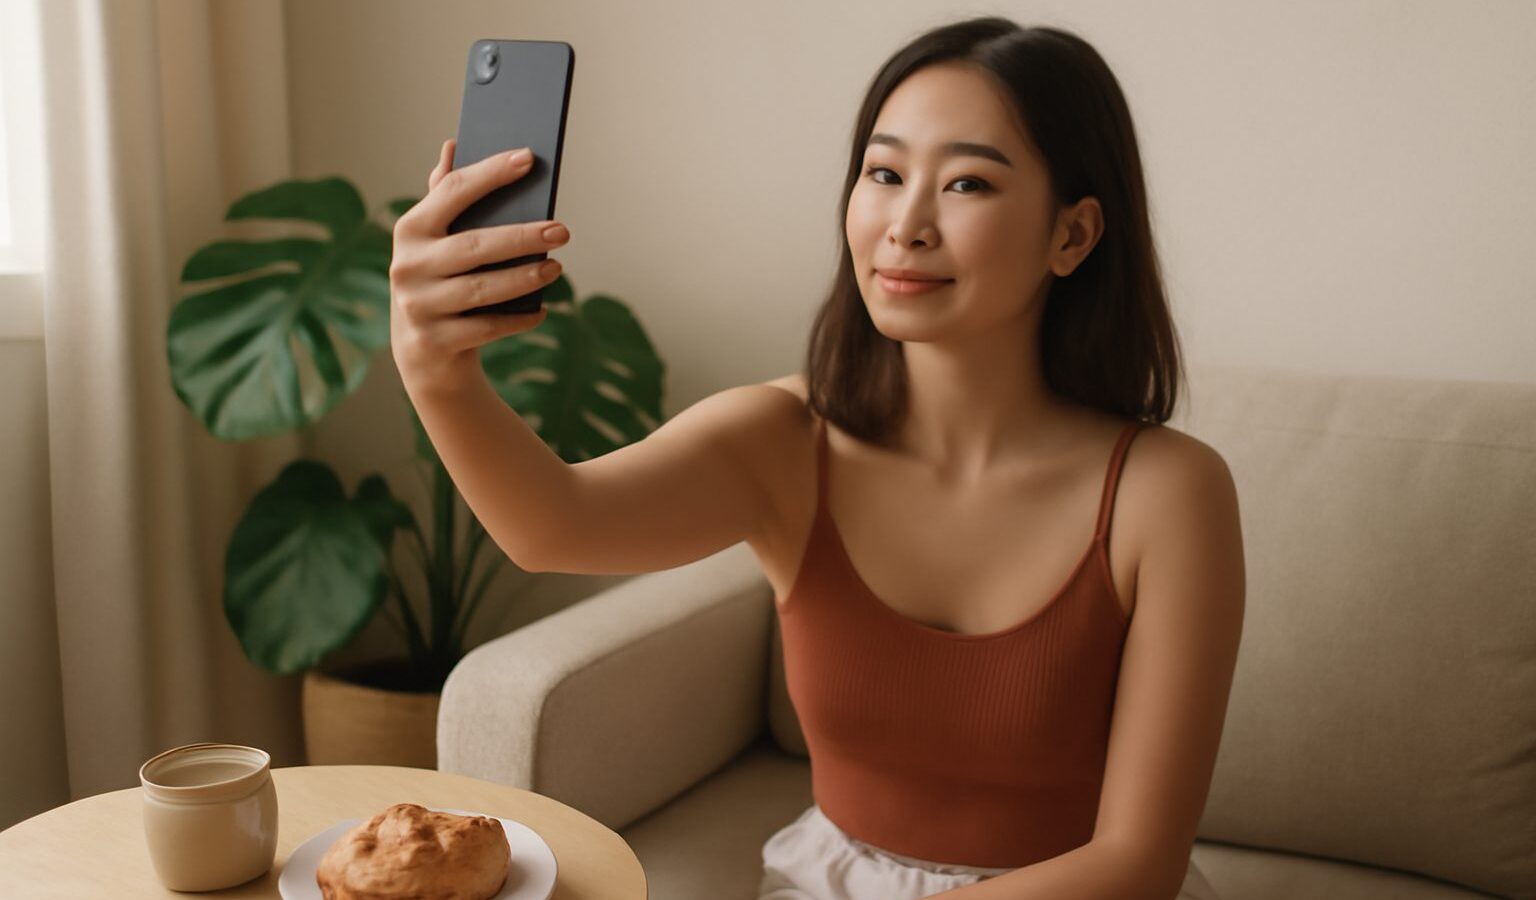
Almost everyone takes selfies, yet most of us have never stopped to think about how to take better selfies on purpose. The good news is that you do not need a fancy camera or a studio. With a bit of light, a flattering angle and a few phone settings, you can go from blurry, awkward snaps to photos you are genuinely happy to share. This guide walks you through simple habits any beginner in Singapore can start using today, whether you are posing at Gardens by the Bay or just at home in your HDB flat.
Light Is Everything
If you fix only one thing, make it your light. Soft, even light is what makes skin look smooth and eyes look bright, and it is the single biggest difference between a flattering selfie and a dull one.
Natural light is your best friend and it is free. Stand facing a window during the day and let the soft light fall on your face. In Singapore the light near midday can be very harsh, so the gentle hours just after sunrise or before sunset are kinder and give a warm glow. Overcast days, which we get plenty of, act like a giant softbox and are surprisingly great for portraits.
A few light habits worth building:
- Face the light source, do not stand with your back to it, or you will end up as a dark silhouette.
- Avoid harsh overhead light, such as a ceiling downlight, which casts shadows under the eyes and nose.
- Watch out for mixed colours, like warm indoor bulbs plus cool daylight, which can make skin tones look odd.
- If indoor light is dim, move closer to a window rather than reaching for the flash, which tends to flatten faces.
Find Your Best Angle
Camera angle changes your face more than you might expect. Holding the phone slightly above eye level and looking up at it is a reliably flattering choice, because it opens up the eyes and defines the jawline. Shooting from below tends to be less kind.
Try these quick adjustments:
- Extend your arm a little so the phone is not right in your face, which reduces distortion.
- Turn your head slightly rather than facing the lens dead on, as a small angle looks more natural.
- Bring your chin forward and slightly down, an odd feeling that photographs well.
- Relax your shoulders and take a breath, because tension always shows.
The only way to learn your own best angle is to experiment. Take ten quick shots with small changes each time, then look back and notice which ones you like. Everyone is slightly different, so your favourite angle may not match your friend’s.
Set Up Your Phone Camera
Your phone can do a lot of the work once you know where the settings are. The exact menu names differ between brands, so have a poke around your own camera app.
- Tap to focus. Tap your face on the screen so the camera locks focus and exposure on you, not the bright background.
- Adjust exposure. After tapping, a little slider usually appears. Drag it up to brighten your face if you look too dark.
- Use the timer. A two or three second timer lets you settle your hand and pose, which cuts down on blur and frantic tapping.
- Try the main camera. The rear cameras are almost always sharper than the front selfie camera. Use the timer or a friend, or frame with a mirror, to take advantage of that extra quality.
- Turn off heavy beauty filters. Many phones smooth skin by default. A light touch is fine, but strong smoothing erases detail and looks artificial.
Portrait mode, which blurs the background, can look lovely for a self portrait, but check the edges. Phones sometimes blur bits of your hair or ears by mistake, so glance at the result before you move on.
Backgrounds and Composition
A clean background keeps attention on you. Before you shoot, take one second to scan behind you for clutter, a stray bin, or a pole appearing to sprout from your head. Singapore offers wonderful backdrops if you look, from the colourful shophouses of Kampong Glam and the murals of Tiong Bahru to the greenery of our parks.
Keep composition simple:
- Leave a little space around your head rather than cropping too tightly.
- Place your eyes roughly a third of the way down the frame, which usually feels balanced.
- Let an interesting background sit softly behind you instead of competing with your face.
- If it is a landmark selfie, decide what matters more, you or the view, and frame for that.
Be considerate of others while you shoot. Heritage and religious sites, such as temples and mosques, deserve respect, so keep out of the way, follow any posted rules, and never block walkways for the perfect shot.
Editing Without Overdoing It
A quick edit can lift a good selfie, but restraint is key. The aim is to look like yourself on a good day, not like a different person.
The table below shows common situations and a simple fix for each.
| Situation | What to try |
|---|---|
| Photo looks too dark | Nudge brightness and shadows up a little |
| Skin tone looks orange or blue | Adjust white balance or warmth slightly |
| Background is distracting | Crop tighter or straighten the frame |
| Face looks flat and dull | Add a touch of contrast, not too much |
| Blemish you would rather hide | Use a light spot fix, keep skin texture |
Most phone galleries have these tools built in, and free editing apps offer more control if you want it. Whatever you use, step away for a moment and look again with fresh eyes before posting, as it is easy to overdo an edit in the moment.
Practice Makes Natural
Better selfies come down to a handful of repeatable habits: good light, a flattering angle, a tidy background, the right camera settings and a gentle edit. None of it is complicated, and none of it needs new gear. The more you practise, the faster these choices become second nature, until a great selfie takes only a few seconds. So keep shooting, keep reviewing what works for you, and enjoy the process.
Explore more
If you enjoyed this, keep building your skills with our guide to taking better portraits on your phone and our roundup of the best free photo editing apps. For low-light selfies at night, our tips on night mode and low-light phone photography will help you get sharp, bright results.