
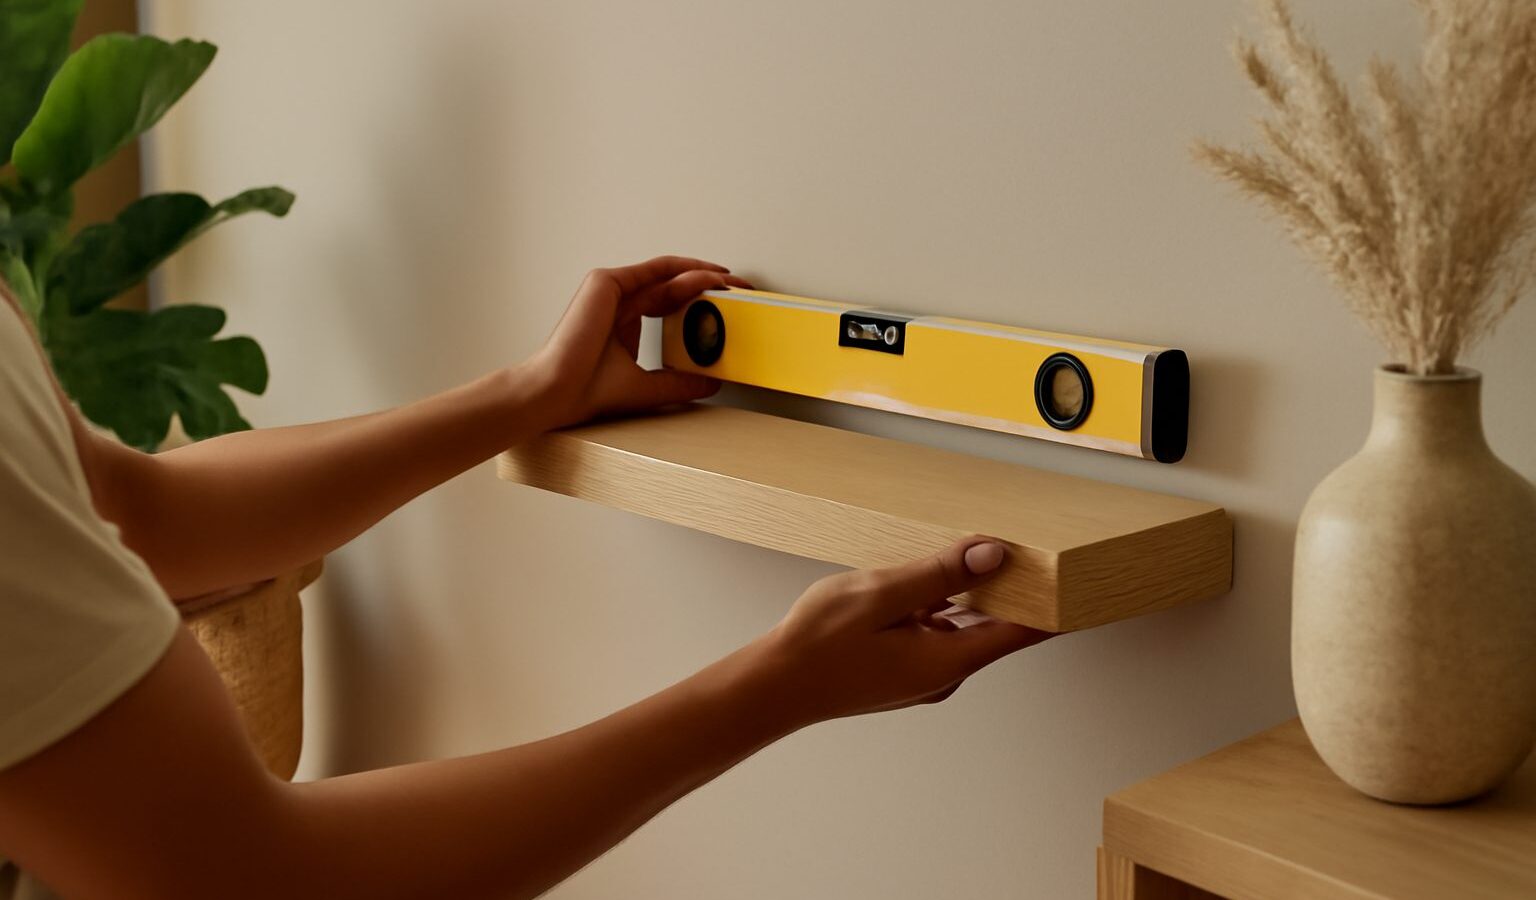
There is one small tool that separates a tidy home job from a wonky one, and it costs very little: the spirit level. If you have ever hung a picture that looked fine until you stepped back, or fixed a shelf that quietly tips your books to one side, using a spirit level is the fix. It takes the guesswork out of straight, and once you learn to read it you will reach for it on almost every project. This guide is written for total beginners, with our HDB and condo walls in mind.
The tool is simple, the method is quick, and the payoff is a home where frames sit level and shelves hold their line. Let us start with how it actually works.
What a Spirit Level Is and How It Works
A spirit level is a straight bar with one or more small sealed tubes of liquid, each holding an air bubble. When the surface under the level is perfectly flat and even, the bubble sits exactly between two printed lines in the centre of the tube. If one end is higher, the bubble drifts towards the high side.
Most levels have at least two tubes: one for checking horizontal (level) and one for checking vertical (plumb, meaning truly upright). Longer levels, around 60cm to 1m, are best for shelves and long lines because they average out small bumps in the wall. A short torpedo level, roughly the length of your hand, is easier in tight spots such as inside a cabinet. Many people own one of each.
Reading the Bubble Correctly
Reading a level is easy once you know what to look for.
- Rest the level on the surface or hold it flat against the wall.
- Look at the relevant tube straight on, with your eye level with the bubble, not from above or below.
- If the bubble sits centred between the two lines, the surface is level or plumb.
- If it drifts to one side, that side is higher. Lower it, or raise the other end, until the bubble centres.
A few habits improve your accuracy. Make sure the level and the surface are free of dust, since a single grain lifts one end. In our humidity, wipe away any moisture too. If you want to be sure your level itself is true, place it on a surface, note the bubble, then turn it end for end in the same spot. The bubble should read the same both ways. If it does not, the level is off and should be replaced.
How to Hang Things Straight Step by Step
Here is the full method for hanging a picture, shelf or rail so it stays straight.
- Decide the height and position. Hold the item where you want it and make a light pencil mark for the top edge or for one fixing point.
- Mark the first point. For a shelf bracket or a single hook, mark the exact fixing centre with a small pencil cross.
- Draw a level line. Rest the spirit level with one edge on your mark, adjust until the bubble centres, then draw along the top edge. You now have a guaranteed level line to work from.
- Mark the remaining fixings. Measure along your level line for the second bracket or hole so both sit at the same height.
- Check before you drill. Before making any hole, use a detector to check for concealed wires and pipes, and keep away from switches, sockets and wet walls. If unsure what is behind the wall, stop.
- Drill, plug and fix. Drill your holes, insert the correct wall plug (the sleeve that grips the screw) for your wall type, then mount the item.
- Do a final level check. Once loosely fixed, sit the level on top of the shelf or frame and fine-tune before tightening fully.
For hanging a frame on a single hook, tape a small strip of masking tape where the hook will go, mark through it, and you protect the wall finish, which renters will appreciate.
Level, Plumb or Neither: What to Check
Not every job needs the same reading. This quick comparison helps you pick.
| What you are hanging | Check this | Tool that suits best |
|---|---|---|
| Picture or wall frame | Level (horizontal) | Any level; a torpedo works for small frames |
| Tall mirror or poster | Plumb (vertical) | Longer level held upright |
| Shelf or floating shelf | Level along its length | Longer level, 60cm or more |
| Curtain rail across a window | Level over a long span | Longest level you have, or level plus a marked line |
The rule of thumb: horizontal items are checked for level, upright items are checked for plumb, and anything long benefits from the longest level you own so small wall bumps do not throw you off.
Common Mistakes and Safety Notes
A spirit level removes guesswork, but a few slips still catch beginners out.
- Measuring from the ceiling or skirting. These are often not straight themselves, so use the level as your reference, not the room.
- Reading at an angle. Always look straight on, or the bubble appears off-centre when it is not.
- A dusty or wet level. Wipe both the tool and the wall first, especially in damp weather.
- Forgetting the wall type. HDB flats have hard concrete and RC walls that need the right drill bit and wall plug. Heavy items such as large mirrors or loaded shelves need anchors rated for the weight, and you must respect the wall’s limits.
- Skipping the wire and pipe check. This is non-negotiable before any drilling.
Know your limits too. Do not hack or alter structural or RC walls, and keep to HDB renovation rules and permitted hours. If a job involves fixed electrical wiring, call a Licensed Electrical Worker; for concealed pipework, a licensed plumber; and for permitted renovation works, an HDB-registered contractor. Wear eye protection when drilling, and if you are ever unsure whether a wall can take the load or what lies behind it, stop and ask a professional.
Master the bubble and a simple pencil line, and using a spirit level becomes second nature. Your walls will look calmer, your shelves will hold true, and you will spend far less time redoing jobs you rushed.