
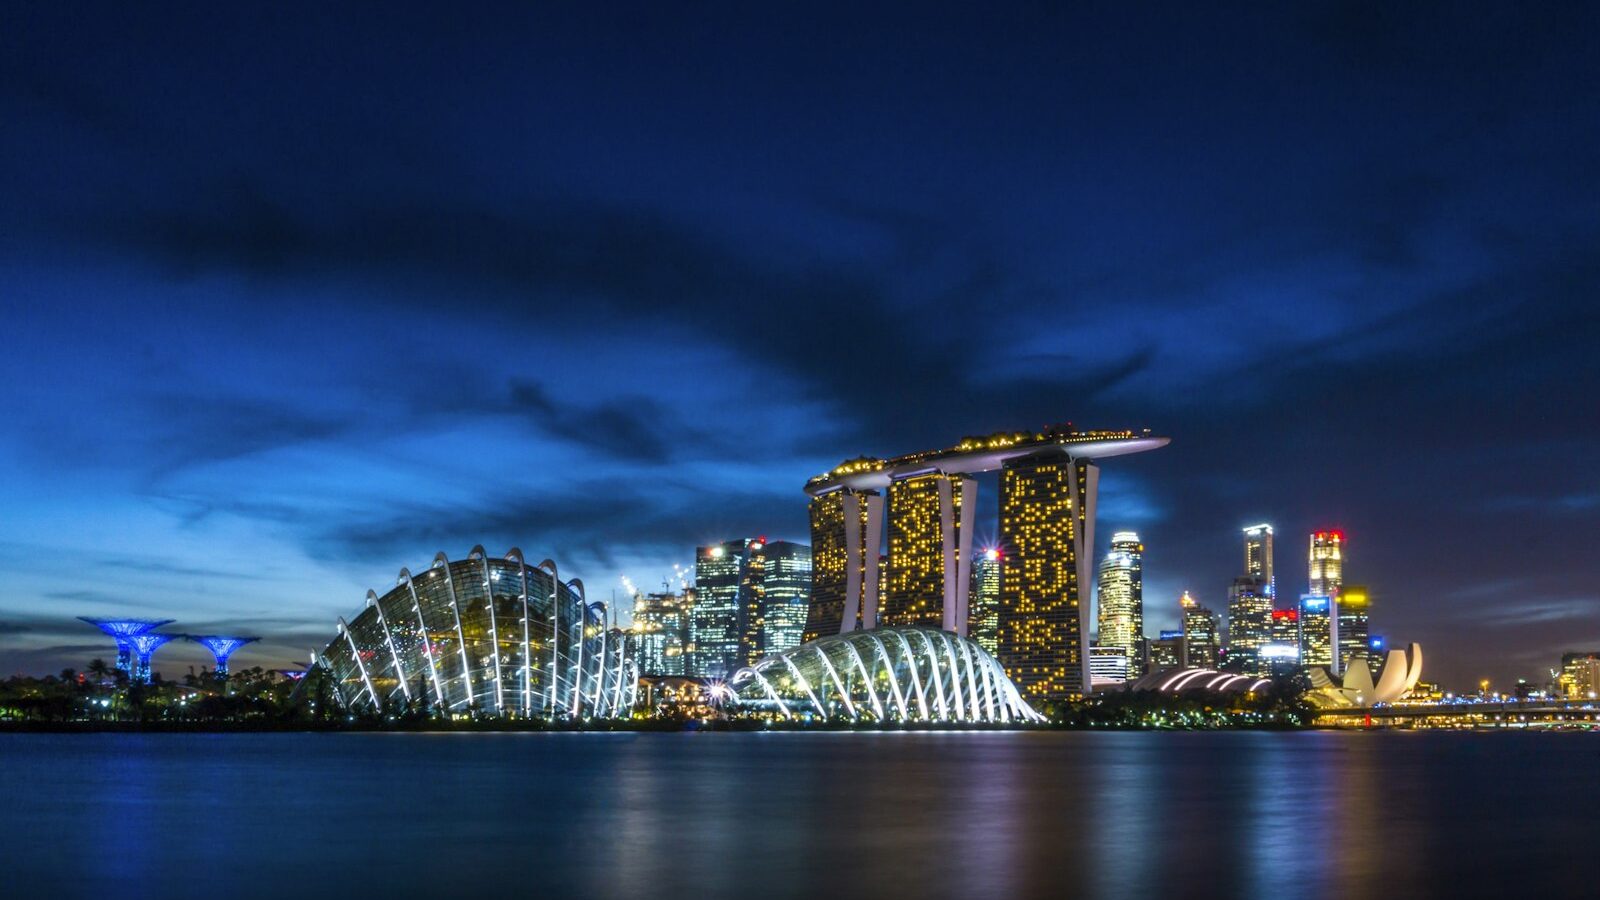
You have almost certainly seen the results without knowing the name: waterfalls turned to silk, clouds smeared into streaks across the sky, or car lights drawn as glowing ribbons along a road at night. That dreamy, flowing look comes from long exposure photography, which simply means keeping the shutter open for a long time so that anything moving in the frame blurs while everything still stays sharp.
The good news is that the idea is far simpler than the pictures suggest, and Singapore gives you plenty to practise on: traffic along the CBD, the fountains and reservoirs, boats on the Singapore River and clouds racing in before a storm. This guide covers the small kit you need, the settings that matter, and a clear method you can follow the first time out.
What a Long Exposure Actually Does
Every photo is a slice of time. A fast shutter freezes that slice; a slow shutter records a longer stretch of it and blends all the movement together. During a long exposure, anything static, such as a building or a bridge, records crisply, while anything moving, such as water, clouds or headlights, turns into a soft streak or smooth wash.
How long is “long”? It depends on the effect and the speed of the subject:
- Half a second to two seconds gives moving water a soft, textured look and blurs a walking crowd into ghosts.
- A few seconds to fifteen seconds turns a reservoir glassy and stretches drifting clouds into gentle streaks.
- Fifteen seconds to a minute or more smooths water completely flat and, at night, draws long, unbroken car-light trails.
You do not need to memorise numbers. Just remember the rule of thumb: the longer the shutter is open, the more the movement smooths out. The only firm requirement is that everything you want sharp must not move, which is why the next point matters so much.
The Small Kit That Makes It Possible
Long exposures reward a little gear, but not an expensive haul. Two items do most of the work.
- A sturdy tripod. This is non-negotiable. If the camera moves even slightly during a several-second exposure, the whole frame blurs, not just the water. A budget tripod is fine to begin with, as long as it stands firm. In breezy spots like the reservoirs or the Marina waterfront, hang your bag from the centre column for extra stability and keep the legs short.
- A neutral density (ND) filter. An ND filter is a piece of dark glass that screws or clips onto the front of the lens. It cuts the amount of light reaching the sensor, like sunglasses for your camera, so you can leave the shutter open for seconds in daylight without the photo turning pure white. ND filters come in different strengths, measured in stops, with stronger filters allowing longer daytime exposures. Buy one that fits your lens diameter and start with a mid-strength filter.
Two more helpers cost nothing. Use your camera’s self-timer or a phone shutter delay so your finger does not nudge the camera as the exposure starts, and switch off any lens or in-body stabilisation when the camera is locked onto a tripod, since it can fight against the still mount.
Your First Long Exposure, Step by Step
Here is a reliable order of operations. It works on a proper camera in manual or shutter-priority mode, and many phones now offer a long-exposure or “light trail” option in their camera or a free app.
- Mount the camera on the tripod and compose your shot with the horizon level. Decide what should stay sharp and what should blur.
- Focus first, then lock it. Autofocus on your main subject, then switch to manual focus so the camera does not hunt once you fit a dark filter.
- Set a low ISO (100 or 200) for the cleanest possible file, since long exposures can otherwise gather noise.
- Choose a narrow-to-moderate aperture such as f/8 to f/11 to keep the scene sharp front to back.
- Fit the ND filter if you are shooting in daylight, then dial in a slow shutter speed and take a test frame.
- Check and adjust. If the photo is too bright, shorten the shutter or use a stronger filter; too dark, lengthen it. Use the self-timer to fire without touching the camera.
Blue hour, the twenty minutes or so after sunset, is the sweet spot for beginners because the light is already dim. You can often get multi-second exposures of the skyline or traffic without any filter at all, which makes it the easiest place to learn.
Matching the Method to the Scene
Different Singapore subjects call for slightly different approaches. Use this as a quick reference when you are deciding what to try.
| Subject | Best time | Rough shutter | Key tip |
|---|---|---|---|
| CBD car-light trails | After dark | 10 to 30 seconds | No filter needed; find an overhead bridge |
| Reservoir or sea | Blue hour | 15 to 60 seconds | Strong ND filter for a glassy surface |
| Fountains and rivers | Overcast day | 1 to 4 seconds | Mid-strength ND; keep some water texture |
| Drifting clouds | Windy afternoon | 20 to 60 seconds | Strong ND; include a fixed landmark |
Treat the numbers as starting points, not rules. Take a frame, look at the back of the camera, and adjust. Our weather changes fast, so a passing cloud can swing your exposure by a stop or two in seconds.
Common Problems and How to Fix Them
A few issues trip up almost everyone at first, and each has a simple cure.
- The whole photo is blurry, not just the water. The tripod moved, or you touched the camera. Firm up the setup and use the self-timer.
- The image is pure white in daylight. Too much light reached the sensor. Fit a stronger ND filter or shorten the shutter.
- Colours look odd through the filter. Very strong ND filters can add a colour cast. Shoot in your camera’s raw format if you can, and correct the white balance in editing.
- The sky is bright but the ground is dark. The scene’s range is too wide. Shoot at blue hour instead of full daylight, when the light is more even.
Finally, be considerate while you work. Tripods take up space, so keep walkways clear at popular spots like Marina Bay, mind other people at busy viewpoints, and respect any posted rules or private property. Wipe your gear down afterwards, because our humidity is hard on lenses and filters.
Long exposure photography looks like magic, but it comes down to three honest things: hold the camera perfectly still, control the light with an ND filter, and give the shutter enough time. Get those right and the movement in front of you does the rest.
Explore more
Build your timing sense with our guide to golden hour and blue hour, since dim light makes long exposures far easier. Put the skill to work on structures with how to photograph architecture and buildings, and sharpen your framing using the rule of thirds and composition basics.