
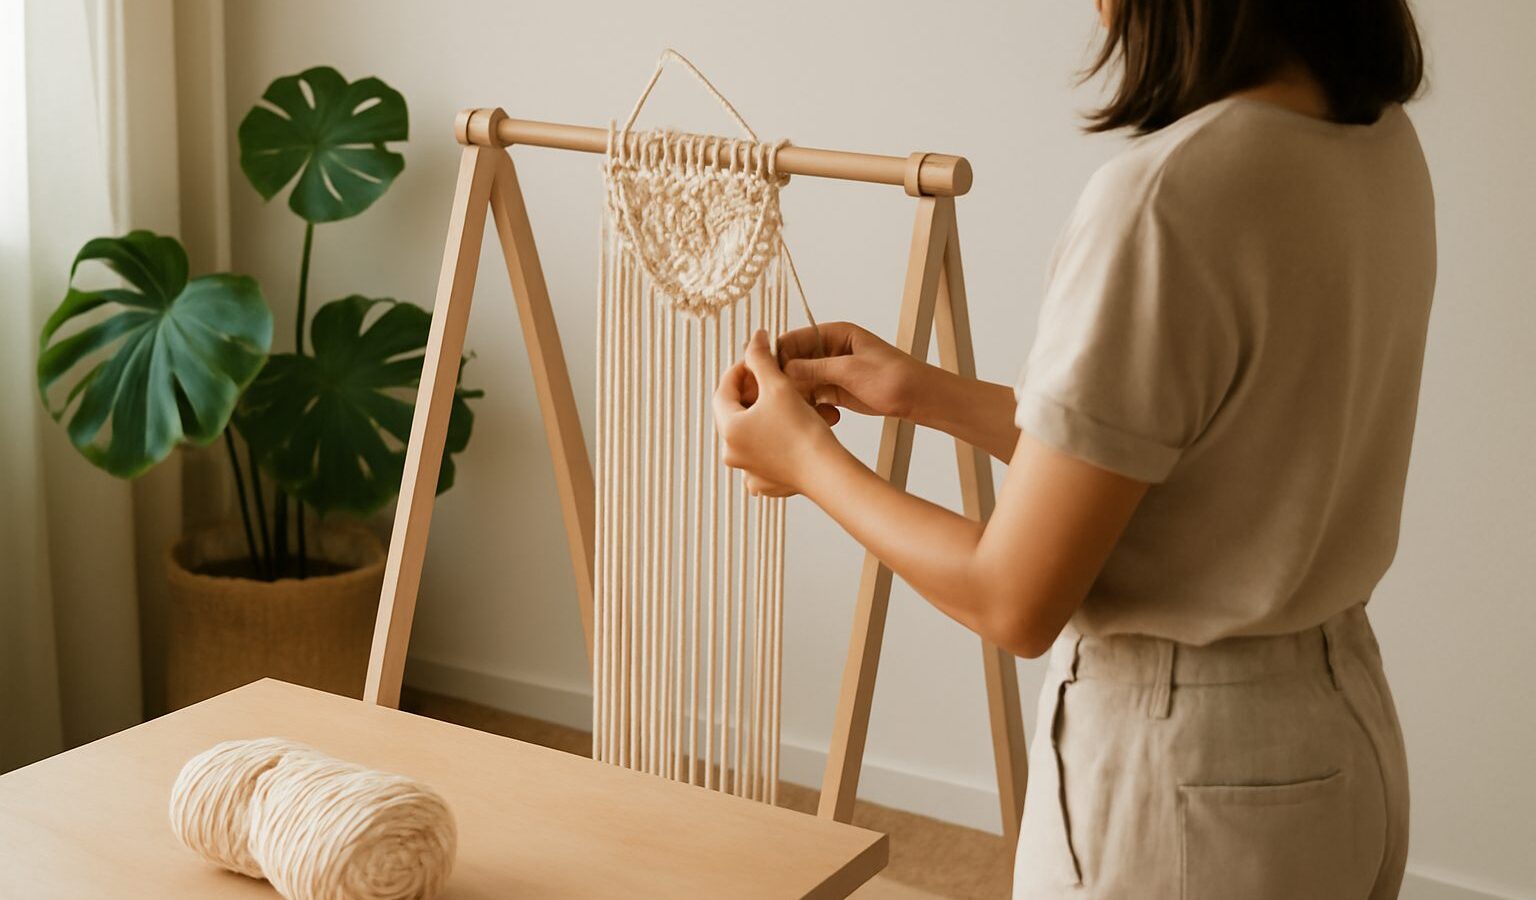
If you have ever admired a knotted plant hanger swaying by a window or a fringed wall hanging above a sofa, you already understand the quiet appeal of macrame. The good news is that macrame for beginners is far gentler than it looks. There is no machine, no sharp blade, and no expensive kit to buy. It is simply cord and your two hands, tying a small set of knots over and over until patterns appear. This guide walks you through everything a total beginner in Singapore needs to make a first piece you will actually want to hang up.
Why Macrame Is a Great First Craft
Macrame is forgiving in all the ways that matter to a nervous beginner. Mistakes are easy to spot and easy to undo, because you can simply loosen a knot and try again. There is no glue drying against the clock and no heat involved, so you can put your work down mid-project and pick it up a week later without ruining anything. It is quiet, which makes it ideal for an HDB flat and considerate late-night crafting when neighbours are asleep.
It is also wonderfully cheap to start. A single ball of cord and a wooden ring or dowel will carry you through several small projects. Because the craft is built from just a handful of knots, you are not memorising a huge technique library. Learn three or four knots well and you can already make plant hangers, keyrings, wall hangings, and simple bags. That fast sense of progress is exactly what keeps beginners going.
What You Need to Start
Your shopping list is short and affordable. Look in a general craft shop, an art-supply store, or an online marketplace, and browse the craft stalls around areas like Chinatown or Little India if you enjoy choosing cord in person. You will want the following basics.
- Cord. Three to four millimetre cotton cord is the friendliest thickness for learning. Cotton is soft on the hands and holds a knot without slipping.
- A support. A wooden dowel, a sturdy stick, or a metal ring gives you something to knot onto for wall hangings. For a plant hanger you can start directly from a ring.
- Scissors. Any sharp household pair works, as long as they cut cleanly through cord.
- A tape measure. Cutting cord to a consistent length saves a lot of frustration later.
- Something to anchor your work. A clothes rail, a door handle, or a clothes hanger clipped to a shelf all work well.
You do not need a dedicated frame, a board, or specialist tools when you are starting out. Add those only if the craft sticks.
Choosing the Right Cord
Cord choice trips up many beginners because the shops offer several kinds and the labels can be confusing. The table below compares the common options so you can pick with confidence.
| Cord type | How it behaves | Best for beginners? |
|---|---|---|
| Single-twist cotton | Soft, combs out into a fringe easily | Yes, great for wall hangings |
| Three-ply braided cotton | Firmer, holds crisp knots, no fraying | Yes, ideal for plant hangers |
| Cotton string or bakers twine | Thin and cheap but knots look small | Only for tiny keyrings |
| Synthetic or jute rope | Stiff and rough on the hands | Better left for later |
For a first project, three-ply braided cotton around four millimetres is the most reliable choice. It stays neat, forgives uneven tension, and does not shed fibres all over your floor.
Learning Your First Knots
Almost every beginner pattern is built from three knots, and you can learn all three in an afternoon. Practise each one on a short length of cord tied to a rail before you commit to a full project.
The lark’s head knot is how you attach cord to a ring or dowel. Fold a length of cord in half, lay the loop over the bar, then pull the two loose ends through the loop and tighten. Repeat until you have as many strands as your pattern needs.
The square knot is the workhorse of macrame. You work it over two central cords using two outer cords, tying first to the left and then to the right so the knot sits flat and even. Rows of square knots create the solid, woven-looking panels you see in bags and hangings.
The spiral knot, also called the half-square knot, is simply the square knot tied to one side only. Keep repeating the same half and the cords naturally twist into a neat spiral, which looks lovely on the arms of a plant hanger.
Your First Project: A Simple Plant Hanger
A plant hanger is the classic beginner win because it is quick, useful, and hides small mistakes inside its curves. Cut four lengths of cord, each roughly two and a half metres long, and fold them through a ring using lark’s head knots so you have eight working strands. Tie a wrapping knot just below the ring to gather everything neatly.
Divide the strands into four pairs. On each pair, work a run of spiral knots for ten to fifteen centimetres. Then, leaving a gap, join neighbouring cords with a square knot to form the cradle that holds the pot. Finish with a final wrapping knot at the bottom and trim the tassel to a tidy length. Slip in a small potted plant and hang it by a bright window. Choose a lightweight plastic pot rather than a heavy ceramic one while you are learning, so your knots are not tested by too much weight.
Common Beginner Mistakes
Most early frustration comes from a few predictable slips, and knowing them in advance saves you from unpicking hours of work.
- Cutting cord too short. Knots eat up far more length than you expect. As a rough guide, cut cords around four times the finished length, and more for dense patterns.
- Uneven tension. Pulling some knots tight and others loose makes the piece look wonky. Aim for the same firm, gentle pull every time.
- Skipping the practice. Tying a few test knots first means your real project starts neat rather than shaky.
- Overloading a hanger. A pot that is too heavy stretches the knots and pulls the whole piece out of shape.
Caring for Your Work in Singapore’s Humidity
Our climate is kind to macrame in some ways and tricky in others. Cotton cord does not mind warmth, but a damp, poorly ventilated corner can invite mildew and a musty smell, especially if a hanging holds a plant that is watered often. Let plant hangers drip-dry after watering and keep wall hangings away from bathrooms and unshaded windows where condensation collects. Store spare cord in a sealed box or bag with a small sachet of silica gel to keep it dry and clean between projects. A gentle shake and an occasional comb through any fringe keeps everything looking fresh.
How to Improve and Go Further
Once your first hanger is up, the natural next step is to combine knots into patterns rather than working them in isolation. Try alternating rows of square knots to make a net, or mix spirals and squares in one hanging for texture. Free video tutorials are plentiful and let you learn at your own pace, and a simple beginner pattern book gives you projects to aim for. From there you can graduate to larger wall hangings, plant walls, table runners, and even knotted bags. Keep a small notebook of cord lengths that worked, so each project starts a little easier than the last.
Explore more
If you enjoy working with fibre and your hands, there is a whole world of gentle crafts to try next. Have a look at weaving on a frame loom for another calming, low-cost way into textiles, or explore rug tufting as a hobby if you fancy something with a bit more punch. For a soft, sculptural craft, needle felting for beginners is a lovely companion to macrame.