
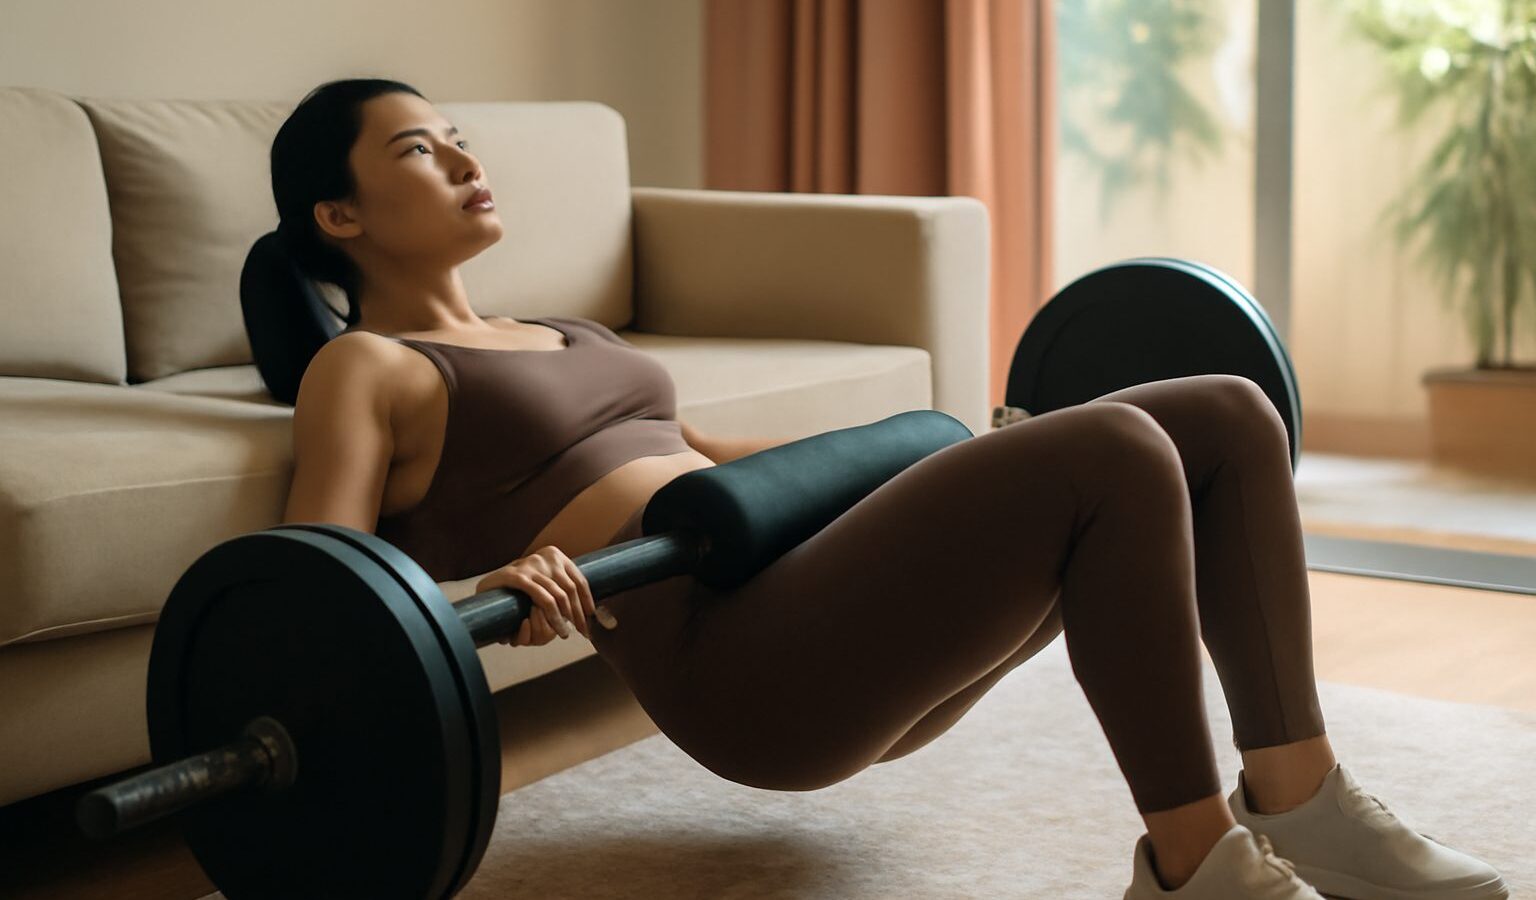
The hip thrust in Singapore has become a favourite for anyone wanting stronger, more powerful glutes, and for good reason. It targets the glute muscles directly, builds strength that carries over to squats, deadlifts, running and jumping, and is friendly to beginners once you learn the setup. This guide takes you through the technique step by step, offers a clear form checklist and shows you how to progress safely so you can get the most from this excellent exercise.
Before you start, remember that this is general fitness information, not medical advice. Warm up first, put good form ahead of heavy loads, begin light and progress gradually, and stop if you feel sharp pain. If you have a health condition, are pregnant or are returning from an injury, see a doctor before beginning, and consult a physiotherapist for any pain or injury.
Why the Hip Thrust Works So Well
The glutes are among the largest and most powerful muscles in the body, and they play a central role in almost everything we do on our feet. Strong glutes support your lower back, stabilise your hips and knees, and drive powerful movements like sprinting and jumping. Yet for many people who sit for long hours, the glutes become underused and weak.
The hip thrust is so effective because it places the resistance where the glutes are strongest, at the top of the movement when your hips are fully extended. Unlike some exercises where the glutes only work through part of the range, the hip thrust keeps them under tension right where they can produce the most force. This makes it one of the best ways to wake up and strengthen these muscles.
Building glute strength does more than improve performance. It can help ease the strain that a sedentary lifestyle places on the lower back and hips, supporting better posture and everyday comfort.
Setting Up the Hip Thrust
You will need a stable, sturdy bench, box or step to support your upper back, at around knee height. Sit on the floor in front of it with your upper back resting against the edge. Your shoulder blades should be the point of contact, so the bench sits just below them.
Bend your knees and place your feet flat on the floor, roughly hip width apart. Position your feet so that when you rise to the top, your shins are close to vertical. This foot placement is worth getting right, as feet too close or too far away make the movement less effective. Tuck your chin slightly and keep your gaze forward rather than throwing your head back.
Brace your core, then drive through your heels to lift your hips upward. Squeeze your glutes hard as you rise until your body forms a straight line from your shoulders to your knees, with your thighs roughly parallel to the floor. Avoid arching your lower back to gain extra height. The lift should come from your glutes, not from your spine. Pause briefly at the top, then lower your hips under control and repeat.
A Form Checklist to Follow
Running through a mental checklist keeps each repetition clean and safe. Use the points below before and during your sets.
| Checkpoint | What to look for |
|---|---|
| Upper back | Rested on the bench at the shoulder blades |
| Feet | Flat, hip width, shins vertical at the top |
| Chin | Slightly tucked, gaze forward |
| Top position | Straight line from shoulders to knees |
| Lower back | Neutral, not over arched at the top |
| Movement | Driven by glutes, controlled up and down |
If you feel the work mainly in your lower back or hamstrings rather than your glutes, pause and check your setup. Often a small adjustment to foot position or a stronger conscious squeeze at the top brings the focus back to the glutes.
Progressing the Hip Thrust
Beginners should start with just their body weight to learn the pattern and to feel the glutes working. Once you can perform smooth, controlled repetitions and genuinely feel your glutes doing the job, you can begin to add resistance.
A simple and comfortable next step is a resistance band placed just above your knees, which encourages you to push your knees outward and engage the glutes more. From there, you can progress to holding a weight you can control across your hips, cushioned with a pad or folded towel for comfort. Increase the load slowly and only when your form stays solid for every repetition.
Another way to progress is to add a longer pause at the top, holding the squeeze for a couple of seconds. This increases the time your glutes spend under tension and builds a strong mind to muscle connection without needing more weight. Single leg variations are a more advanced option once you are confident and strong, offering a greater challenge for each side.
Fitting the Hip Thrust Into Your Week
For most beginners, including hip thrusts one to two times a week is a good starting point, with rest days for recovery. Aim for a few sets in a moderate repetition range, stopping a repetition or two before your form falters. Because the glutes recover reasonably well, you can train them a couple of times weekly, but always listen to your body and rest if you feel overly sore.
Rest around one to two minutes between sets. Pair hip thrusts with other lower body movements such as squats and lunges for balanced leg development, and include some upper body work for a well rounded routine. Consistency and gradual progression, adding a little each week while keeping your technique clean, will steadily build the strength you are after.
Common Mistakes to Avoid
The most common error is over arching the lower back at the top to reach a higher position. This shifts the strain from the glutes to the spine. Fix it by tucking your ribs down, bracing your core and thinking about squeezing your glutes rather than lifting your hips as high as possible.
Another mistake is placing the feet too far forward, which turns the exercise into more of a hamstring movement, or too close, which puts extra stress on the knees. Adjust until your shins are vertical at the top. Some people also rush the repetitions and bounce off the floor at the bottom. Slow down, control the descent and pause briefly before driving up again.
Finally, avoid throwing your head back to help with the lift. Keep your chin tucked and your neck neutral so the work stays where it belongs, in the glutes.
Staying Safe and Getting Results
The hip thrust is a beginner friendly exercise, but respect the basics. Warm up your hips and glutes beforehand, start light, and build gradually. If you feel sharp pain in your back, hips or knees, stop and reassess, and seek advice from a physiotherapist if pain continues.
With a solid setup, a clean squeeze and patient progression, the hip thrust will reward you with stronger glutes, better performance in other lifts and a more supported, comfortable lower back. Master the fundamentals first, then let steady, gradual loading carry you forward.
Explore more
Glute Training for Strength
How to Do a Proper Squat
Deadlift Form for Beginners
Progressive Overload Explained