
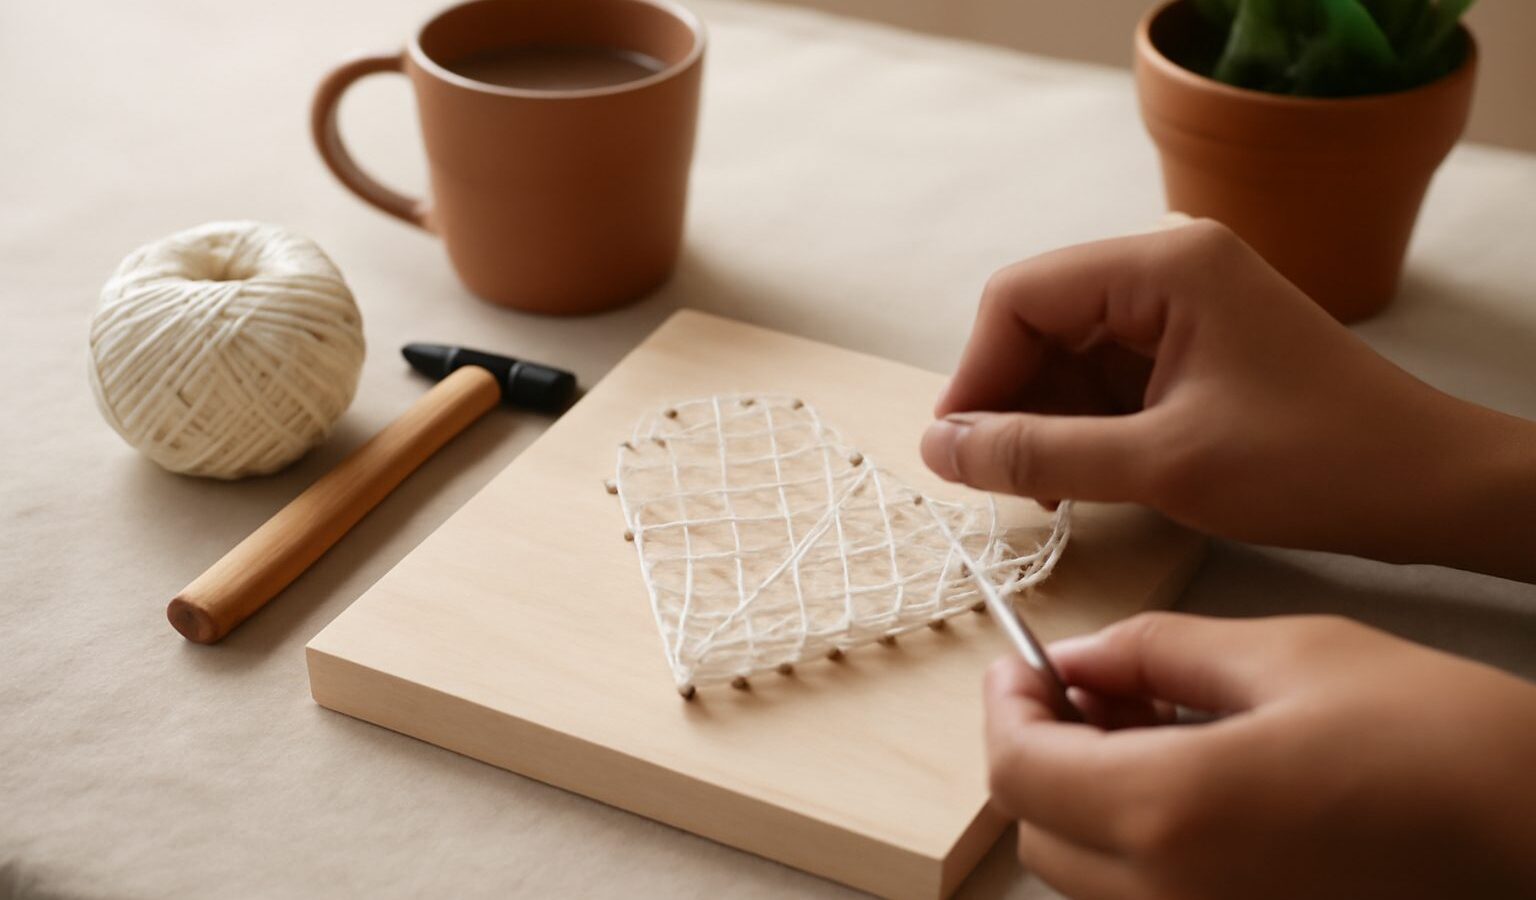
There is something quietly hypnotic about watching a pattern appear as you wind thread from nail to nail. String art is the craft of hammering small nails into a board in a shape or outline, then looping coloured thread between them to fill in an image. It is cheap, endlessly repeatable, and surprisingly forgiving, which makes it a friendly first craft for anyone in Singapore looking for a hands-on hobby that does not demand drawing skill or a dedicated studio.
A simple word, a heart, a star or the outline of an island can all be made in an evening. This guide covers what to buy, how to hammer without hurting your fingers, and how to complete your first design so it looks tidy and deliberate rather than tangled.
Why String Art Is a Great First Craft
String art asks for patience rather than talent. The design is really just a template you follow, so even people who insist they cannot draw end up with something that looks impressive. Winding the thread is repetitive in the best way, the sort of task that lets your mind settle while your hands stay busy.
It also suits small Singapore homes. Everything fits in a shallow box: a board, a pouch of nails, a hammer and a few reels of thread. The only noisy part is the hammering, and even that is brief and easy to soften. Work on a folded towel and choose a reasonable hour, and your neighbours will never know. There is no dust, no fumes and nothing to plug in.
Because a finished piece hangs on a wall, string art doubles as cheap, personal decor. A name sign for a nursery or a motif in your favourite colours costs very little and looks genuinely handmade.
What You Need to Start
You can gather everything from a craft shop, a hardware store, or an online marketplace. The list is short and cheap.
- A board: a piece of pine or softwood, or a cork board, thick enough to hold a nail firmly without the point poking through. Soft wood is far kinder to hammer into than hardwood.
- Nails: short panel pins or wire nails with small heads. Buy a box of one consistent length so your posts stand at an even height.
- A small hammer: a light tack hammer gives you more control than a big claw hammer.
- Thread: embroidery floss, crochet cotton, or thin coloured string. A few contrasting colours go a long way.
- A template: a printed outline or a hand-drawn shape to guide your nail positions.
- Extras: a pencil, masking tape to hold the template, and optionally a thimble or a spare block to protect your fingers while you start each nail.
Keep humidity in mind. Store spare nails in a sealed tub, because Singapore air will rust bare steel surprisingly fast, and a rusty nail leaves marks on pale thread.
Hammering Nails Safely
The nails are the fiddly part, and starting each one is where beginners catch a finger. A little technique removes almost all the risk.
- Start the nail with a tool, not your fingertips. Hold the nail steady with a pair of long-nose pliers, a clothes peg, or push it through a strip of card so your fingers stay well clear of the hammer.
- Tap gently at first. A few light taps to set the nail beat one heavy swing every time. Once it stands on its own, you can drive it home with slightly firmer taps.
- Mind your fingers and your rhythm. Keep your holding hand behind the hammer’s path, and stop if your attention drifts. Most bruised thumbs happen on the last tired nail, not the first.
- Work on a stable, protected surface. A folded towel over a solid table steadies the board, muffles the sound, and stops the point marking your furniture.
- Keep nails and the hammer away from young children, and supervise closely if a child helps. Sweep up any dropped nails straight away.
Once all the nails are in and standing at an even height, the sharp-tool part of the craft is over and the relaxing part begins.
Making Your First Design
Choose something simple and bold. A single letter, a heart or a star is ideal for a first attempt.
- Fix your template to the board with masking tape, and mark a dot at each nail position, spaced evenly around the outline.
- Hammer a nail at every dot, keeping them all to the same height so the thread sits level.
- Remove the paper template by tearing it away gently from around the nails.
- Tie your thread to a starting nail with a small double knot, leaving a short tail you can tuck away later.
- Wind the thread from nail to nail. For an outline, loop around each post in sequence. To fill a shape, criss-cross back and forth across the design, letting the overlapping lines build depth and colour.
- Finish with a knot on a nail and snip the loose end. A dab of clear glue on the knot keeps it from slipping.
Do not worry about neatness on your first go. The overlapping threads hide small mistakes, and a slightly uneven wind still reads as a confident, handmade piece.
Choosing Your Materials
Beginners often agonise over thread and board choices. This comparison keeps it simple.
| Choice | Easier for beginners | Trade-off |
|---|---|---|
| Softwood board | Nails go in with light taps | Dents more easily over time |
| Cork board | Very easy to pierce, quiet | Holds nails less firmly for big pieces |
| Embroidery floss | Smooth, bright, cheap | Can tangle if wound too loosely |
| Crochet cotton | Sturdy and easy to grip | Fewer colour shades available |
| Simple outline design | Quick to finish, forgiving | Less dramatic than a filled shape |
Start with a softwood board, embroidery floss and a simple outline. That combination gives you the gentlest learning curve and a finished piece in a single sitting.
Common Mistakes and How to Improve
Most first-timer troubles are easy to fix once you know them. Nails hammered to uneven heights make the thread sit crooked, so check as you go. Spacing them too far apart leaves gappy outlines, while cramming them too close makes winding fiddly. Pulling the thread too tight can bend thin nails, so keep a light, even tension.
To improve, work up in stages. Once outlines feel easy, try filling a shape with dense criss-cross threads, then combine two colours in one piece. Explore geometric patterns, where mathematical curves emerge from straight lines between evenly spaced nails, an effect that looks far harder than it is. Keep your early pieces small and finishable, because a shelf of completed designs teaches and encourages far more than one oversized project left unwound.
Explore more
If winding thread into pictures suits you, a few related crafts share the same calm, methodical joy. Mosaic art builds an image from small coloured pieces in much the same spirit, while paper quilling and diamond painting offer more affordable, low-pressure ways to make something lovely by hand.