

Thermal paste is a thin layer of compound between your processor and its cooler. It fills microscopic gaps between two metal surfaces so heat moves efficiently into the heatsink. Over time, especially in Singapore’s constant heat and humidity, that paste can dry out, crack or pump out, and your temperatures creep up. Knowing when to replace thermal paste, and how to do it cleanly, is one of the most useful maintenance skills a PC gamer can learn. This guide focuses on the paste itself. For room cooling, fan curves and case airflow, see our guide to keeping your gaming PC cool in Singapore.
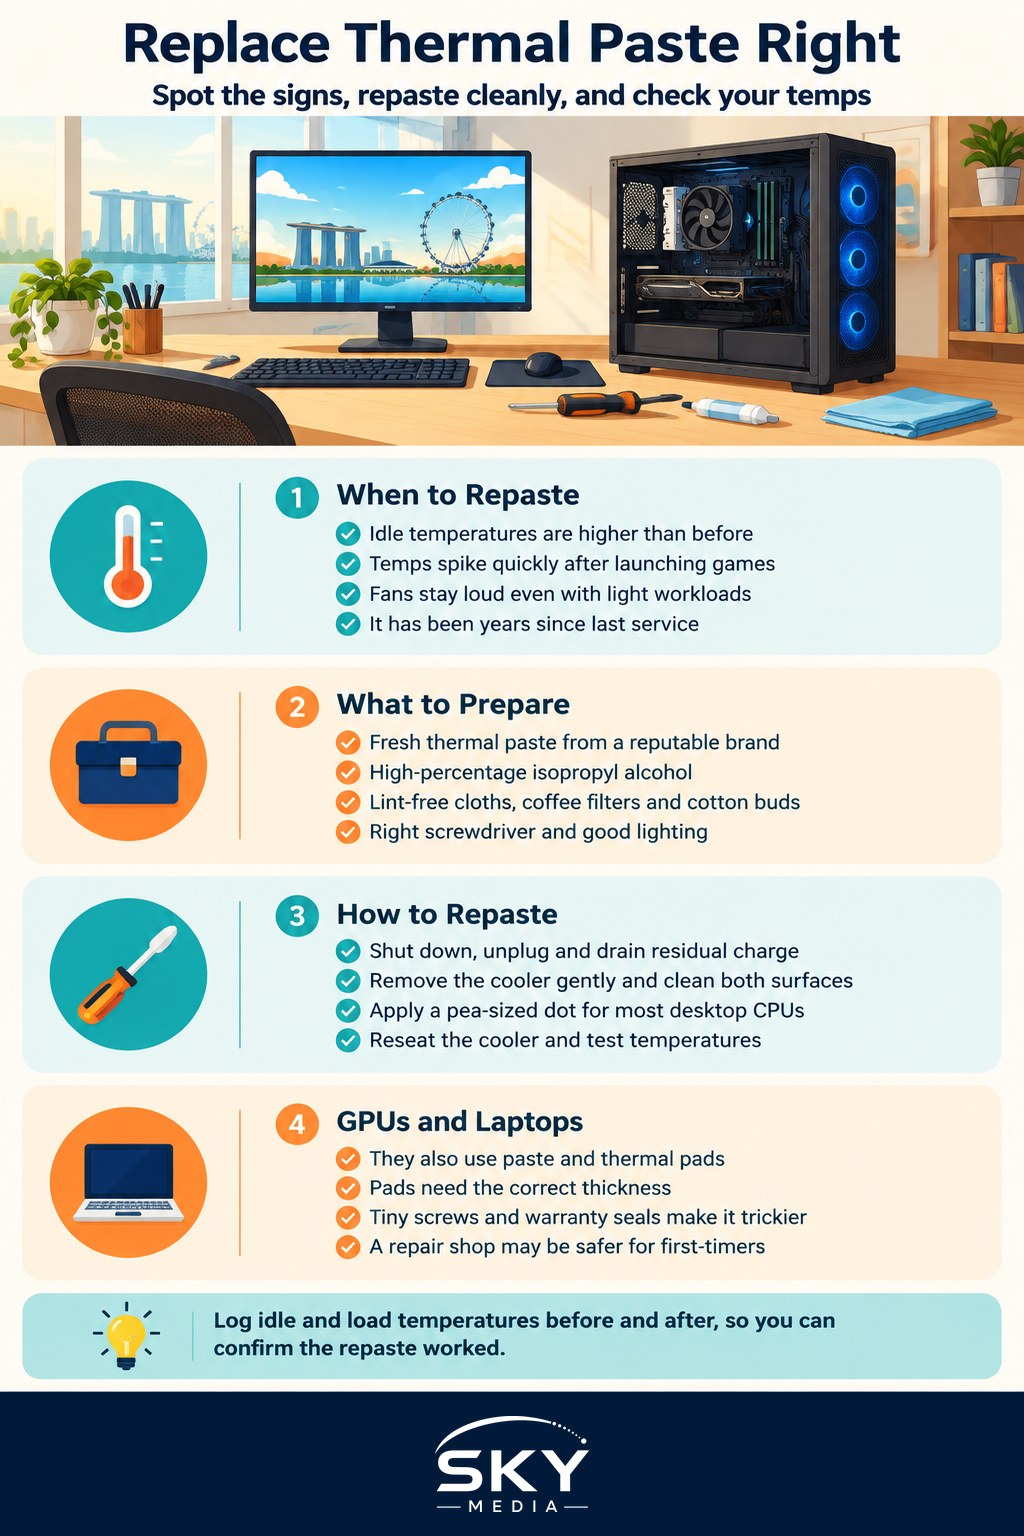
How Thermal Paste Degrades in a Hot, Humid Climate
Thermal paste does not last forever. Repeated heating and cooling cycles during gaming sessions gradually change its consistency. In a warm room without air-conditioning, components sit at higher baseline temperatures for longer, which can speed this up.
What tends to happen over time:
- Drying out. The paste becomes chalky or crumbly and stops filling gaps well.
- Pump-out. Expansion and contraction slowly squeeze paste away from the centre of the chip.
- Dust and contamination. Dust that builds up around the cooler does not directly ruin paste, but it compounds heat problems and makes the cooler work harder.
How long paste lasts varies widely by product, workload and room conditions. Rather than replacing it on a fixed timetable, watch your temperatures and behaviour.
Signs Your Thermal Paste Needs Replacing
Before opening anything, rule out simpler causes such as clogged dust filters, a failing fan or a blocked vent. If those are fine, these symptoms point towards paste:
- Idle temperatures higher than they used to be, with the same room conditions and background apps
- Temperatures spiking quickly within seconds of starting a game or benchmark
- Thermal throttling, where clock speeds drop and frame rates dip during long sessions
- Fans running loud constantly even with light workloads
- Unexpected shutdowns or crashes under heavy load
- It has been years since the system was built or last serviced
Use a free hardware monitoring tool to log CPU and GPU temperatures at idle and under load. Comparing readings over weeks gives you a clear picture, and lets you confirm the fix worked afterwards.
What You Need Before You Start
Gather everything first so you are not hunting for tools with the cooler half off.
- Fresh thermal paste from a reputable brand, bought from an established computer retailer
- High-percentage isopropyl alcohol for cleaning
- Lint-free cloths or coffee filters, and cotton buds for edges
- The right screwdriver for your cooler’s mounting screws
- An anti-static wrist strap, or at least touch a grounded metal surface regularly
- Good lighting and a clear, dry table
Check your warranty first. Opening a laptop or a prebuilt system may affect warranty terms with some manufacturers. Read your warranty conditions or ask the retailer before you start. If you are unsure, an authorised service centre or a reputable PC shop can do the job.
Step-by-Step: How to Replace Thermal Paste on a CPU
Take your time. Rushing is how pins get bent and clips get snapped.
- Shut down and unplug. Switch off the power supply and press the power button to drain residual charge.
- Run the PC briefly first (optional). A slightly warm cooler releases old paste more easily. Let it cool to safe-to-touch before handling.
- Remove the cooler. Loosen screws in a diagonal pattern, a little at a time. Twist the cooler gently side to side before lifting so you do not pull the CPU out of its socket on older platforms.
- Clean both surfaces. Wipe away old paste from the CPU and cooler base with isopropyl alcohol and lint-free cloth until the metal is clean and shiny. Avoid letting liquid or paste drip into the socket.
- Let it dry. Isopropyl alcohol evaporates quickly, but give it a minute.
- Apply new paste. A pea-sized dot in the centre works for most desktop CPUs. Larger chips may suit a line or X pattern. Follow the paste or cooler manufacturer’s guidance.
- Reseat the cooler. Lower it straight down, then tighten the screws diagonally, a few turns each, until snug. Do not overtighten.
- Reconnect and test. Plug in the fan cable, power on, check the BIOS for temperatures, then run your monitoring tool at idle and under load.
The table below compares common application methods so you can choose with confidence.
| Method | How it works | Good for | Watch out for |
|---|---|---|---|
| Pea-sized dot | Single dot in the centre, spread by mounting pressure | Most mainstream desktop CPUs | Too little paste on very large chips |
| Line | Thin line along the length of the chip | Rectangular CPUs | Uneven spread if the line is too short |
| X pattern | Two thin diagonal lines | Larger heat spreaders | Using too much and overflowing |
| Manual spread | Paste spread thinly with a spatula | Some GPU dies and laptops | Risk of trapping air bubbles |
What About GPUs and Laptops?
Graphics cards and laptops also use thermal paste, plus thermal pads on memory and power components. Replacing these is much more involved:
- Pads come in specific thicknesses. Using the wrong thickness can cause poor contact.
- Screws are tiny and often different lengths.
- Many GPU and laptop designs have warranty seals or terms that discourage opening.
If you are new to PC maintenance, start with a desktop CPU. For a GPU or laptop, consider a reputable repair shop, especially if the device is still under warranty.
After the Repaste: Checking Your Results
Compare your new temperatures with the readings you logged earlier. In most cases, a successful repaste brings idle and load temperatures down, reduces fan noise and stops throttling. If temperatures are worse:
- The cooler may not be seated evenly. Remove, clean and repeat.
- A fan cable may be unplugged or plugged into the wrong header.
- The pump on an all-in-one liquid cooler may not be running.
If problems continue, the cooler, fan or another component may be failing. Our guides on power supplies and cooling for gaming PCs and how to upgrade your gaming PC can help you decide whether it is time for a new cooler.
A tube of paste and an afternoon is a small investment for cooler, quieter and more stable gaming. Make temperature checks part of your routine, and your PC will thank you through many more Singapore summers.