
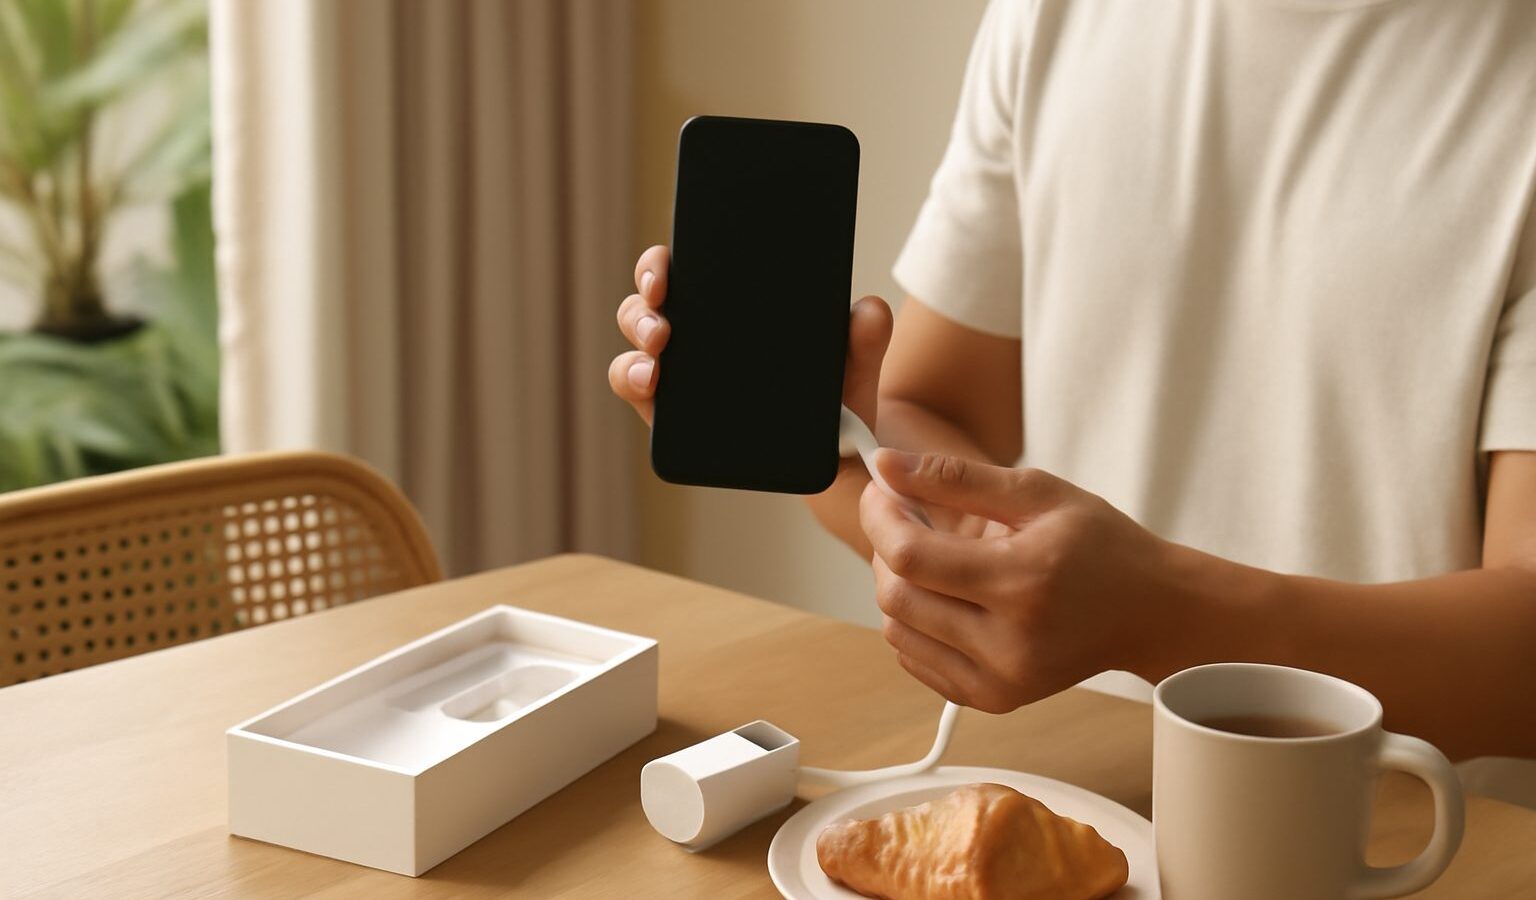
A smooth new phone setup Singapore residents can trust is less about the hardware and more about the order you do things in. Unboxing is the easy part. The real work is moving your data across without losing photos or chats, getting your line active, re-activating the apps that run daily life here, and locking the device down before you carry your whole digital identity around in your pocket. This guide walks through the whole process in a sensible sequence, whether you have switched from Android to iPhone, upgraded within the same brand, or bought your first smartphone locally.
Before You Touch the New Phone
The best setups start on the old device. Spend twenty minutes here and you save yourself hours of hunting later.
- Back up the old phone. Run a full cloud or computer backup so nothing depends on a single handset. Photos, messages, app data and settings should all be captured.
- Note down your accounts. Make sure you know the passwords for your main email, Apple ID or Google account, and any banking or government apps. These are the accounts everything else hangs off.
- Check two-factor codes. If you use an authenticator app, plan how you will move those codes across, because losing them can lock you out of important accounts.
- Update the old phone. Being on the latest software version makes brand-to-brand transfers far more reliable.
Charge both phones to at least half battery, connect to a stable home Wi-Fi network, and set aside a clear block of time. Transfers can take a while if you have years of photos.
Transferring Your Data Across
How you move data depends on the jump you are making. Same-brand upgrades are the simplest, since both Apple and the major Android makers offer a guided transfer during first-time setup that copies almost everything over a direct connection or from a cloud backup.
Switching platforms takes a little more care. Apple’s Move to iOS app pulls contacts, messages, photos and some app data from Android into a new iPhone. Going the other way, Google’s setup flow and the cable-based transfer on many Android phones handle the bulk, though some app data will simply reinstall fresh rather than carry history across.
A few things almost never transfer automatically, so handle them by hand:
- Chat apps such as WhatsApp and Telegram have their own in-app backup and migration steps. Do these separately, and for cross-platform moves check the app’s own guide, as WhatsApp’s Android-to-iPhone path differs from a same-platform restore.
- Authenticator apps need their built-in transfer or export tool before you wipe the old phone.
- Downloaded music, offline maps and podcasts usually need to be re-downloaded rather than copied.
Once the transfer finishes, keep the old phone untouched for a few days until you are sure everything landed safely.
Getting Your Line and Connectivity Working
With your data in place, sort out the actual phone service. If you are staying with your current number and telco, you can often move a physical SIM straight into the new device, provided the SIM size matches. Newer phones increasingly use eSIM, a digital SIM built into the handset, so you may need your telco to reissue your line as an eSIM profile. Most Singapore telcos let you do this through their app or at a shop with your Singpass for identity verification.
If you are also changing telco or plan at the same time, sort the number and plan first so activation and data transfer do not collide. For choosing or comparing a plan, see our guide to the best mobile plans in Singapore, and if you are still deciding on the handset itself, our roundup of budget smartphones in Singapore is a good starting point.
Here is how the main ways of getting connected on a new phone compare.
| Method | Best for | What you need | Speed to activate |
|---|---|---|---|
| Move existing physical SIM | Keeping the same line and telco | Matching SIM size, unlocked phone | Instant, just insert |
| Convert line to eSIM | Newer phones without a SIM tray | Telco app or shop visit, Singpass | Usually same day |
| New SIM or eSIM with new plan | Switching telco or plan | Registration, ID verification | Often within hours |
| Roaming or travel line | Overseas use right after setup | A travel plan or local eSIM | Depends on provider |
Confirm mobile data, calls and SMS all work before moving on, since some later steps rely on receiving verification codes by text.
Restoring the Apps That Run Daily Life Here
Once connected, bring back the local apps that Singapore life leans on. The order matters, because several of them verify you by SMS or by scanning your face.
- Singpass. Reinstall and re-register the app on the new device. Because it unlocks government and many private services, treat it as a priority and follow the official steps carefully. Our Singpass guide walks through the process.
- Banking apps. Each bank ties its app to one trusted device at a time, so expect to re-register and re-authenticate. Have your card, token or SMS ready. See our overview of digital banking apps in Singapore.
- Payment and transit apps. Re-add cards to your mobile wallet and set up any QR payment apps you use. Our guide to QR and e-payments covers the common ones.
- Everything else. Email, calendars, ride-hailing, food delivery and shopping apps can follow at your own pace.
As you sign back in, you will hit a wave of verification prompts. This is normal and is exactly why getting your line working first pays off.
Locking Down Security From Day One
A new phone is the ideal moment to raise your security baseline, because you are already in every account.
- Set a strong screen lock. Use a six-digit or longer passcode plus fingerprint or face unlock. Avoid simple patterns.
- Turn on find-my-device. Both Apple and Google offer remote locate, lock and wipe. Enable it now so a lost phone is a nuisance, not a disaster.
- Review two-factor authentication. Make sure your key accounts are protected and your codes have moved across. Our two-factor authentication guide explains the options.
- Tidy up app permissions. Check which apps can see your location, contacts, microphone and camera, and switch off anything that does not need them.
- Set up backups on the new phone. Turn on automatic cloud or computer backups so you are protected going forward, as covered in our cloud storage and backup guide.
Finally, be alert to scams in the first few days. Fraudsters know people expect setup messages and may send fake activation or verification texts. Never tap links in unexpected messages, and go directly to the official app instead.
When You Are Ready to Retire the Old Phone
Only wipe the old device once the new one has been running smoothly for several days and you have confirmed photos, chats and app logins are all intact. Sign out of your accounts, remove the SIM or eSIM profile, then do a full factory reset before selling, trading in or recycling it. For any handset you pass on, a clean reset protects the personal data that would otherwise stay behind.
Explore more
For the pieces that surround a new phone, compare options in our best mobile plans in Singapore guide and lock things down with our two-factor authentication guide. If you are setting up cloud sync for the first time, our cloud storage and backup guide shows how to keep your photos and files safe for good.