
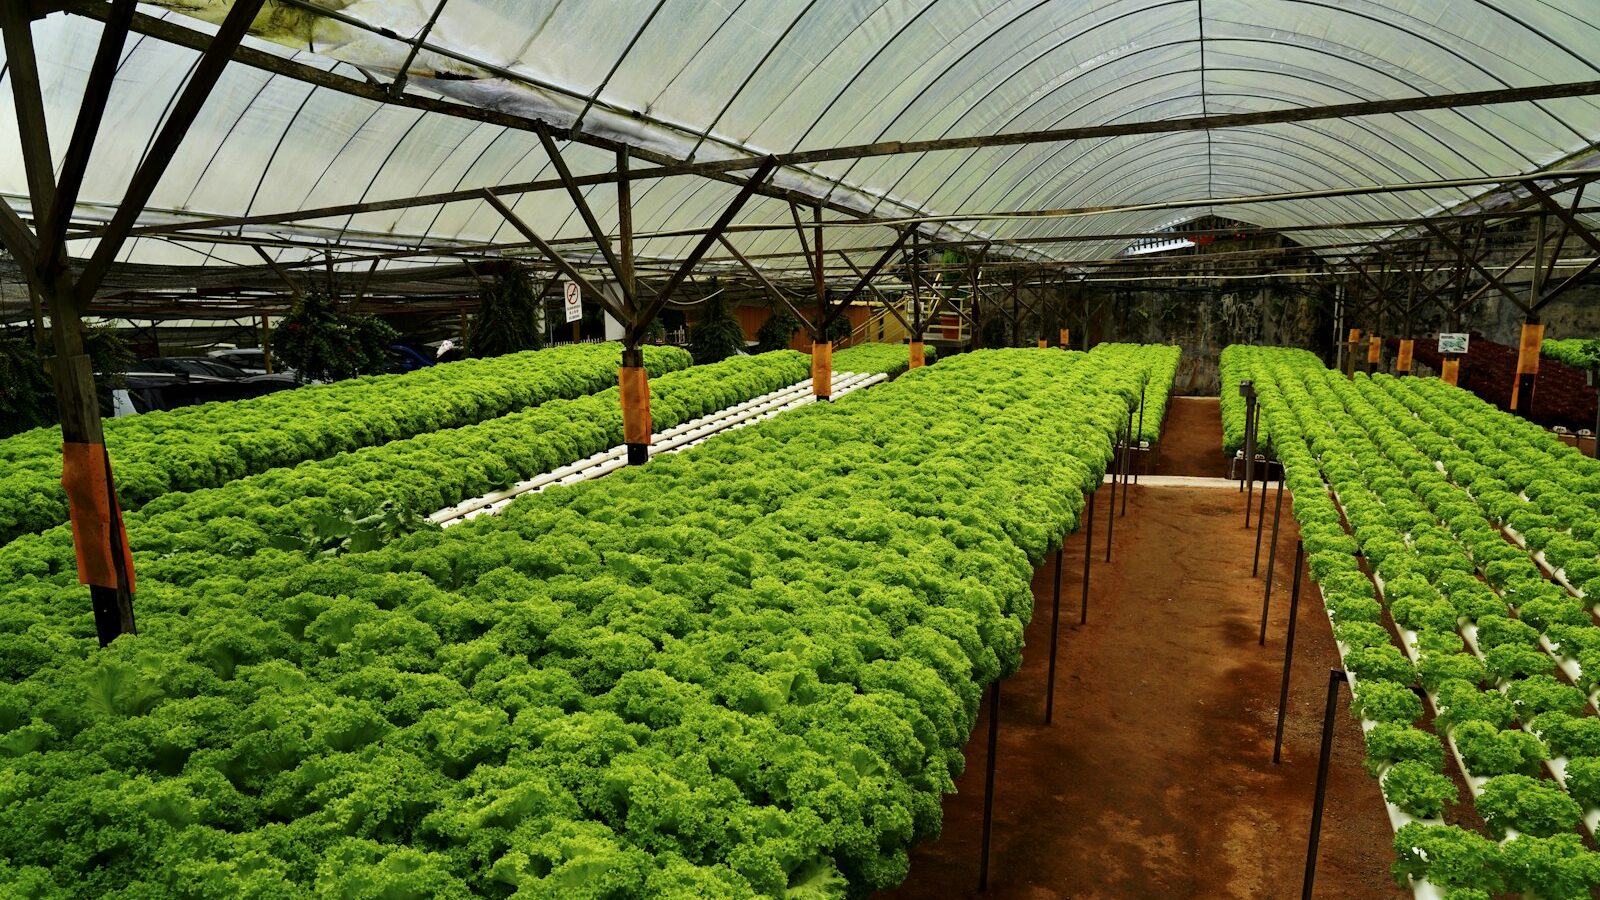
The Kratky method is the simplest form of hydroponics, growing plants in a still reservoir of nutrient water with no pumps, no electricity and no daily fuss. You suspend a plant so its roots dip into the solution, and as it drinks, the water level drops and leaves an air gap that keeps the roots breathing. For a compact flat with no soil and little time, it is one of the easiest ways to grow leafy greens indoors or on a balcony. This is a general guide for home growers, not professional horticultural advice.
It suits Singapore well. There is no soil to source or carry up a lift, no digging, and no daily watering, and our warmth keeps leafy crops growing fast. The one thing that demands real care in our climate is the standing water at the heart of the system, which we cover in detail below, because stagnant water and dengue are a serious local concern.
How Passive Hydroponics Works
In most hydroponics, a pump circulates water and air to the roots. The Kratky method removes all of that. You fill a container with nutrient solution, sit the plant in a net cup or hole at the top with its roots reaching down into the liquid, and simply leave it.
At the start, most of the root sits in water. As the plant grows and drinks, the level falls, exposing the upper roots to the air space that forms above the water. Those exposed roots take in oxygen while the lower roots keep drawing water and nutrients. Done right, a fast leafy crop can grow from seedling to harvest on a single fill, never topped up. That hands off simplicity is the whole appeal, and it is why beginners love it.
The limits are real too. Because nothing circulates, the method suits quick, leafy, single harvest crops rather than long lived fruiting plants, and it is fussier to run for months than for a few weeks.
Setting Up Your First Container
You can build a Kratky setup from simple parts. Keep it generic; no special brand is needed.
- Choose an opaque container with a lid. A tub, jar or box that blocks light stops algae growing in the water. If it is clear, wrap the outside to keep light out.
- Make a hole for a net cup. Cut a hole in the lid to hold a small net cup snugly, or use a foam raft with a hole.
- Add a growing medium. Nestle the seedling in an inert medium such as clay pebbles, rockwool or coco plugs inside the net cup, so the plant is held upright.
- Mix the nutrient solution. Dissolve a proper hydroponic nutrient into water following the label rates exactly. Ordinary soil fertiliser will not do, because hydroponic plants need a complete balanced mix. Check the pH if you can.
- Set the level. Fill so the bottom of the net cup and the lower roots just touch the solution. As the plant grows, do not top up; let the level fall so an air gap forms.
Place it where the crop gets bright light. Leafy greens want several hours of good light; a sunny, sheltered balcony works, or a grow light indoors. Keep it out of harsh midday sun that would overheat the water and cook the roots.
Covering the Reservoir: the Dengue Guardrail
This is the most important section for anyone trying Kratky in Singapore. The method relies on a still reservoir of standing water, and standing water is exactly what Aedes mosquitoes need to breed. Dengue is a genuine public health risk here, so you must not run an open pool of water on your balcony or by a window.
Follow these rules without exception:
- Keep the reservoir sealed or fully covered. The lid, foam raft or cover should leave no open gap of water exposed to the air where a mosquito could lay eggs. The only opening should be filled by the plant and its net cup.
- Seal stray holes. Cover or tape over any spare openings, and make sure the cut around the net cup is snug, not gaping.
- Never leave open buckets of spare solution standing. Store nutrient water in closed containers.
- Empty and reset between crops. When a crop finishes, do not let the leftover water sit stagnant for days. Tip it out, clean the container and refill only when you replant.
- Check after rain. Make sure rain has not filled any tray, saucer or spare vessel around your setup.
Follow NEA guidance and the Mozzie Wipeout habits as part of your normal routine, and inspect your growing area weekly. A properly covered Kratky container is safe precisely because the water is enclosed; an uncovered one is a mosquito hazard, so covering the reservoir is not optional here.
What to Grow and Common Problems
Kratky rewards fast, leafy, shallow rooted crops that finish before the water runs low. It struggles with large, long season fruiting plants.
| Crop type | Suitability | Notes |
|---|---|---|
| Lettuce and leafy salads | Excellent | Classic Kratky crop, quick to harvest |
| Asian greens like chye sim, kangkong | Very good | Fast and heat tolerant, ideal here |
| Herbs such as basil and mint | Good | Harvest leaves as they grow |
| Fruiting crops like tomato, chilli | Poor to fair | Need topping up and support, better with pumps |
A few problems come up often, and all are manageable:
- Algae in the water. Caused by light reaching the solution. Use an opaque container or wrap it.
- Roots not reaching the water. At the start, keep the level touching the net cup base until roots grow down.
- Wilting in heat. Our sun can overheat a small reservoir. Shade the container, keep it out of direct midday sun, and use a larger volume of water, which stays cooler and more stable.
- Nutrient issues. Follow the label rates and do not guess. Too strong a mix can burn roots.
Is Kratky Right for You
The Kratky method is a brilliant entry into growing without soil, and a satisfying way to put fresh greens on the table from a corner of a flat. It is cheap to try, needs no electricity, and asks almost nothing of you between planting and harvest, apart from the one non negotiable duty of keeping that reservoir covered.
Start small with a single tub of lettuce or local greens, learn how fast the level drops and how the roots respond, and scale up once you are comfortable. If you enjoy the soil free approach, it sits naturally alongside other space saving techniques like a home terrarium for foliage and a raised bed for larger edible crops. Grow a couple of harvests, keep your water sealed and your area mosquito free, and you will quickly see why passive hydroponics has won over so many home growers.
Explore more: Making a terrarium at home · Raised bed gardening in Singapore · Saving and storing seeds