
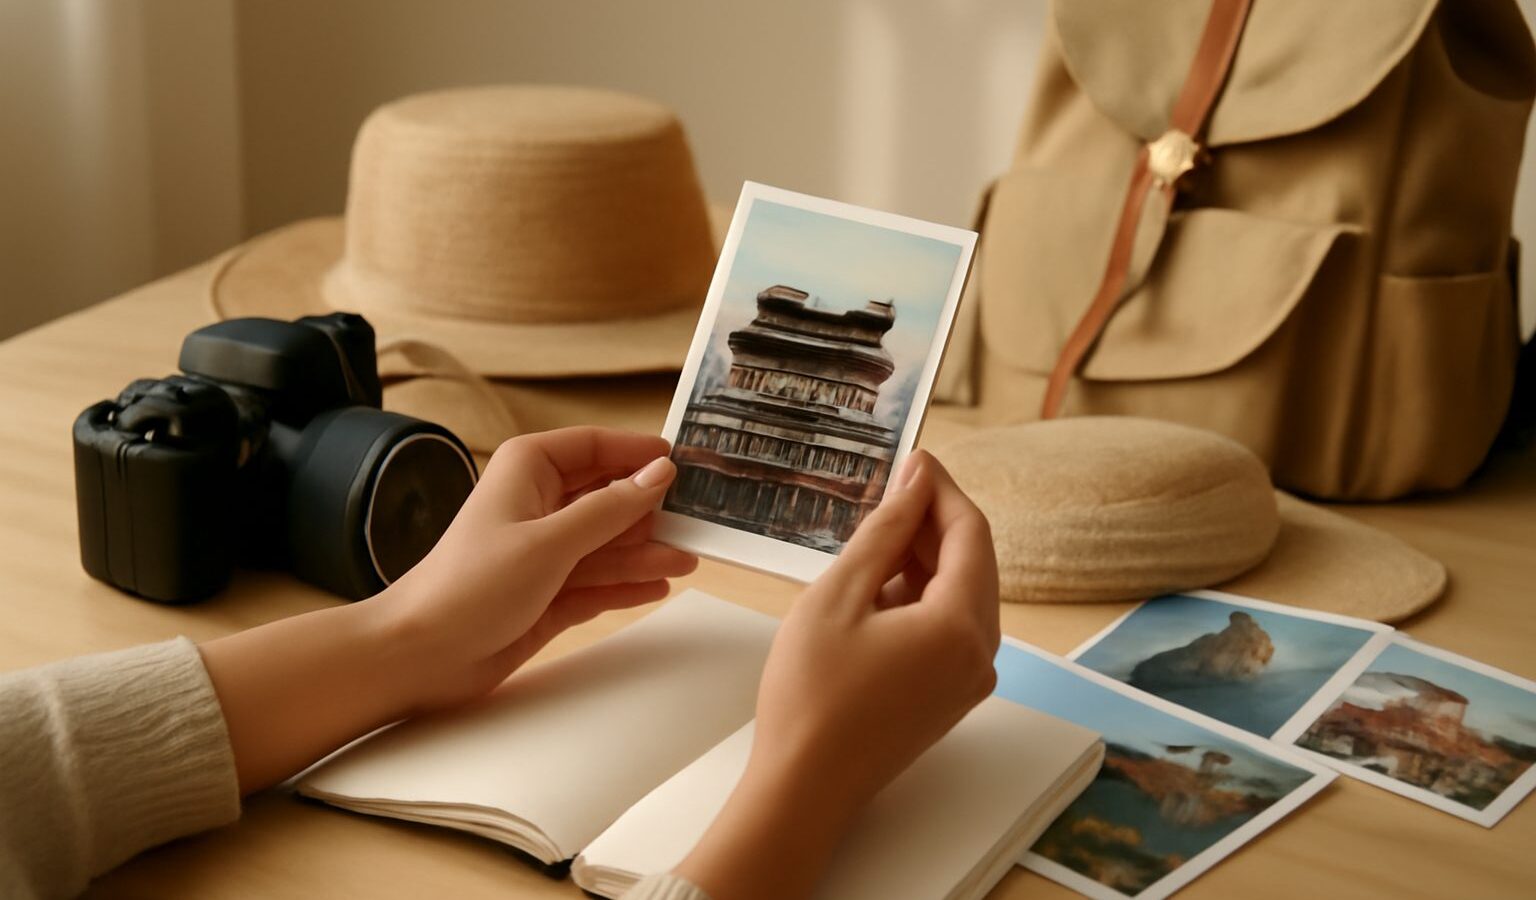
Travel photography is the art of bringing a place home: its light, its people, its small everyday details and its grand views. You do not need to fly anywhere to start, because Singapore is one of the most photogenic places in the region, from the Marina Bay skyline to heritage shophouses, hawker centres and the green calm of the Botanic Gardens. Treat your own island as a training ground, and you will be ready when you do travel further.
These tips work whether you shoot on a dedicated camera or a phone, and they focus on the choices that actually make travel images sing.
Pack light and stay ready
The best travel camera is the one you will actually carry all day in the heat. A heavy bag gets left in the hotel, and the shot you miss is the one you did not have gear for. Many superb travel photos are made on a phone for exactly this reason.
If you take a camera, one versatile zoom lens covers most situations without weighing you down. Keep your kit to what fits a small, comfortable bag. Whatever you carry, keep it accessible, because travel moments are fleeting and a camera buried in a backpack misses them.
A few practical packing notes for our climate and travel in general:
- Carry spare batteries and a power bank, as heat and constant shooting drain them fast.
- Bring a microfibre cloth for the lens fogging you get moving between air-conditioning and humid streets.
- Keep gear in a sealed bag during sudden downpours, and dry it off afterwards.
- Back up your photos to the cloud or a second card as you go, so a lost phone does not cost you the whole trip.
Chase the good light
Light makes or breaks a travel photo, and timing beats gear every time. Near the equator our golden hour, the soft warm window just after sunrise and before sunset, is short, so plan around it. Get to your location early and be ready as the light turns.
Midday sun is harsh and high, throwing hard shadows and washing out colour. It is the toughest light to work in. If you are stuck shooting at noon, head for shade, cover interiors and markets, or use the strong light deliberately for bold, high-contrast street shots. The soft, even light of an overcast or drizzly day, common here, is wonderful for detail, food and portraits.
Blue hour, the brief period after sunset when the sky glows deep blue and the city lights come on, is the classic time for skyline shots and is worth waiting for.
Tell a story, not just a postcard
The travel photos people remember do more than record a landmark; they tell you what a place felt like. Aim to come home with a set that works together rather than a hundred versions of the same view.
Shoot a range of scales for each place:
- The wide establishing shot that sets the scene, such as the skyline or a street.
- The medium shot that shows activity, like a hawker at work or a market stall.
- The tight detail, a bowl of noodles, a temple carving, a hand counting change.
- The human moment, a candid of daily life that gives the place a heartbeat.
Look for leading lines, framing through doorways and windows, reflections in puddles after rain, and pockets of colour. These composition tools turn an ordinary snap into an image with depth. Get closer than feels comfortable, and include people to give a sense of scale and life.
Composition choices at a glance
Here is how common travel scenes compare, so you can react quickly on the move.
| Scene | Best light | Approach | Watch out for |
|---|---|---|---|
| City skyline | Blue hour | Wide, steady, low ISO | Blown-out lights |
| Street and market | Soft or overcast | Candid, get close | People’s privacy |
| Landscape, nature | Golden hour | Foreground for depth | Harsh midday sun |
| Food and detail | Window light | Overhead or side angle | Mixed indoor colour |
Photograph people and places respectfully
Travel photography often means photographing strangers, and that carries responsibility. Respect people’s privacy. Ask permission before photographing identifiable people up close, a smile and a gesture usually does it, and honour a no. Be especially careful with children and seek a parent or guardian’s consent. Never photograph anyone in a way that could cause discomfort, and delete an image if someone asks.
Places have rules too. Many venues, museums and religious sites restrict tripods, flash or commercial shooting, and some require a permit, so check before you shoot. Parks and nature reserves follow NParks guidance; do not disturb wildlife or stray off paths. At places of worship and festivals such as Thaipusam, Deepavali, Hari Raya or Vesak, dress and behave respectfully, follow the site’s rules, ask before photographing people at prayer, and never disrupt a ceremony. You are a guest, not a spectator. If you plan to sell or publish images of recognisable people, look into model releases; this is general information, not legal advice.
Edit for mood, keep it believable
A consistent edit ties a travel set together and evokes the mood of a place. Adjust exposure and white balance, lift shadows, and add a touch of contrast and warmth. Applying a similar look across a trip’s photos makes them feel like a cohesive story.
Keep your edits believable. Enhancing the light and colour you saw is fine; inventing a scene that never existed turns a travel document into fiction. The goal is to convey how the place actually felt.
Start this weekend
You do not need a plane ticket to grow. Pick one neighbourhood, Chinatown, Kampong Glam, Tiong Bahru or East Coast, and spend a morning working on light and storytelling. The habits you build at home are exactly the ones that will serve you abroad.
Explore more: for skyline and blue-hour work see cityscape and skyline photography, tame glare and long exposures with lens filters like ND and polariser, and to capture festivals, parades and street action sharply, read sports and action photography and how to freeze fast motion.
Related across Sky Media: Travel Photography Tips