
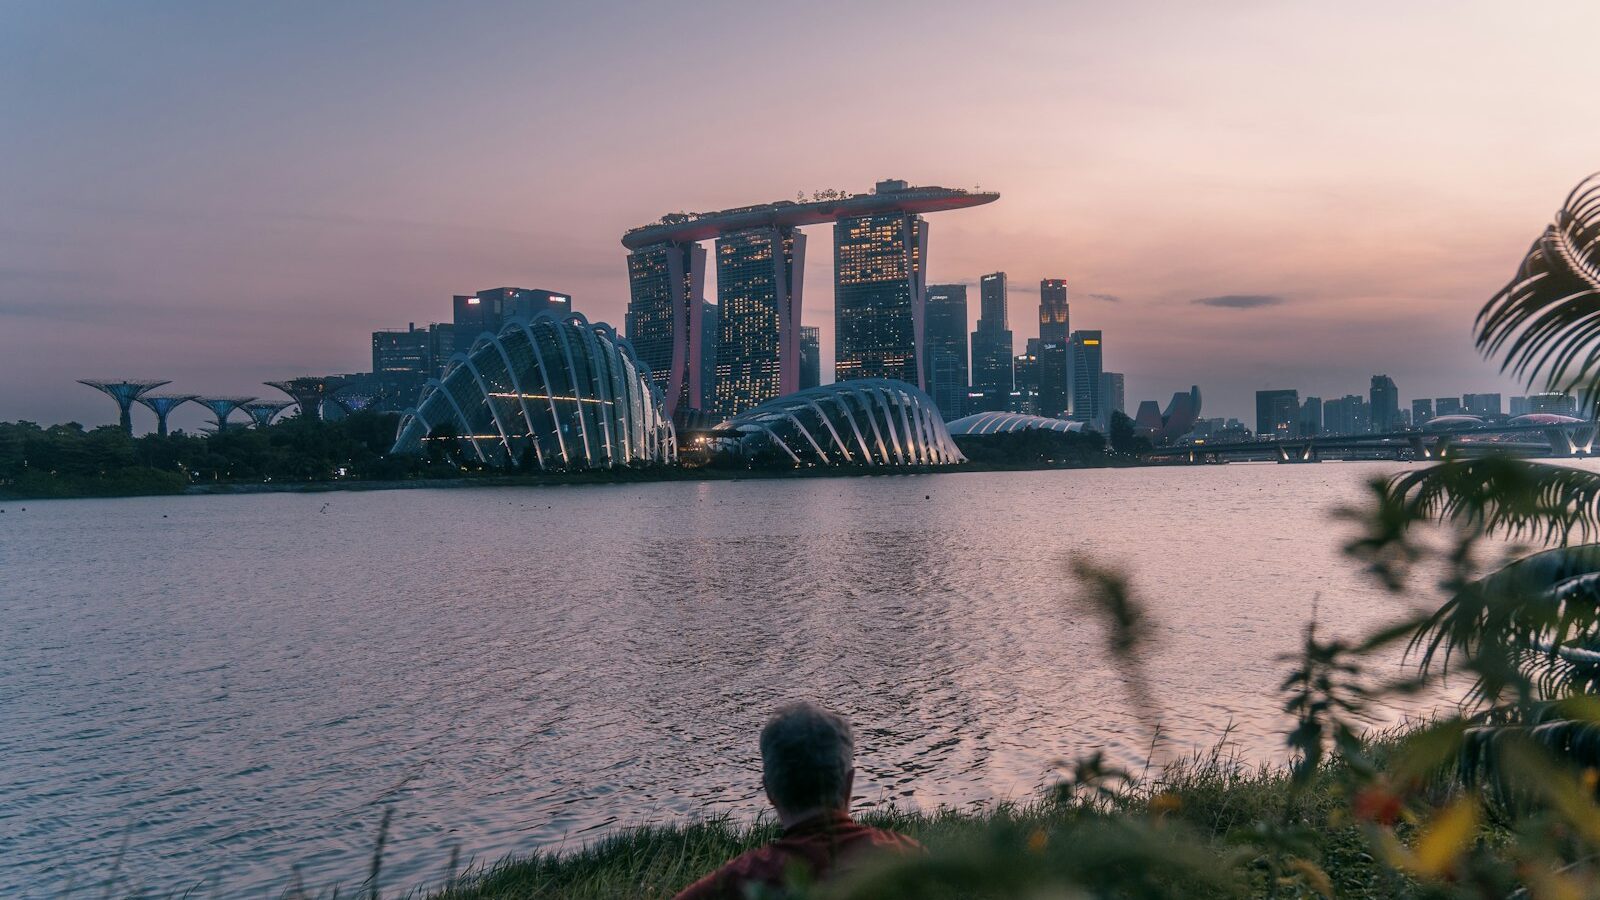
Lens filters are small pieces of glass or resin that screw onto the front of your lens and change the light before it reaches the sensor. Two of them do things that no amount of editing can fully replicate, which is why photographers keep buying them long after software has replaced so much else. Those two are the neutral density filter and the polarising filter. This guide explains what each one does, when it genuinely helps under Singapore’s harsh tropical light, and how to use them without wasting money on glass you do not need. Most of it applies to phones too, using clip-on or case-mounted filters.
What Lens Filters Do and Why Some Matter
A filter sits in front of your lens and selectively blocks or alters incoming light. Some are purely creative, some solve a specific technical problem, and a few are largely a hangover from the film era. The key idea is that the two most useful filters, the neutral density and the polariser, produce optical effects that happen at the moment of capture and cannot be perfectly faked afterwards. A polariser physically removes reflected glare from the light itself, and a neutral density filter genuinely lengthens your exposure time. Software can imitate the look, but it cannot recreate the underlying physics, which is why these two earn a place in your bag.
The Neutral Density Filter
A neutral density filter, usually called an ND filter, is like sunglasses for your lens. It is a neutral grey glass that cuts the amount of light entering the lens without changing its colour. Why would you want less light? Because it lets you use slow shutter speeds or wide apertures even in bright conditions.
The classic use is long exposure. To smooth the water around Marina Bay into silk, or blur moving clouds and evening traffic into streaks, you need a shutter open for seconds. In Singapore’s bright daylight that would massively overexpose the shot. An ND filter darkens the scene so those long exposures become possible. NDs come in strengths, from mild ones that let you drop the shutter a little, to very dark ones for exposures of many seconds even at midday.
There is a second, video-focused use. To get natural-looking motion blur, video is usually shot at a shutter speed around double the frame rate. Outdoors in our fierce sun that often means far too much light, forcing an unnaturally fast shutter that makes movement look stuttery. A variable ND filter, which twists to adjust its darkness, lets you keep the correct shutter speed and still expose properly. It is a favourite tool for filming B-roll on a sunny afternoon.
A few honest cautions. Very strong ND filters can add a slight colour cast, correctable in editing. Cheap variable NDs can show an ugly dark cross pattern at their strongest settings, so buy a reputable one and stay within its usable range.
The Polarising Filter
A polarising filter, or polariser, is the one that genuinely surprises people the first time they use it. You rotate it in its mount and watch reflections, glare and haze come and go. It works by blocking light waves travelling in certain orientations, which are exactly the ones bouncing off non-metallic surfaces like water, glass, wet leaves and the humid sky.
The effects are striking. A polariser can deepen a pale, hazy Singapore sky into a richer blue, cut the white glare off foliage so greens look saturated and lush, and reduce reflections on water so you can see into a pond at the Botanic Gardens or through a shop window. It also tames the sheen that our high humidity and haze throw across distant scenes, adding welcome clarity to skyline shots.
To use one, screw it on and slowly rotate the front ring while looking at the scene, stopping when the reflection or glare is where you want it. The effect is strongest when you shoot at roughly 90 degrees to the sun and weakest when pointing straight at or away from it. Be aware a polariser also cuts overall light, so your exposure lengthens a little, and on very wide lenses the sky can darken unevenly. Rotate it back if the effect looks unnatural.
Comparing the Filters You Might Buy
Here is how the common filters stack up, so you know where to spend and what to skip.
| Filter | Main effect | When to use | Can editing replace it? |
|---|---|---|---|
| Neutral density | Cuts light, no colour change | Long exposures, video in sun | No |
| Polariser | Removes glare, deepens sky | Water, foliage, reflections, haze | No |
| Variable ND | Adjustable light cut | Run-and-gun video outdoors | No |
| UV or clear | None visible, protects glass | Dusty, wet or coastal conditions | Yes |
The takeaway is that the ND and polariser earn their place, a protective clear or UV filter is optional insurance for the front element, and most other creative filters can be handled in software instead.
Buying and Using Filters Well
A few practical points will save you money and frustration.
- Check your filter thread size. It is printed on the lens or inside the cap, marked with a diameter in millimetres after a circle symbol. Buy filters to match, or buy for your largest lens and use step-up rings on the others.
- Buy quality glass. A cheap filter puts poor glass in front of your good lens and can add haze, colour casts or flare. A reputable mid-range filter is worth it.
- Do not stack unnecessarily. Layering multiple filters, especially on wide lenses, can cause dark corners known as vignetting.
- Mind the humidity. Moving from air-conditioning into the heat fogs filters just like lenses, so let gear acclimatise, and carry a microfibre cloth for the inevitable condensation and sea spray at East Coast.
- Phone shooters can join in. Clip-on ND and polarising filters exist for phones and work on the same principles, useful for long-exposure and reflection control on the go.
Start with one polariser for your main lens and add an ND when you want to explore long exposures or shoot video outdoors. Those two filters open up shots that are genuinely difficult to achieve any other way, and once you see reflections vanish or water turn to mist, you will understand why so many photographers keep them permanently in the bag.
Explore more: filters shine alongside a solid tripod for long exposures, controlled lighting for video interviews, and steady daytime B-roll footage where a variable ND keeps your shutter speed natural.