
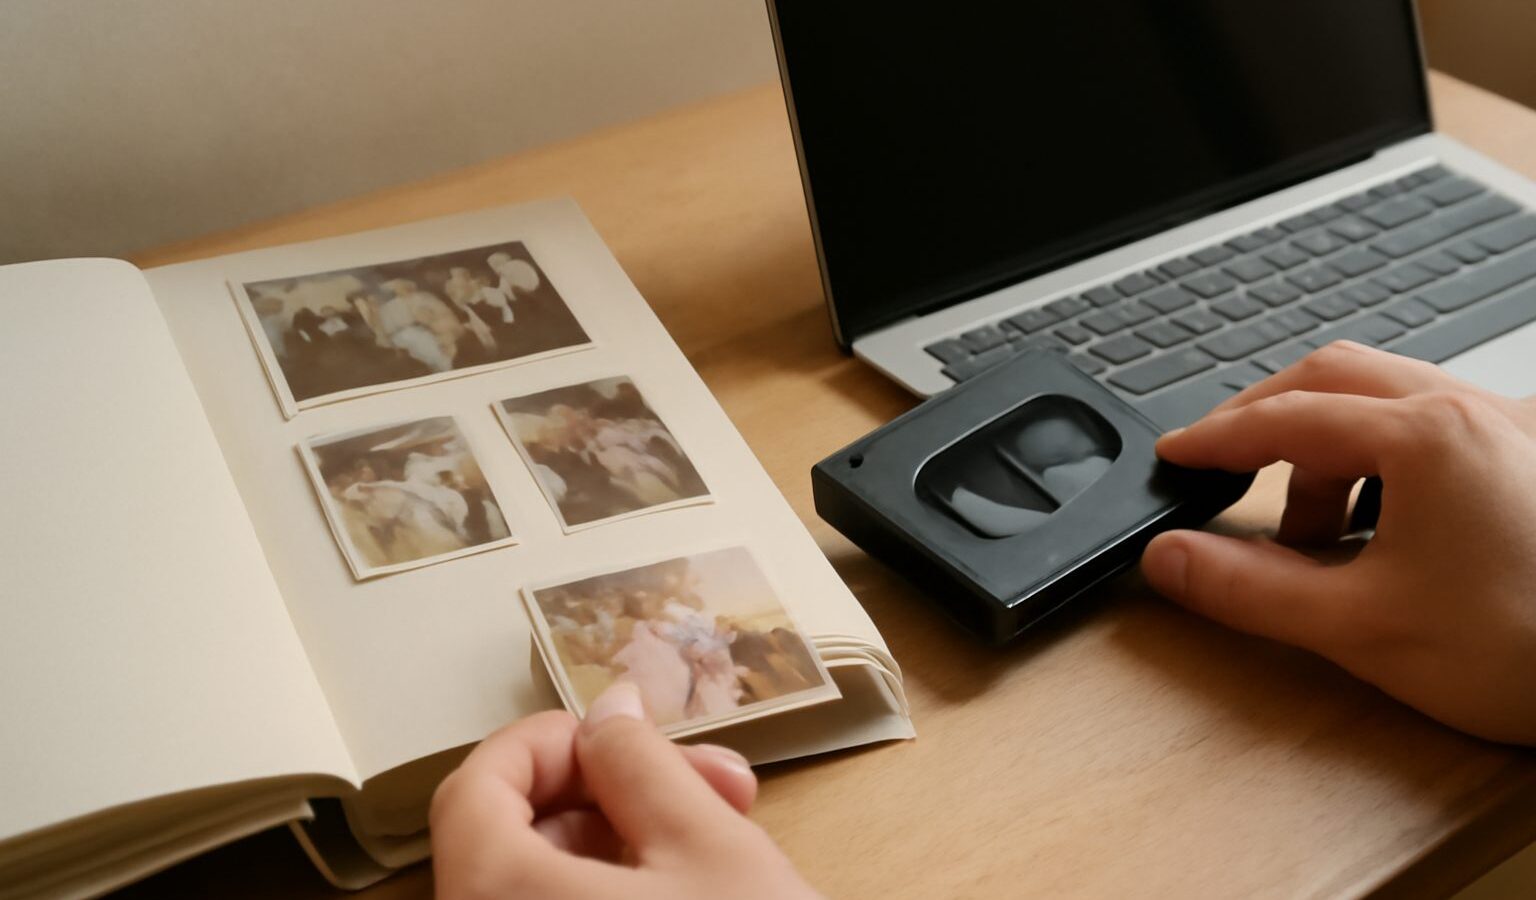
Somewhere in most Singapore homes there is a box of printed photos, a shelf of albums slowly yellowing in the humidity, and perhaps a stack of old video tapes no one can play anymore. These are irreplaceable, and they are quietly fading. Digitising old photos singapore families have kept for decades means turning those prints, slides, and tapes into digital files you can view, share, and, above all, protect from mould, damp, and time. This guide walks through the practical steps, from what you can do at home to when it is worth paying a professional.

Deciding what to digitise and how
Start by taking stock rather than trying to do everything at once. Gather your photos, slides, negatives, and any video or audio tapes into one place, and get a rough sense of the volume. A shoebox of prints is a weekend project. Ten albums and a crate of tapes is a longer campaign, and that is fine. It is far better to finish the most precious items well than to burn out halfway through everything.
Prioritise. The oldest and most fragile items, and anything that exists in only one copy, should go first. Photos that are already curling, sticking to album plastic, or showing spots of mould are the ones most at risk in our climate, so rescue those before they get worse.
Then choose your method for each type. Printed photos can be scanned or photographed. Slides and negatives need either a scanner that supports them or a dedicated film scanner, because they must be lit from behind. Video tapes, such as old camcorder or VHS formats, need special equipment to play and capture, and audio cassettes are similar. Being honest about what you have will tell you which parts you can do yourself and which are worth handing over.
Doing it yourself at home
For printed photos, you have three realistic options.
A flatbed scanner gives the best quality for prints and is not expensive. Clean the glass and your photos gently first, since dust shows up clearly once scanned. Scan at a reasonably high resolution so you can print or crop later, and save in a common format such as JPEG for everyday use, or a higher-quality format if a photo is especially precious. Scanning is slower than the other methods, but the results are worth it for your best images.
Your phone camera is the quick option, and modern phone cameras are genuinely good. There are free apps designed to photograph prints, straighten them, and reduce glare. Lay the photo flat, light it evenly with soft daylight rather than harsh overhead light, and avoid casting your own shadow over it. This is ideal for working through large piles quickly when perfect quality is not the goal. Our guide on how to take better photos with your phone has techniques that carry over neatly to copying prints.
Some people rent or buy a fast photo scanner that feeds prints through automatically, which suits very large collections. Whichever you choose, work in batches, keep the originals in order, and take breaks, because this is repetitive work.
For slides and negatives, a scanner that supports film, or a small dedicated film scanner, will do the job. For video and audio tapes, be realistic. Home capture is possible with the right device that connects an old player to a computer, but the equipment can be fiddly and the tapes are often degrading. For these, many people find it simpler and safer to use a local digitising service.
If some photos come out faded, scratched, or discoloured, they can often be improved after scanning. Our guide on using AI to edit and restore photos explains what these tools can and cannot fix, and it is wise to keep the untouched scan as well as any edited version, so you never lose the original.
Organising, naming, and keeping them safe
Digitising is only half the job. A folder of ten thousand files named by camera codes is almost as hard to enjoy as a dusty box. A little organisation now saves enormous frustration later.
Set up a simple, consistent folder structure, for example by decade and then by year or event. Rename files with something meaningful, such as the year and a short description, so they sort neatly and you can find things. You do not need to tag every face and place, but a clear top-level structure goes a long way. Our guide on how to organise your files and folders offers a straightforward system you can apply to photos.
Now the most important part, and the one people skip: back everything up. A single copy on one laptop or one hard drive is not safe, because drives fail, laptops get lost or stolen, and phones drop into drains. The sensible habit is to keep more than one copy in more than one place. That usually means the files on your computer, a copy on an external drive, and a copy in the cloud, so that no single accident can wipe out memories you just spent weeks rescuing. Our guide on cloud storage and backup explains how to set this up simply and, in many cases, cheaply.
Once your memories are digital and safely backed up, they become easy to enjoy and share. You can put together a slideshow for a family gathering, send a grandparent’s photos to relatives overseas, or print a fresh album from the best shots. Do keep the physical originals too where you can, stored flat, dry, and out of direct sunlight, since a good print has a value of its own.
Digitising a lifetime of photos and videos is not a single afternoon’s task, and you should not treat it as one. Work through it in patient batches, start with the most fragile and irreplaceable items, save your files clearly, and back them up properly. Do that, and you will turn a fading box in the cupboard into a living archive your family can enjoy for generations.
Frequently Asked Questions
Should I use a professional photo digitising service or do it myself? Do it yourself for ordinary prints, since a flatbed scanner or phone does the job well. Consider a service for large collections, fragile originals, old video tapes or slides, where equipment and care matter. Ask about handling, turnaround and how your originals are returned before committing.
What is the best file format for scanned photos? JPEG is fine for everyday viewing and sharing because files stay small. For your most precious images, save a higher-quality format such as TIFF so nothing is lost. Keeping both is sensible, with the best version as your master copy.
How do I protect old photos from mould in Singapore’s humidity? Keep them cool, dry and away from direct sunlight, ideally in sealed containers with silica gel packets. Avoid damp cupboards and bathrooms. If you spot mould, handle the photos carefully, separate them from healthy ones and digitise them soon.
Can mouldy or stuck-together photos still be digitised? Often yes, but do not pull stuck photos apart by force, which can tear the image. Lightly mouldy prints may be scanned after gentle surface cleaning. For badly stuck or heavily affected items, ask a conservator or specialist service for advice.
Will I need to keep the original prints after scanning? It is wise to keep them where you can, stored flat, dry and out of sunlight. A good print has value of its own, and a future scan may beat today’s. If space is tight, keep the best originals and the rest as backed-up digital files.
Further reading: How to Compress Photos and Videos Without Losing Quality · How to Recover Deleted Files and Photos