
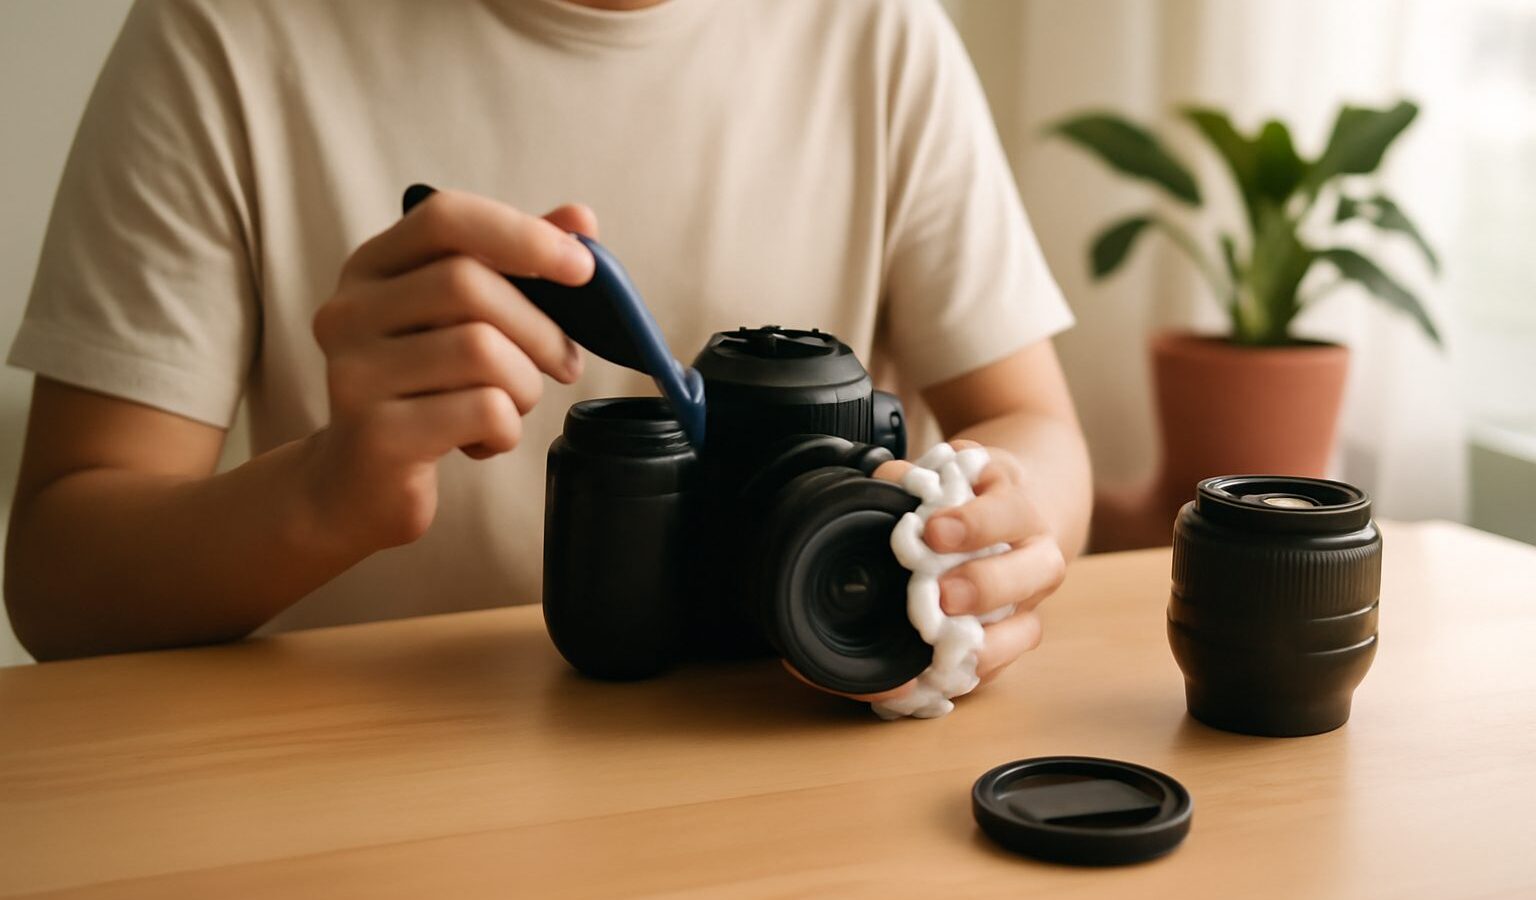
Learning how to clean camera lens and body properly protects both your gear and your image quality, and it saves you money on avoidable repairs. In Singapore’s humidity, regular gentle cleaning matters even more. This guide covers the safe, simple routine for your lens, body and sensor, the tools you need, and the one part you should never touch with your fingers.
Why cleaning matters here
Dust on the front of a lens rarely ruins a photo, but grease, fingerprints and smears scatter light and reduce contrast, giving soft, hazy results. Dust on the sensor shows up as dark spots in the same place on every frame, most visibly at small apertures. And in our climate, moisture trapped against dirty glass encourages fungus, a web-like growth that can permanently etch a lens.
The good news is that most cleaning is easy, quick and low-risk if you work gently and in the right order. The golden rule throughout is to be patient and use the least aggressive method first.
The tools you need
You do not need much. A small, sensible kit covers almost everything:
- A rocket-style air blower to puff away loose dust without touching anything.
- A soft lens brush to sweep off particles the blower misses.
- A microfibre cloth, kept clean, for the body and gentle lens work.
- Lens cleaning fluid or pre-moistened lens wipes for smears and fingerprints.
- Cotton buds for tight corners and around buttons.
Avoid tissue paper, shirt hems and household glass cleaner. These can scratch coatings or leave residue. A microfibre cloth designed for optics is worth the small cost. For a fuller kit list, see essential camera accessories for beginners.
Cleaning the lens, step by step
Always start dry and work up to wet only if needed.
- Blow first. Use the air blower to remove loose dust from the front and rear glass. This alone prevents scratching in the next steps.
- Brush gently. Sweep away any stubborn particles with the soft brush.
- Wipe only if there are smears. Apply a little fluid to the cloth, never directly onto the glass, or use a pre-moistened wipe. Wipe in a gentle spiral from the centre outwards.
- Finish dry. Buff lightly with a clean, dry part of the cloth to remove any streaks.
Clean the rear element and the metal contacts too, since dirty contacts can cause communication errors between lens and body. Keep a UV or protective filter on if you like, as it is far cheaper to clean or replace than the front element.
Cleaning the camera body
The body is more forgiving than glass. Use the blower to clear dust from crevices, dials and the hotshoe, then wipe the exterior with a slightly damp microfibre cloth. Cotton buds help around buttons and the grip. Clean the rear screen gently, as you would a phone. Wipe the battery and card compartment carefully, keeping moisture away from the contacts. Take particular care around the lens mount opening, and always point the camera downwards when a lens is off so dust falls away from the interior.
The sensor: handle with great care
The sensor is the most delicate and expensive part to fix, so respect it. Never touch the sensor with your fingers. Fingerprints and scratches there are serious.
For light dust, the safest first step is your camera’s built-in sensor cleaning function, which vibrates dust loose. If spots remain, use the blower only, holding the camera face down so dust falls out, without letting the blower tip touch the sensor. Do not use compressed air cans, which can spray propellant onto the sensor.
If dust persists after the blower, stop. Wet sensor swabs exist, but they carry real risk for beginners. Unless you are confident, this is the point to seek professional cleaning rather than gamble with an expensive component.
How often, and a humidity note
Singapore’s warm, damp air is the real enemy. Moisture plus darkness lets fungus take hold inside lenses within months. The single most effective habit is proper storage in a dry cabinet or an airtight box with silica gel or a dehumidifier, kept at a controlled humidity. Wipe down gear before storing it, especially after shooting in rain or moving between air-conditioned and outdoor spaces, which causes condensation. Our guide on caring for your camera in Singapore’s humidity goes deeper on storage.
| Task | How often | Method |
|---|---|---|
| Blow dust off lens and body | Before most shoots | Air blower and brush |
| Wipe lens smears | As needed | Fluid or wipe, spiral out |
| Wipe body exterior | Every week or two | Damp microfibre cloth |
| Built-in sensor clean | Occasionally | Camera menu function |
| Deep sensor clean | Rarely | Professional service |
| Dry storage | Always | Dry cabinet or silica box |
When to get professional cleaning
Book a professional clean when sensor spots survive the blower, when you see any haze or web-like fungus inside a lens, if fluid or moisture gets inside the body, or if buttons and dials feel gritty. A camera service centre has the tools and controlled environment to clean a sensor and open a lens safely. The cost is modest next to replacing damaged glass, and it is the sensible choice whenever a job feels beyond a gentle blow and wipe.
The bottom line
Knowing how to clean camera lens and body well is mostly about restraint: blow before you brush, brush before you wipe, and never touch the sensor with your fingers. Keep a simple kit, clean gently and store your gear dry to hold Singapore’s humidity at bay. Handle the delicate jobs professionally, and your camera will stay sharp, clear and reliable for many years.
Explore more: Caring for Your Camera in Singapore’s Humidity · Essential Camera Accessories · Choosing Your First Camera