
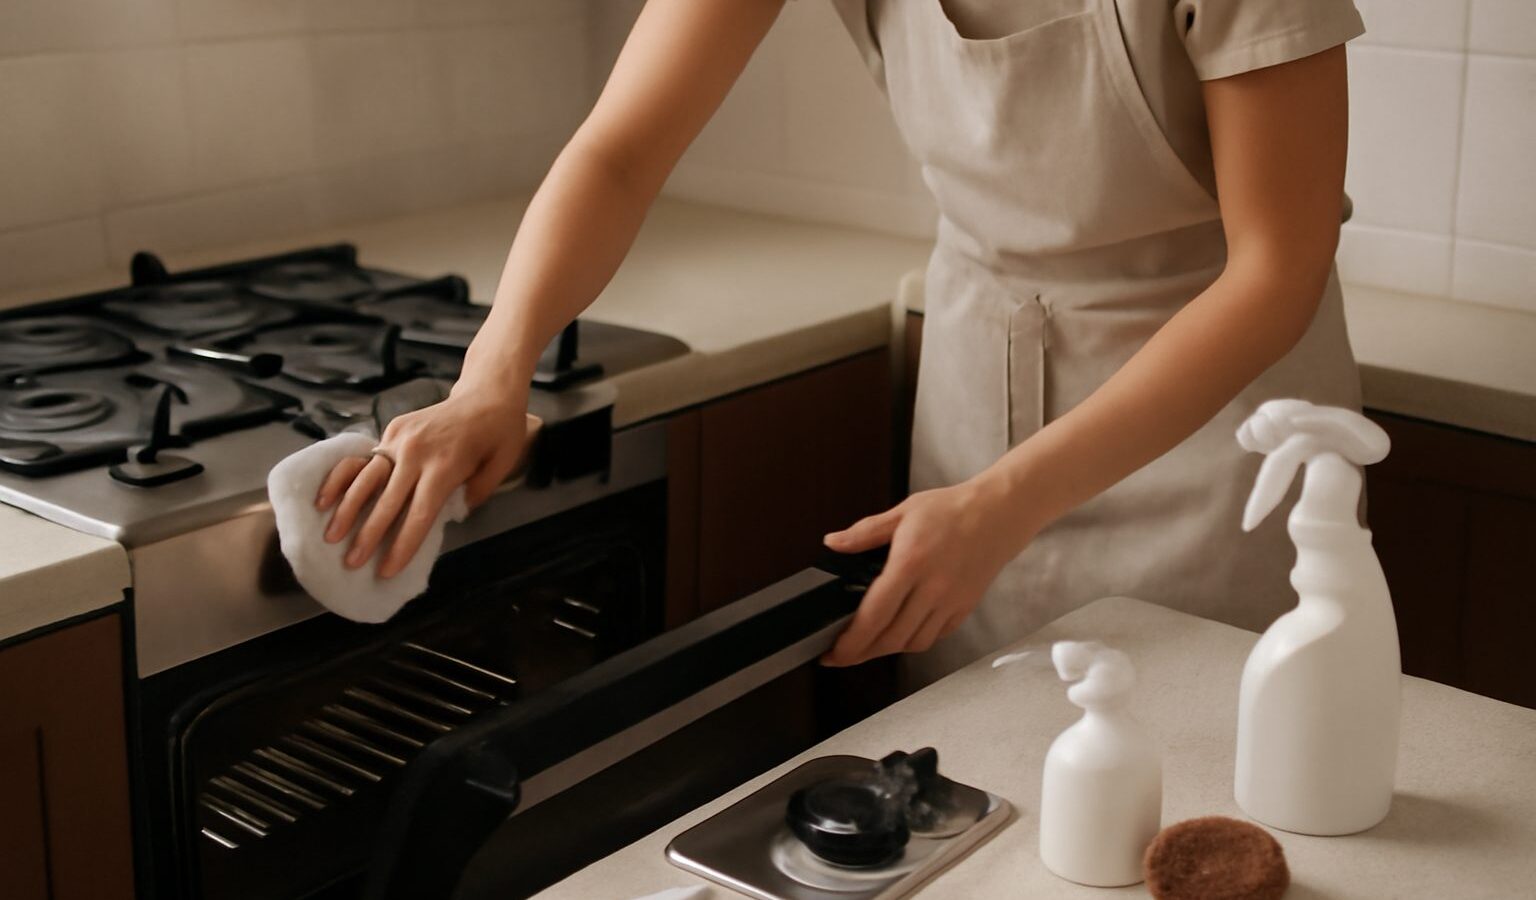
Few kitchen jobs get put off as long as the oven. Grease bakes on, spills carbonise, and the whole thing feels too daunting to start. The stovetop fares no better, collecting a sticky film that our humid air seems to hold onto. Cleaning your oven Singapore-style does not have to mean a whole day of scrubbing or a cupboard of caustic sprays. With a gentle paste, a little patience and a sensible method, you can cut through even baked-on grease and get both surfaces genuinely clean.
This guide splits the work into manageable parts: the stovetop, the oven interior, and the racks, with a habit-building section to keep it easy next time. Take it one section at a time and it is far less of a chore than it looks.
Why Grease Builds Up So Fast
Cooking throws off a fine mist of oil that settles on every nearby surface, and in a warm, humid kitchen that film stays tacky and grabs dust rather than drying to nothing. Stir-frying and deep-frying, both common in local home cooking, are especially generous with airborne grease. On the stovetop it turns into that stubborn sticky layer, and inside the oven every splash and drip slowly bakes into a hard brown crust each time you turn on the heat.
The key insight is that grease responds to two things: a mild alkaline cleaner like baking soda, which loosens it, and time, which does most of the work for you. Once you let a paste sit and soften the grime, the actual scrubbing is light. Fighting it dry and immediately is what makes the job feel impossible.
Getting Ready Safely
A little preparation keeps the job safe and quick. Gather simple supplies from any supermarket or hardware shop.
- Baking soda and white vinegar
- Mild dishwashing liquid and warm water
- A spray bottle
- Cloths, a sponge, and a soft brush or old toothbrush
- A plastic scraper for softened deposits
- Gloves and a large basin or bathtub for soaking racks
Safety comes first with any degreasing job. Make sure the oven is completely cool and switched off before you reach inside, and if you have a gas hob, ensure the burners are off and cool. Never mix cleaning products; combining bleach with vinegar or other acids releases toxic fumes, so stick to one gentle product at a time. Ventilate the kitchen, wear gloves, and if you use any shop-bought oven cleaner, follow its label exactly and keep it away from children and pets. Keep water away from any electrical controls or connections.
Cleaning the Stovetop
Start here, because it is quick and gives you an early win.
- Clear the surface. Remove pan supports, burner caps or any removable parts.
- Soak the removable bits in warm soapy water while you work on the rest.
- Wipe away loose crumbs and grease with a damp soapy cloth.
- Treat stubborn spots. Sprinkle baking soda on sticky or burnt patches, spray lightly with water to form a paste, and leave it for fifteen minutes or so.
- Wipe and, if needed, gently scrub with a soft brush. A little diluted vinegar helps cut the last of the film.
- Scrub the soaked parts, rinse and dry them fully before putting them back, especially around gas burner ports so they light cleanly.
- Buff the surface dry so it does not attract dust straight away.
Cleaning the Oven Interior and Racks
This is where the paste-and-wait method really shines, so plan it for an unhurried evening.
- Remove the racks and set them to soak in a basin or bathtub of warm water with a little dish soap. Lay an old towel down to protect the tub surface.
- Make a baking soda paste with water until it is spreadable.
- Spread the paste over the greasy interior surfaces, avoiding the heating elements, the fan and any labelled vents. Cover the baked-on spots generously.
- Leave it to work for several hours or overnight. This softening is what saves your arm later.
- Wipe it all out with a damp cloth, using a plastic scraper on softened crusts. Spraying a little diluted vinegar helps lift the last residue as it fizzes with the baking soda.
- Scrub the racks that have been soaking, then rinse and dry them.
- Wipe the door and glass, then leave the oven door open for a while to air out before use.
Matching the Method to the Mess
Different parts of the cooker call for slightly different handling, so it helps to see them side by side.
| Area | Best method | Avoid |
|---|---|---|
| Greasy stovetop | Baking soda paste, short soak, wipe | Harsh scouring on delicate surfaces |
| Oven interior | Baking soda paste left for hours, then wipe | Getting paste on elements or fans |
| Oven racks | Long soak in warm soapy water, then scrub | Scrubbing dry without soaking first |
| Glass door | Paste on the glass, wipe, buff dry | Abrasive pads that scratch |
| Gas burner ports | Soft brush, dry fully, clear the holes | Leaving ports blocked or damp |
If your oven has a self-cleaning cycle, follow the manufacturer’s instructions rather than the paste method, and ventilate the kitchen well while it runs.
Keeping It Clean With Less Effort
The whole job gets easier when grease never has a chance to bake on hard.
- Wipe the stovetop after cooking, once it has cooled, so spills do not set.
- Catch drips in the oven with a tray or liner on the bottom, and wipe fresh spills before the next use.
- Do a light wipe-down weekly and a full deep clean every couple of months, depending on how much you fry.
- Fold a bigger oven session into your pre-Chinese New Year spring clean, when the kitchen gets its yearly reset.
- If a gas hob will not light evenly, smells of gas, or an oven runs strangely, stop and call a qualified technician or your gas supplier rather than forcing it.
A clean cooker is safer, cooks more evenly, and makes the whole kitchen feel fresh. Start with the stovetop tonight, try the paste-and-wait trick on the oven this weekend, and enjoy how much lighter the work feels.
Explore more
The cooker is the heart of the kitchen, so it makes sense to clean it alongside everything nearby. Pair this with our guide to cleaning your fridge properly, take on the whole space with deep-cleaning your kitchen, and keep it all on track by building a home cleaning routine that suits your household.