
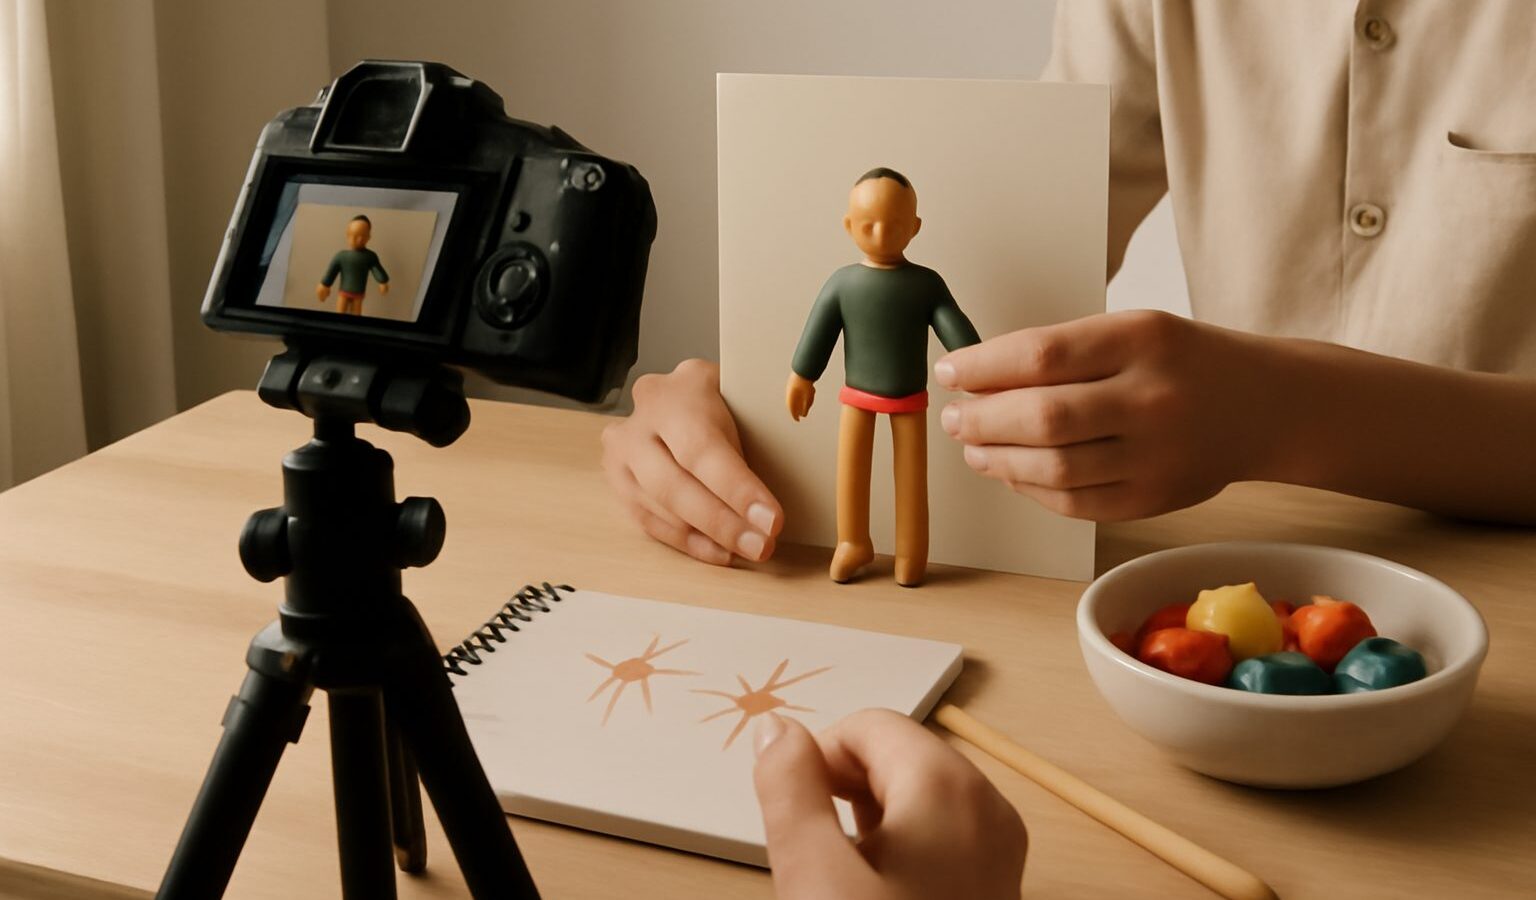
Stop motion is one of the most charming forms of filmmaking, and one of the most beginner-friendly. You move an object a tiny bit, take a photo, move it again, take another, and play the photos back in sequence to create the illusion of movement. That is the whole secret. You can make toys walk, food assemble itself, or a lump of clay come to life on your kitchen table. Getting started with stop motion in Singapore needs almost no special gear, just patience and a steady setup. This guide covers the essentials so your first animation actually flows.
Set Up for Consistency
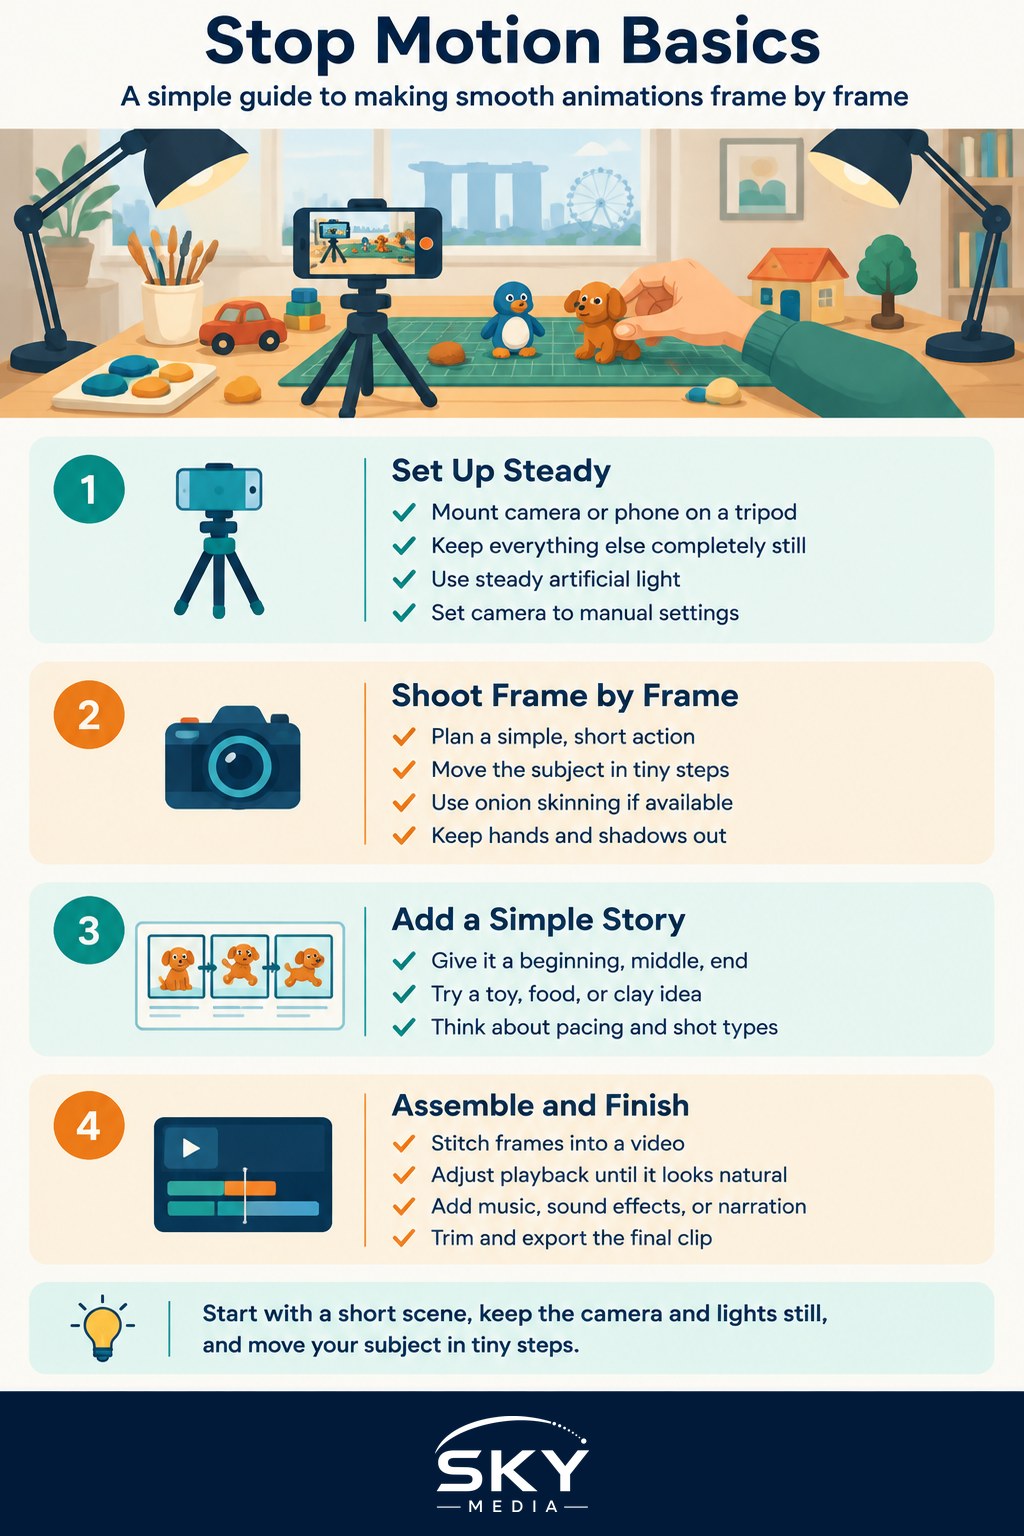
The golden rule of stop motion is that everything except your subject must stay perfectly still. If the camera shifts or the light flickers between frames, the animation will jitter and shake. So your first job is to lock things down.
Mount your camera or phone on a tripod, or clamp it firmly to a table or shelf. Do not hold it. Even a phone propped against a mug will do if it truly cannot move. If you are using a phone, a small tabletop tripod is a worthwhile buy, and our guide to choosing a tripod explains what to look for.
Lighting is the other thing that must not change. This is where a Singapore living room can trip you up, because sunlight through the window shifts constantly and clouds pass over. For consistent results, shoot with steady artificial light and block out or ignore the window, or work at night with lamps. Position a couple of lights so your scene is evenly lit with soft shadows, and do not move them mid-shoot. If lighting is new to you, lighting basics for video and photo covers the ideas that keep your frames looking identical.
Set your camera to manual so exposure, focus, and white balance stay fixed. If the camera decides each frame’s brightness on its own, you will get an annoying flicker as it makes slightly different choices every shot. Locking these settings, much like shooting in full manual mode for photography, keeps every frame consistent.
Shoot Frame by Frame
Now the fun begins. Plan a simple action first: a toy walking across the table, a plant growing, a name spelled out in beans. Keep your first project short, maybe a few seconds, because it takes many photos to make even a brief clip.
Move your subject in very small steps. The smaller the movement between frames, the smoother the final animation. Big jumps look jerky. As a rough guide, aim for many frames per second of finished video, so a five second clip might need well over a hundred photos. It sounds like a lot, but it goes quickly once you get into a rhythm.
A handy trick is onion skinning, where the app shows a faint ghost of the previous frame so you can see how far you have moved things. Many free stop motion apps offer this, and it makes consistent movement far easier. Take each photo, nudge the subject, check the ghost image, and shoot again.
Watch your own shadow and hands. It is easy to lean in, adjust a figure, and accidentally cast a shadow or bump the table. After each adjustment, pull your hands fully out of the frame before you shoot. Keep a light touch and be patient. Rushing is the enemy of smooth stop motion.
Add a Little Story
Even simple stop motion feels better with a beginning, middle, and end. A ball rolls in, bounces, and rolls out. A sandwich builds itself, then a bite disappears from it. Thinking about shot types and pacing, as covered in storytelling and shot types in video, turns a technical exercise into something people actually enjoy watching.
Bring It Together
Once you have all your frames, you stitch them into a video. Dedicated stop motion apps do this automatically as you shoot, which is the easiest route for beginners. Alternatively, import your photos into a video editor and set each image to a very short duration so they play in quick succession. Adjust the frame rate until the motion looks natural to your eye. Faster playback looks snappier, slower playback looks more deliberate.
Finish with sound. A bit of music, some playful sound effects, or simple narration adds a lot of life. Just be sure to use royalty-free or properly licensed music, and how to add music to videos legally points you to safe sources. Trim the start and end, add a title if you like, and export.
Keep Experimenting
Stop motion rewards curiosity more than expensive kit. Your first animation might flicker or move unevenly, and that is all part of learning. Tighten your setup, lock your light, and move a little slower. Try different subjects, from clay figures to everyday objects around the flat, and you will quickly develop an eye for it. Most of all, have fun with it. That playful spirit is exactly what makes stop motion so delightful to watch.
Frequently Asked Questions
Can I make stop motion with just my phone? Yes. A phone on a stable tripod or propped firmly on a table is enough, and free stop motion apps handle the capturing and playback. Lock exposure and focus, and do not touch the phone between shots.
How many photos do I need for a short stop motion clip? A lot more than people expect, since even a few seconds can need over a hundred photos. Smaller movements between frames give smoother results. Start with a very short idea so the first project stays manageable.
What objects work best for a first stop motion project? Simple, stable things like clay figures, toys, building blocks or everyday food items are forgiving. Avoid items that wobble or slide. Choose something that holds its pose between shots so you only move it deliberately.
Why does my stop motion video flicker? Flicker usually comes from changing light or automatic camera settings. Block daylight or shoot at night with steady lamps, and set exposure, focus and white balance to manual so every frame looks the same.
What frame rate should I use for stop motion? Pick a rate that looks natural to your eye and adjust it in the app or editor. Faster playback looks snappier, slower looks more deliberate. Many beginners test a few speeds, then keep whichever suits the story.